Solving Drone Problems the DIY 3D Printed Way
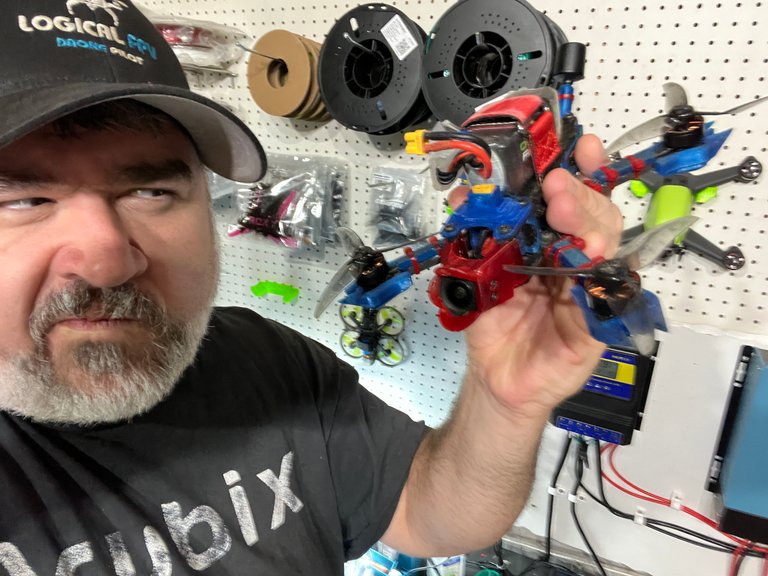
So, I am figuring out the hard way that I have a bit of a design issue with my Grinderino drone. This 3.5 inch basher is a beast and is quite zippy, but it has a bit of a flaw that I actually realized in the initial build, but decided to balls up and give it a try anyway. And what happened? Exactly what I thought. I ended up getting a bit to high and wound up hitting a branch that pulled the power connection, which caused my video feed to freeze, the drone to lose power, and fall out of the sky... Not good...
Working With a Small Frame and Big Components
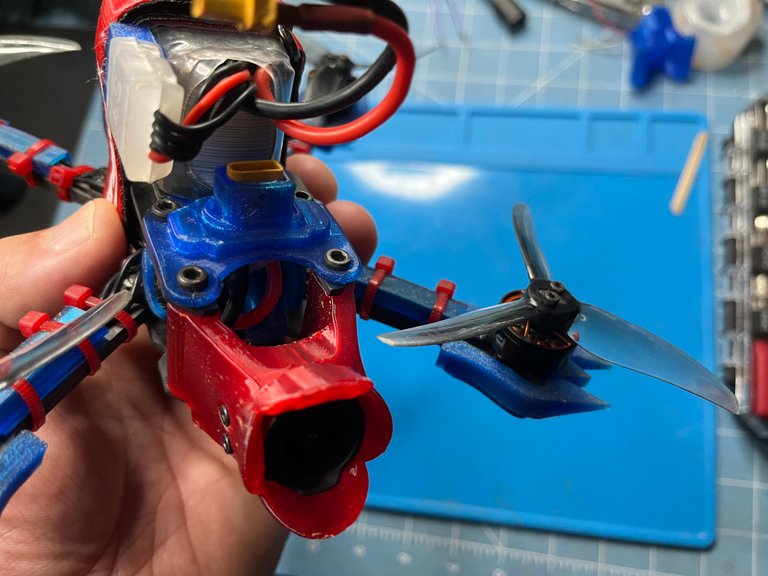
The problem with this Grinderino 3.5 inch frame, with my flight controller and the DJI video unit, I had to run the power out of the front because there was simply no room to send it out of the back of the drone like I normally do. The battery connection is glued into this 3D printed piece with E6000, so it's not going anywhere without replacing the entire connection, which I do not want to do.
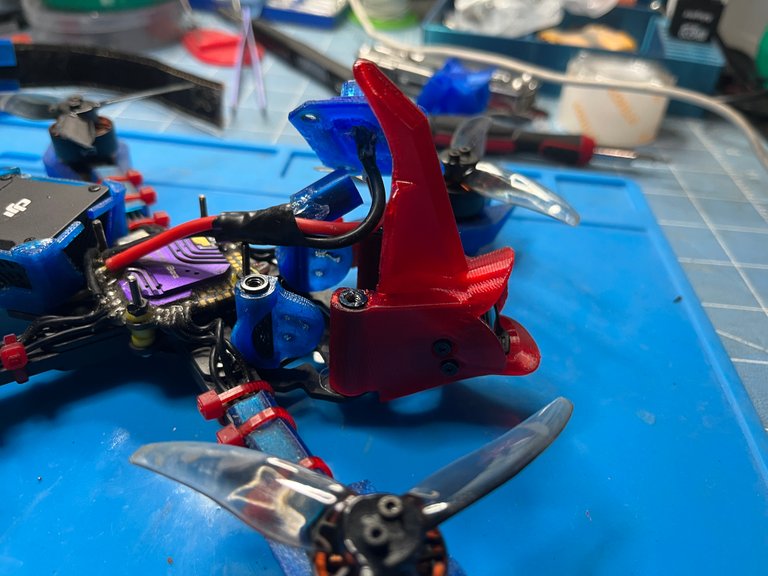
I also have this camera mount that is a solid piece of TPU and from experience is extremely sturdy. So I decided to go a little something something. I went into Tinkercad and went to work putting two pieces together... The camera pod that I had remixed for this quad, and a front 'fin' design that was meant to go where the battery connection piece is, or where an action camera would go if I were to use one of those, which I don't because my DJI onboard camera shoots awesome 4K footage.

The result of the design is actually pretty awesome. It is meant to protect my battery connection from being hit and the battery from taking major head on hits into obstacles, because I will hit them... I will note as well, that this post contains all the images of the first design and after it was done and I put it on the quad, I realized that I needed it to be about 5mm taller, so I redesigned, reprinted, and that's what I am currently using. Anyway, moving on...
Let the 3D Magic Begin

No matter how many prints I do, I am still pretty much in awe of the process. I would rather watch prints come to life than watch anything on TV, haha. But while the piece was working, I didn't want to waste the time, so I went ahead and took the top plate off the drone, and took the camera out of the original pod.
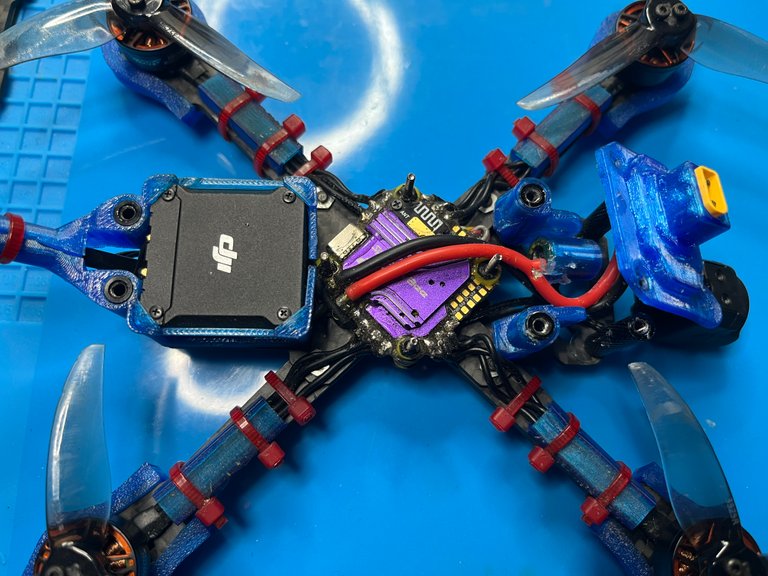
Just at a quick glance you can see why I had to build this quad the way I did. There was no room with the big DJI VTX and the format of the flight controller to run the power out of the rear of the quad. So running it out front was the best course, I just need to protect it better, and that's what this workbench session is all about!
For those who know what they are looking at, no, I do not have a separate remote receiver for ELRS or Crossfire on this drone. I use the DJI SBUS connection with my DJI Remote Controller 2 and my DJI Goggles V2. It works great for this drone because I am not really taking it into areas that I would risk losing the camera signal, which would also cause me to lose remote signal. Anyway, back to the print...
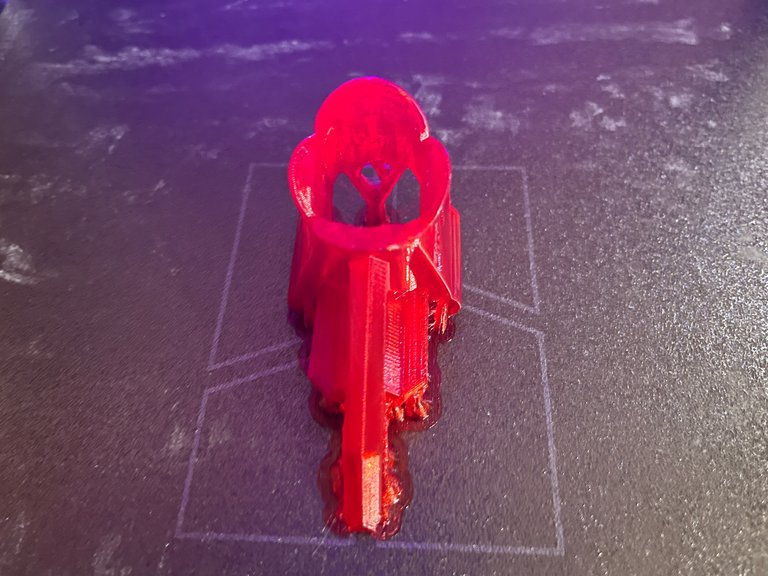
After a couple of hours of printing, I have a nice solid piece of TPU ready to be finished and have a camera shoved in it's hole, haha. First thing that has to happen is I have to pull off and clean up all the support areas.
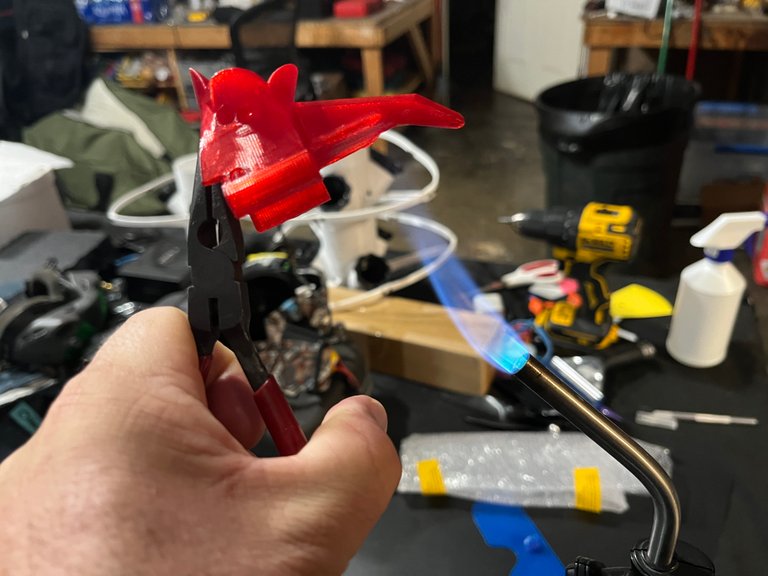
This takes some snips, pliers, and some patience. If there is a large area of support, like this one, I may even take some heat to it to smooth things out after I get all the supports pulled. The TPU melts to a point that I can get a smooth surface created, which just makes it look all nice and polished, because you want your drone to look awesome, haha.
After I get it all polished up, I get the camera installed which gives it a fixed angle of 20 degrees. It's my sweet spot when it comes to the camera angle. Just for note, the higher the angle of your camera, the higher angle of pitch your drone is to get a level camera, which means it will move faster.
For example, cruising angles are from 0-15 degrees. Freestylers go from 20-45 depending on their style and skill level, and racers go from 35-45, mostly 45 degree because well, you want to go fast, lol. I like that perfect mix of fast cruise with the ability to do some cool tricks, and the fact that I am still pretty much a novice, I really like 20 degrees on most of my quads.
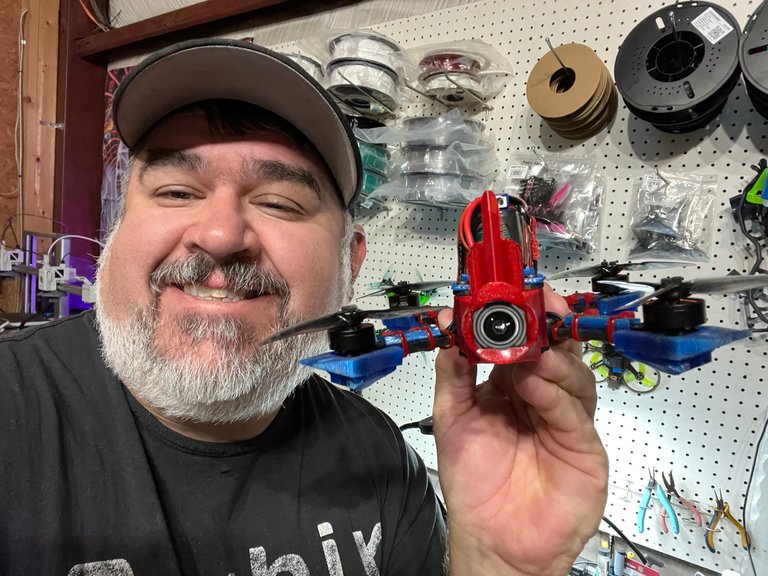
So I have officially solved my problem with a little imagination, 3D modeling, printing, and patience! Now when I hit things head on, no on purpose, it just happens when you fly the way I do, my battery has WAY less of a chance of getting pulled! So now it's time to get back out into the Dirty South FPV Park and work on my power loops, which is what got me last time, haha!
Until next time...
Be cool, be real, and always abide with the skies!
Posted Using INLEO
On average, how much does it cost to build one? A type with a 4K camera.
Depends on the video system you get into. The biggest money is in the goggles to be honest. Then you need a radio (controller). This drone uses the DJI O3 air unit, which is now discontinued but are still highly sought after. The used market is going crazy on those. The O4 unit is the new one. The goggles you need for that are $500. The video units you would put in the drone (camera and video transmission unit) are around $110 for the O4 light and about $220ish for the O4 pro.
Once you have that all set, then you are looking at $50-100 for a frame (depending on the size of the drone you are building), motors (4 at $10-$40 each depending on size, power, etc), flight controller and ESE (this is an all in one chip or AIO) and they are between $70-100. Then you could get a beeper that helps when you crash, that's around $10. Radio receiver is $20 for ELRS and $40 for Crossfire.
For radio, being I have the DJI air unit, I use my DJI Remote Controller 2 from my first DJI drone that links with the air unit. This saves me the extra on the radio receiver. But if I were to use a different video unit like an analog rig, I would use either ELRS or Crossfire, depending on the purpose of the drone.
So to sum it up, you can build a digital 4K drone for around $400-500 if you already have the video units.
For an analog drone, you can build a 5 inch unit for like $200 and then get an action camera to ride on top that gets your digital 4K footage. Your pilot camera will be analog though. Good analog goggles are about the same as the digital ones.
Not a cheap hobby for sure, lol. This is a replacement for sports cars and motorcycles in my mid life crisis, lol.