Cleaning A Napoleonic Charleville Musket - Part 2 - Disassembly and Barrel Cleaning
This is part 2 in a short series of three posts - you can find the first part at Cleaning A Napoleonic Charleville Musket - Part 1 - Terminology
In the first part, I went over a terminology of the musket parts and a brief description of how it works. I realised that without that, the rest of what I write about it might as well be in Martian !
In this post, I'll describe the disassembly process (which is actually dead simple), and how to clean the barrel.
Disassembly
The first step in disassembling the musket for cleaning is to take the lock off. That's simply a matter of removing the ramrod and then undoing the two screws you can see in the photo below that pass through the stock and hold the lock plate on.

After that, the screw at the back end of the barrel is removed. Then, holding the barrel in position against the stock, the three bands are removed. After this, the barrel can be lifted away from the stock ready for cleaning.
Cleaning The Barrel
With the barrel safely removed, it's out to the back garden for the next step !

This photo shows all the things assembled ready; cleaning rods, a roll of 4x2 cleaning patches, black powder solvent, gun oil, a funnel, some random rag, and a box of matches.
The matches aren't used to set fire to something - they're lit and then allowed to burn for a little, and the rsulting pointy stick is perfect for jamming into the touch hole to temporarily block it.
You can see the fouling on the outside of the barrels (I was also cleaning a second musket at the same time), so I'm sure you can imagine how fouled up they are inside. It's a problem modern firearms using more up-to-date propellants just don't have to deal with.
Next up is to pour in a few drops of black powder solvent. It doesn't take much, but the barrel should be turned as it's put in to get an even coating all the way down.
After five or ten minutes of quitly festering, the solvent should have done it's job, and it's time to put the funnel in and fill the barrel with boiling water.
Although I leave them for another 5-10 minutes after filling them with water, it is essential after this to handle them with heavy gloves or a piece of rag. The metal barrels hold the heat from the water incredibly well, and will happily take skin off for a good 15 minutes or so !
Then it's a case of pulling the matchstick out and letting the water drain out, making sure it goes into a patch of earth that isn't important, not the patio or lawn. I generally let the water run out completely, and then refill it a couple of times. It's the last little bit that comes out black, and when it comes out clear I know most of the powder residue has been washed out.

Cleaning rod time ! With a brass brush that fits the barrel and some 4x2 fed through the loop on the end and wrapped around the brush, it's just a case of sliding it up and down the barrel, turning and changing the cleaning patch until it comes out clean and dry. This is where using boiling water comes into it's own; most of the moisture evaporates rather than having to use the cleaning patches as a towel.
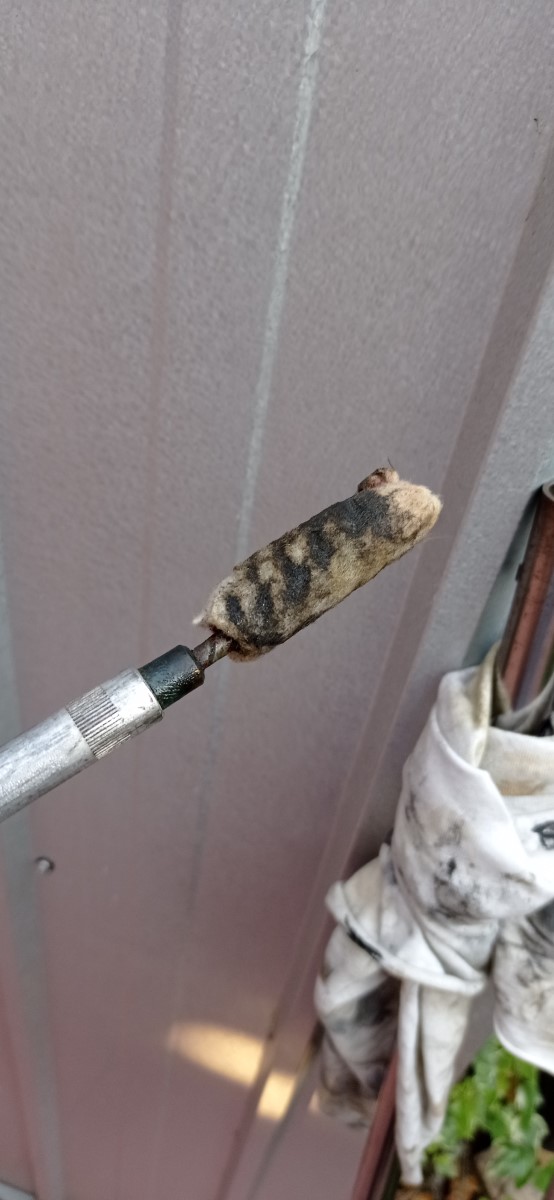
This photo shows the first patch after the first pass - yuk !

And then after the final pass - much better.
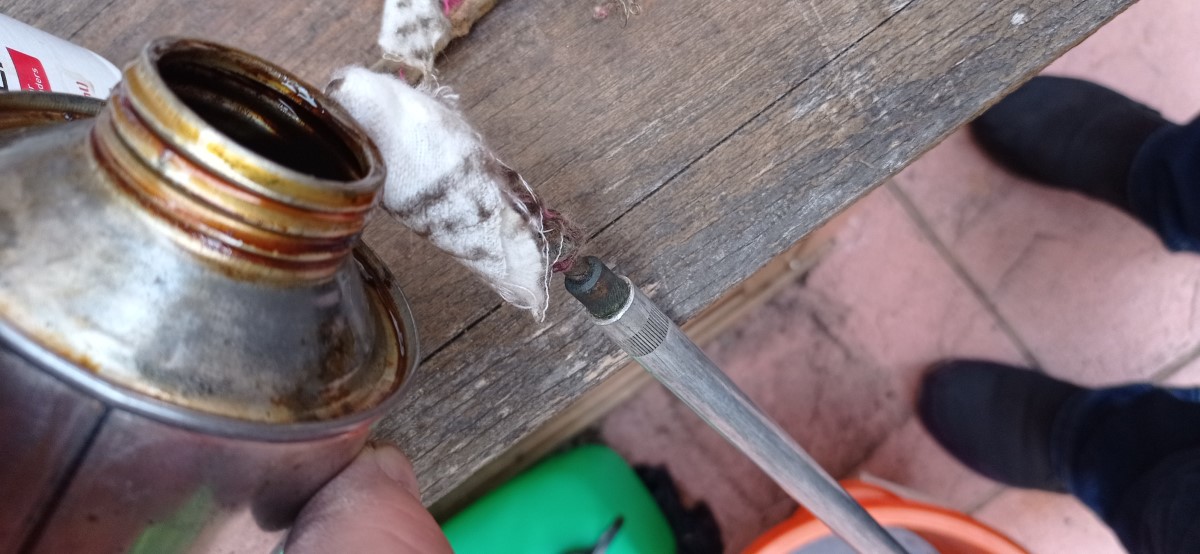
Then put a little gun oil onto the last (clean) patch and run it up and down the barrel. It doesn't have to soak it, it's just a case of leaving a light smear to prevent any corrosion or rust happening before the next time it's used.
Finally (and I didn't take a photo), it's just a case of givng the outside a quick clean. Sometimes a clean rag is enough, other times a little bit of Autosol or Brasso might be needed to deal with any stubborn fouling or surface rust.
After this, the barrel is ready to be put back on the musket, and it's time to get to work on the lock. But that's a subject for the next post....
All photos by me
Posted using The BBH Project