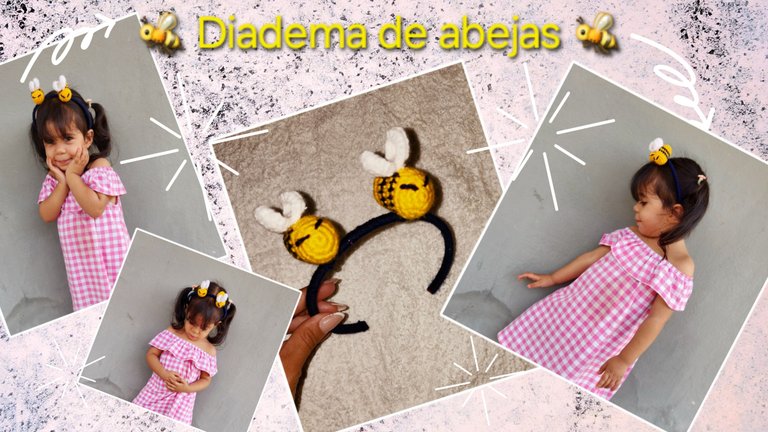
🐝 Diadema de abejas para mi sobrina 🐝
Linda tarde para todos los amigos creativos de esta comunidad, del mundo entero y a todos los amantes de las manualidades y artesanías. Deseo y espero que se encuentren genial, por mi parte me encuentro muy feliz y agradecida con Dios por un nuevo despertar para mi familia y para mí. Creo que tenerlos bien ya es una bendición, como siempre digo, por la cual agradecer enormemente y cada día.
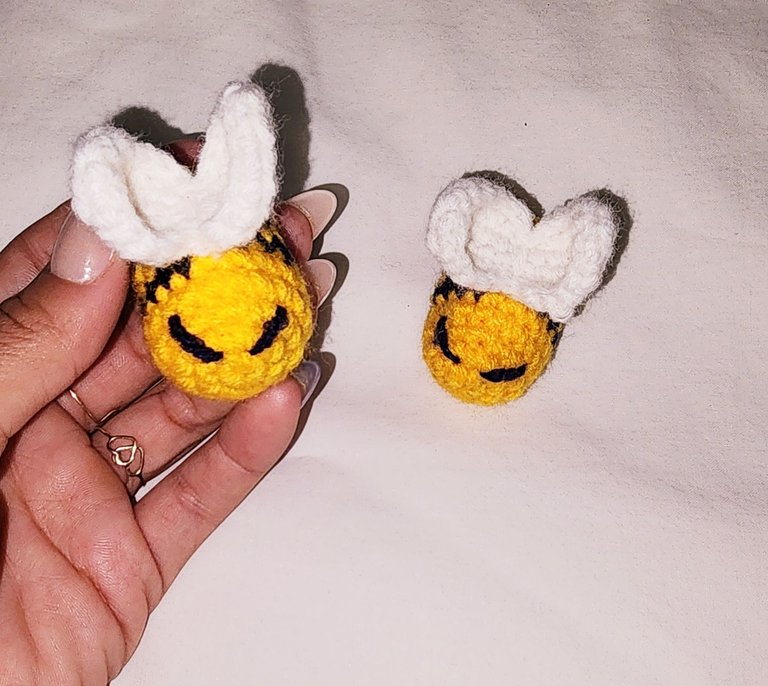
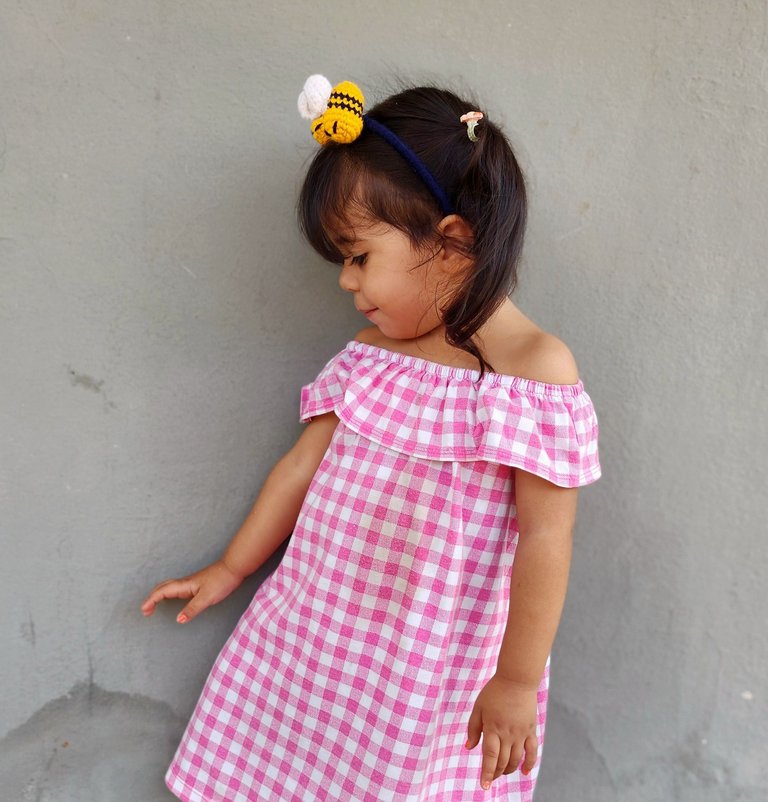
Hace unos días comencé a realizar una diadema para mi sobrina, ella pertenece a un proyecto de niños llamado "La colmenita". Debía llevar con ella una prenda en representación de las abejas, así que puse manos a la obra para hacerle una bien bonita a crochet. A su vez estaba haciendo un proyecto para mí sobrina, pero también para compartirlo con ustedes. Y bueno, cada proyecto lo comparto en esta plataforma, pero este es especialmente para compartirles, por lo que creé esta vez: abejas 🐝, este hermoso insecto que nos representa a cada uno de nosotros en esta gran familia que es Hive, nuestra colmena.
Y bueno, sin más les muestro el tutorial de como lo realicé.
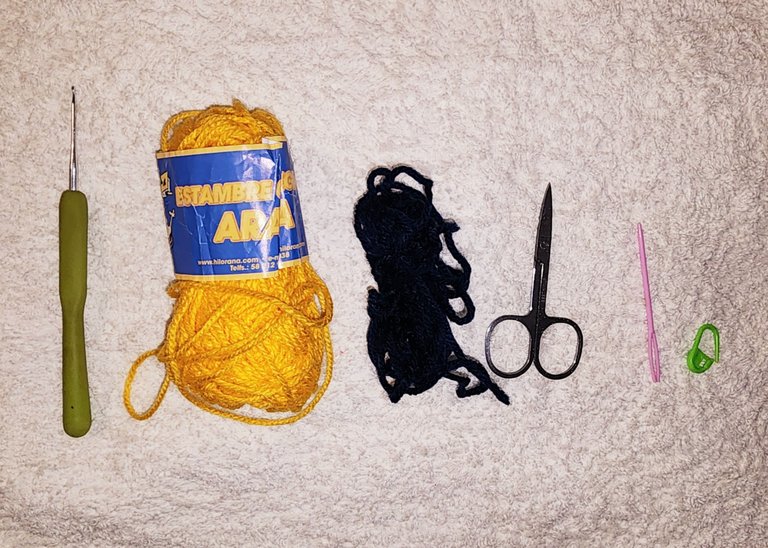
🐝 Materiales 🐝
- Agujeta.
- Lana de color amarillo y negro.
- Tijera.
- Aguja lanera.
- Marcador.
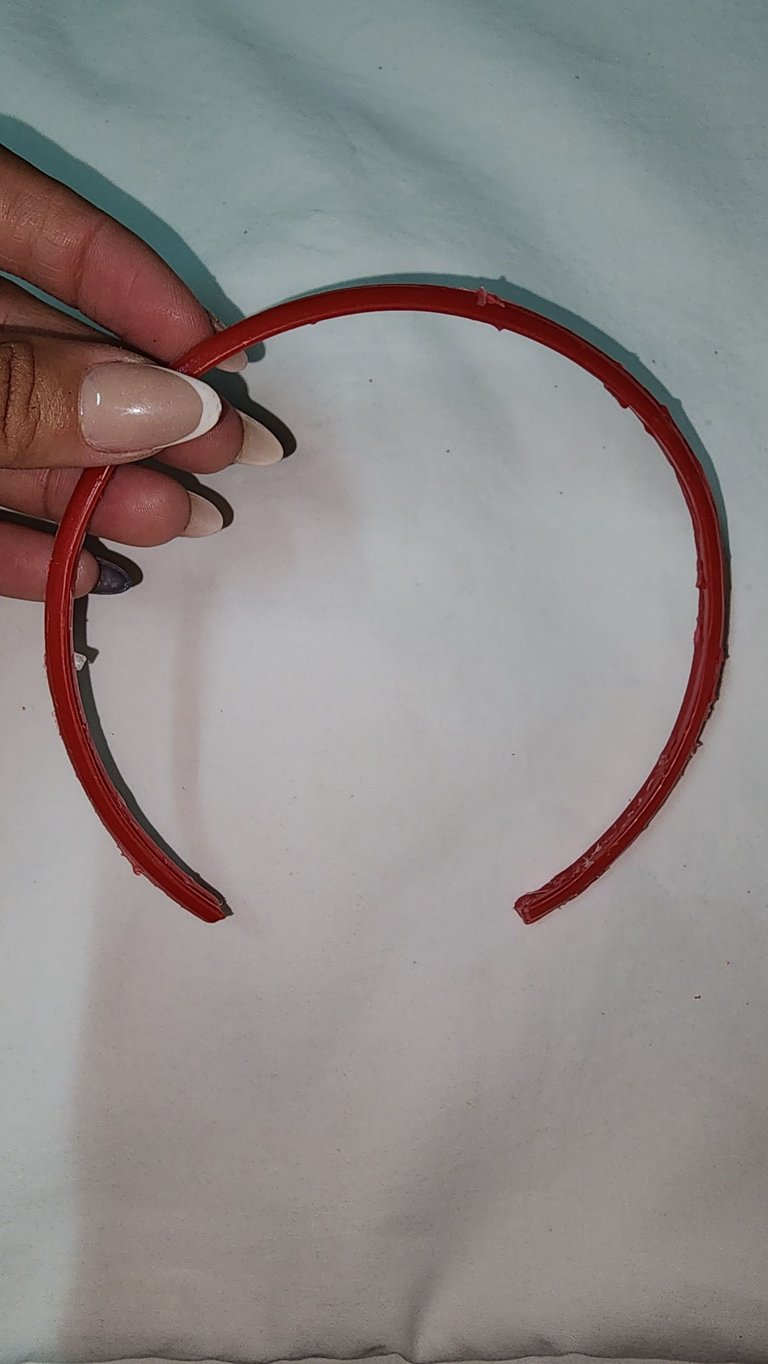
- Aro para cintillo.
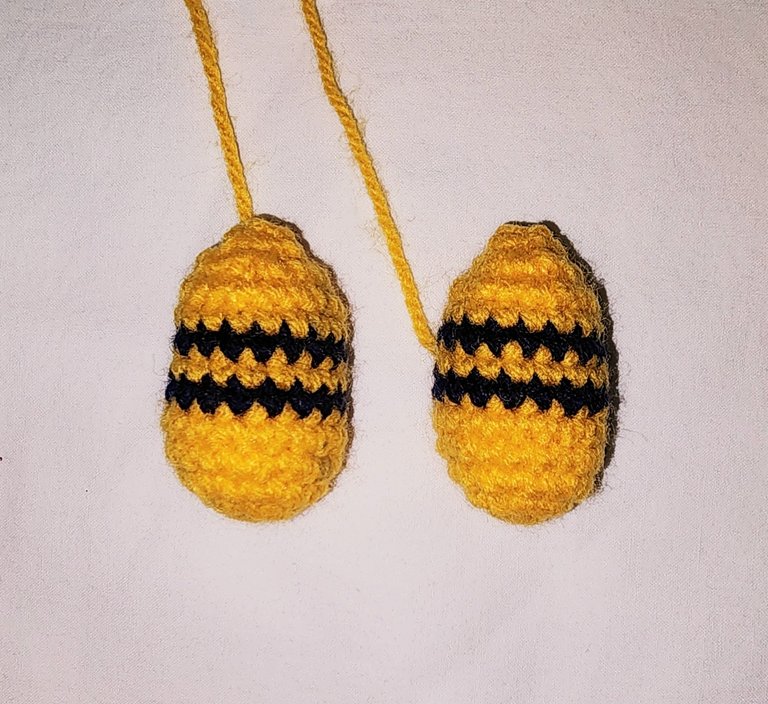
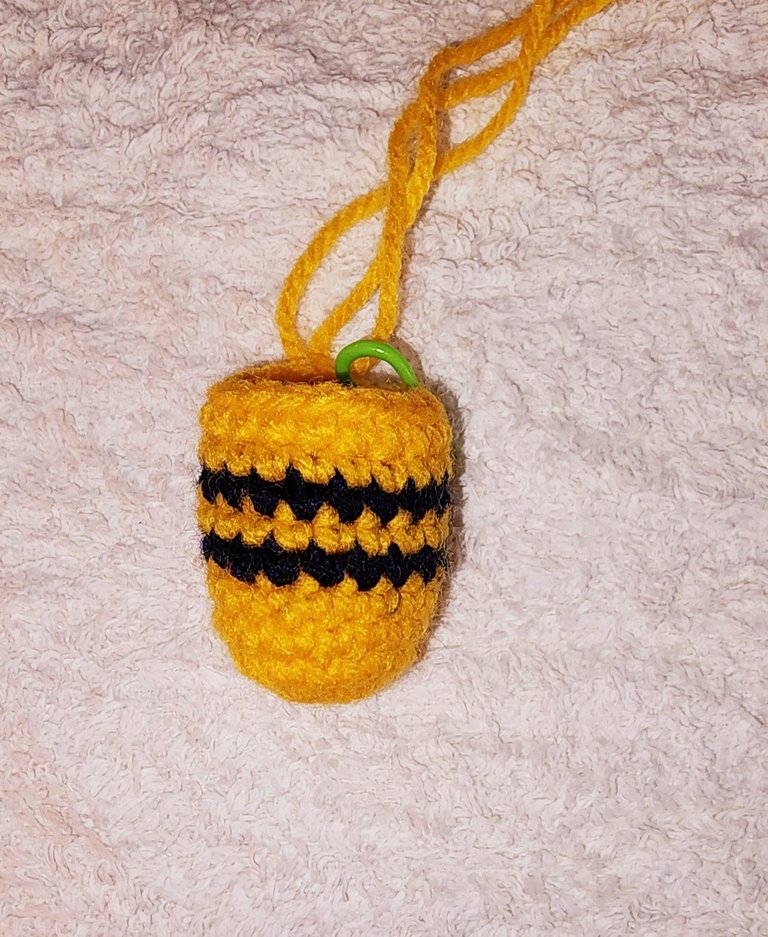
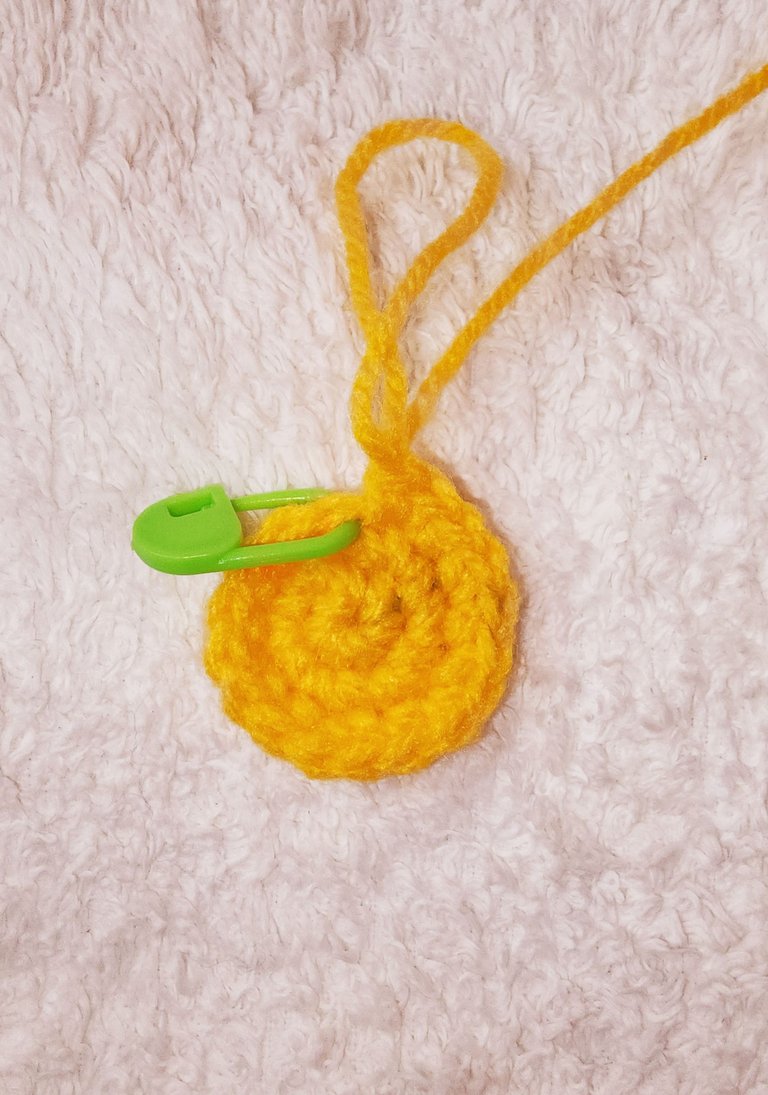
🐝 Cuerpo 🐝
V1- Comenzamos con anillo mágico y dentro hacemos 6 pb.
V2- Hacemos 6 aumentos quedando un total de 12 pb.
V3- Hacemos secuencias de 1 pb + 1 aumento quedando un total de 18 pb.
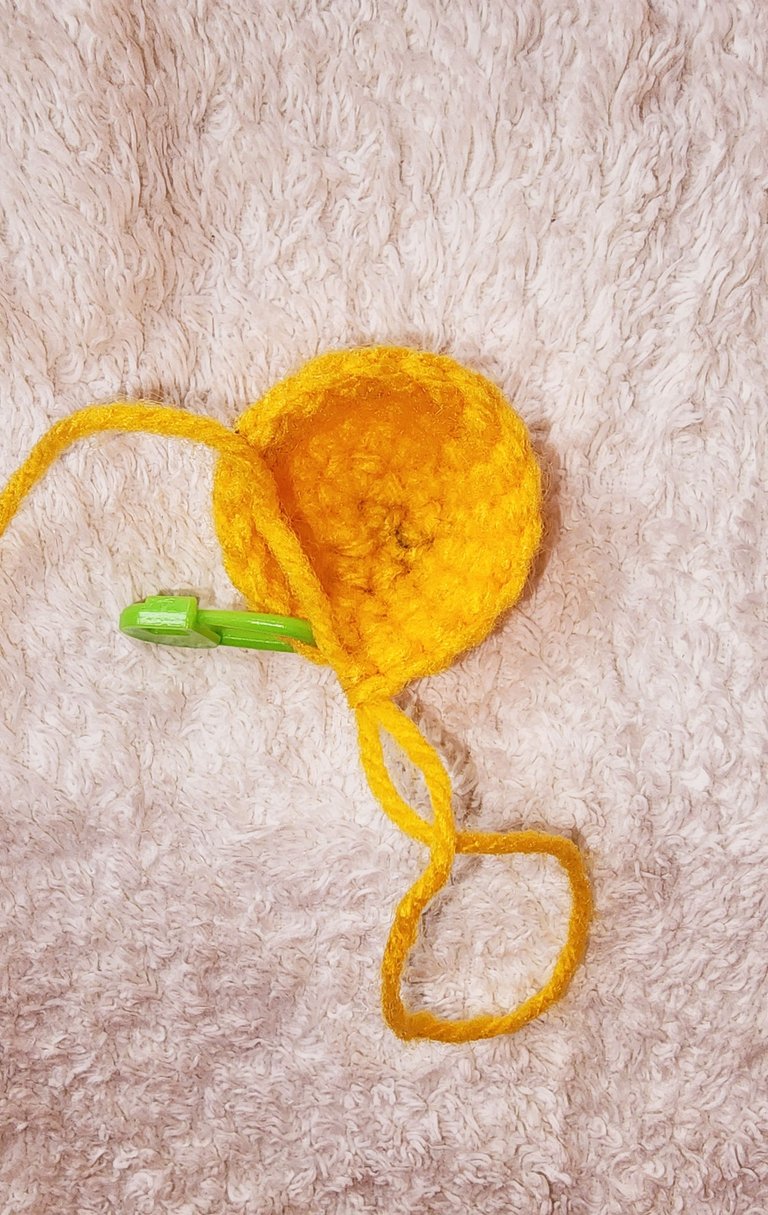
V4- V5- Hacemos estos 18 pb sin aumentos ni disminuciones.
V6- Hacemos estos 18 pb cambiando a hilo negro.
V7- Hacemos estos 18 pb cambiando a hilo amarillo.
V8- Hacemos estos 18 pb cambiando a hilo negro.
V9- Hacemos estos 18 pb cambiando a hilo amarillo.
V10- V11- Continuamos haciendo estos 18 pb sin aumentos ni disminuciones.
V12- Vamos a hacer secuencias de 1 pb + 1 disminución, quedando un total de 12 pb.
V13- Vamos a realizar 6 disminuciones quedando un total de 6 pb.
V14- Vamos a cerrar con ayuda de la aguja lanera pasando el hilo por cada punto de afuera hacia adentro. Hacemos nudo y escondemos hebra.
🐝 Necesitamos dos cuerpos exactamente iguales.
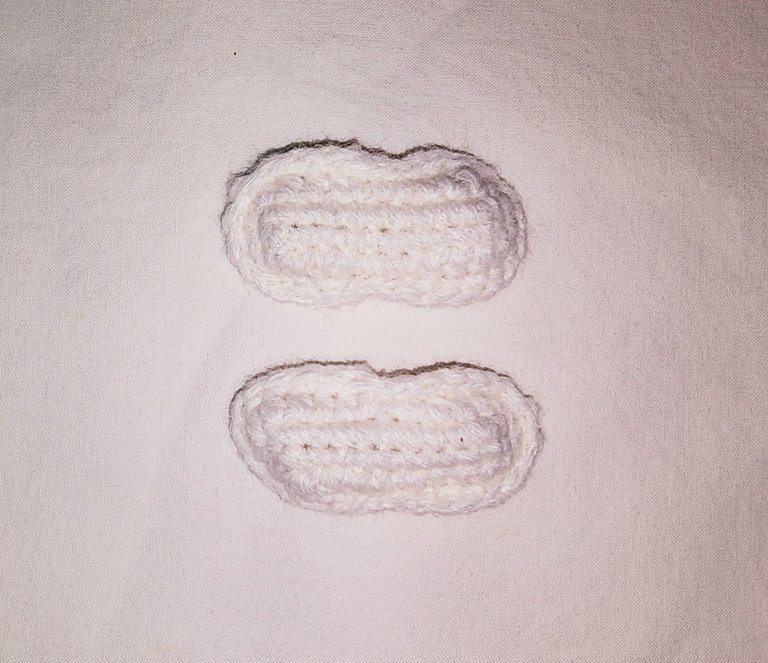
🐝 Halas 🐝
V1- Hacemos 12 cadenas. En el segundo punto hacemos 1 punto medio hasta el final quedando 11 pb, en ese último punto hacemos no solo 1 pb sino que 3 y continuamos haciendo puntos bajos hasta el otro extremo, en ese último, que sería el primero donde hicimos 1 punto bajo, hacemos 2 pb más.
V2- Comenzamos haciendo 4 puntos medios + 3 pb + 4 puntos medios + 3 puntos medios en el mismo punto + 4 puntos medios + 3 puntos bajos + 4 puntos medios + 3 puntos medios en el mismo punto.
V3- Hacemos puntos bajos en cada punto exento en los 6 puntos bajos de la vuelta anterior, en esos puntos haremos puntos deslizados. Sería 4 pb + 3 deslizados + 11 pb + 3 deslizados + 8 pb.
Cerramos con punto deslizado, cortamos hilo y escondemos.
🐝 Necesitamos dos halas exactamente iguales.
🐝 Hora de unir y dar forma 🐝
🐝 Lo primero que debemos hacer es unir las halas al cuerpo.
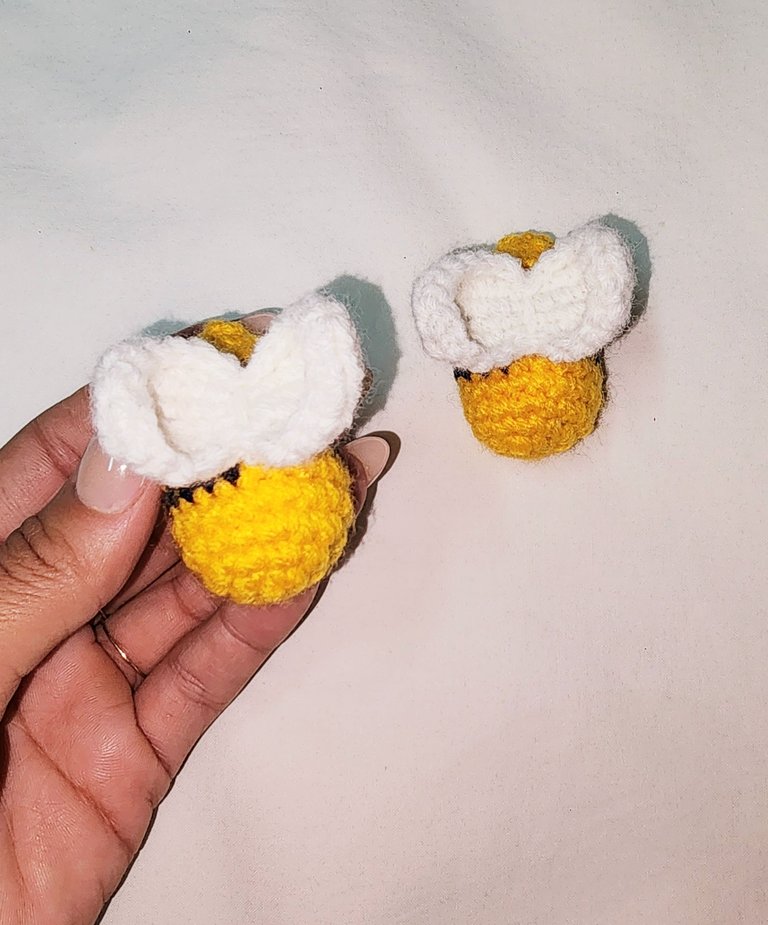
🐝 Ahora vamos a hacer los ojos con el hilo.
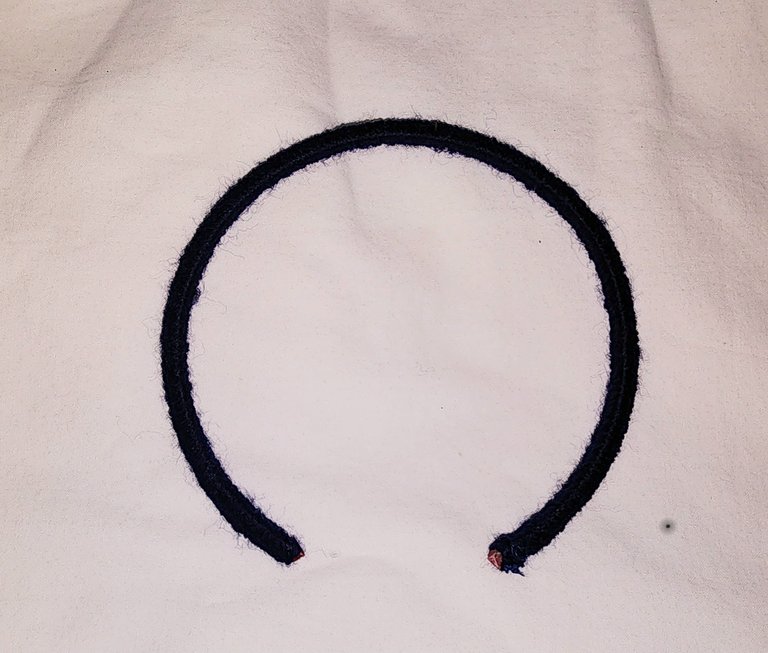
🐝 Ahora vamos a vestir el cuerpo del cintillo de negro y vamos a coser las abejas a él.
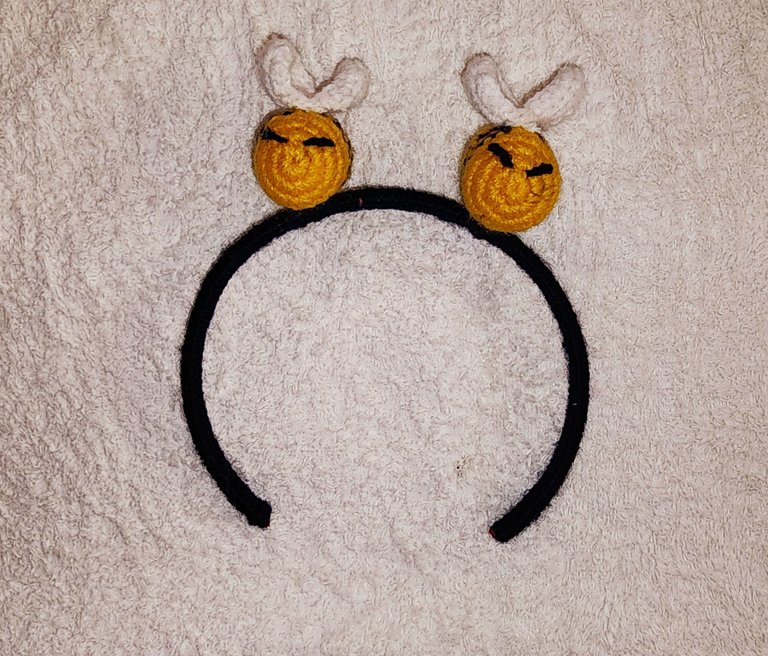
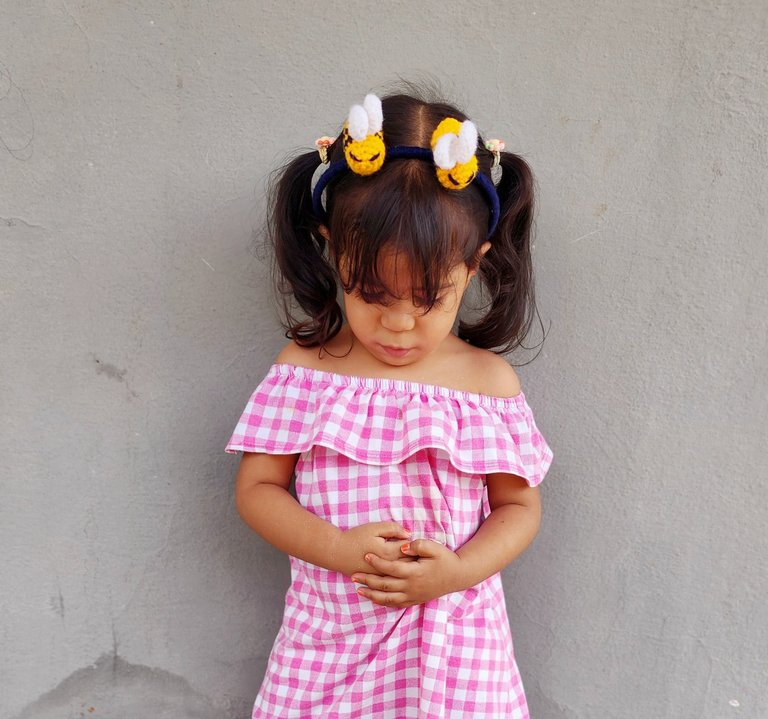
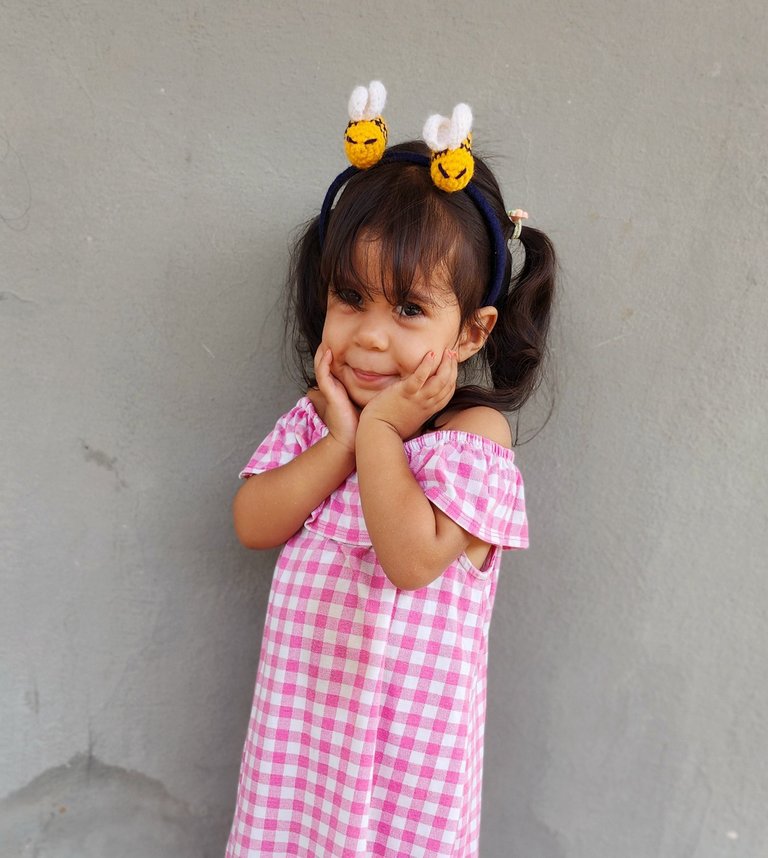
🐝 Y listo amigos, así queda terminada esta linda y tierna diadema de abejas. A mi como siempre me encantó y a mi sobrina también. A ustedes qué les pareció? Los leo en los comentarios.
Gracias de antemano por leerme hasta aquí. Bendiciones miles 🥰, abrazos virtuales 🤗 y hasta una nueva publicación ✨️.
🐝 English 🐝
Nice afternoon to all the creative friends of this community, of the whole world and to all the lovers of arts and crafts. I wish and hope you are feeling great, for my part I am very happy and grateful to God for a new awakening for my family and me. I believe that having them well is already a blessing, as I always say, for which to be thankful and thankful every day.
A few days ago I started to make a headband for my niece, she belongs to a children's project called “La colmenita”. She had to wear a garment representing the bees, so I got to work to make her a beautiful crochet one. At the same time I was making a project for my niece, but also to share it with you. And well, I share every project on this platform, but this one is especially to share with you, so I created this time: bees 🐝, this beautiful insect that represents each of us in this great family that is Hive, our hive.
And well, without further ado I show you the tutorial of how I made it.
Materials 🐝 Materials 🐝
- Needle.
- Yellow and black wool.
- Scissors.
- Wool needle.
- Marker.
- Ring for headband.
Body 🐝 Body 🐝
V1- We start with magic ring and inside we make 6 sts.
V2- We make 6 increases for a total of 12 sts.
V3- We make sequences of 1 bp + 1 increase remaining a total of 18 bp.
V4- V5- We make these 18 bp without increases or decreases.
V6- We make these 18 bp changing to black thread.
V7- We make these 18 sts by changing to yellow yarn.
V8- We make these 18 sts by changing to black yarn.
V9- We make these 18 bp changing to yellow yarn.
V10- V11- We continue making these 18 bp without increases or decreases.
V12- We are going to make sequences of 1 bp + 1 decrease, leaving a total of 12 bp.
V13- We are going to make 6 decreases for a total of 6 sts.
V14- We are going to close with the help of the knitting needle, passing the yarn through each stitch from the outside to the inside. We tie a knot and hide the yarn.
🐝 We need two bodies exactly the same.
Halas 🐝 Halas 🐝
V1- We make 12 chains. In the second stitch we make 1 medium stitch until the end remaining 11 stitches, in that last stitch we make not only 1 stitch but 3 and we continue making low stitches until the other end, in that last one, which would be the first one where we made 1 low stitch, we make 2 more stitches.
V2- We start making 4 medium stitches + 3 stitches + 4 medium stitches + 3 medium stitches in the same stitch + 4 medium stitches + 3 medium stitches in the same stitch + 4 medium stitches + 3 low stitches + 4 medium stitches + 3 medium stitches in the same stitch.
V3- We make slip stitches in each exempt stitch in the 6 slip stitches of the previous row, in those stitches we will make slipped stitches. That would be 4 sts + 3 slip sts + 11 sts + 3 slip sts + 8 sts.
Close with slip stitch, cut yarn and hide.
🐝 We need two exactly equal halas.
🐝 Time to join and shape 🐝.
🐝 The first thing we need to do is join the halas to the body.
🐝 Now we are going to make the eyes with the yarn.
🐝 Now we are going to dress the body of the headband in black and we are going to sew the bees to it.
🐝 And that's it friends, this is how this cute and cuddly bee headband is finished. I loved it as always and so did my niece. What did you think? I'll read you in the comments.
Thanks in advance for reading me this far. Thousand blessings 🥰, virtual hugs 🤗 and until a new post ✨️.
Recursos empleados
| RECURSO / RESOURCE | FUENTE / SOURCE |
|---|---|
| Edición / Edition: | @yunacrochet |
| Imágenes / Pictures: | Samsung Galaxy s22 Ultra |
| Translated / Traducción: | Deepl Translate by @noakmilo |
Posted Using INLEO
Qué lindura !!!! Bravooo
Muchas gracias amiga. Bendiciones miles 🤗.
Lo propio para ti. Éxitos siempre
This bee-themed headband is absolutely adorable. You did a great job balancing the colors. well done.
selected by @stevenson7
Thank you very much, I am very happy that you like my work and value it. Thousands of blessings.
Muy lindo, la peque se ve muy tierna con sus abejitas 🤭🥹
Muchas gracias, así es, le llamaron mucho la atención esas abejitas 🐝. Bendiciones 🤗.
Ay ñomio pero qué monada esa diadema! quedó super coquette y esa modelo posando con sus abejitas! una ternurita, que Dios la bendiga! Tienes mucho talento bella, trabajas muy lindo.
Muchas gracias amiga, la modelo estaba muy contenta y ws muy artista 😁. Gracias por tu lindo comentario. Bendiciones miles 🤗🤗🤗.
Wow, it's so beautiful, the bees look cute.
Thanks you very much. Blessings 😘.
Una cuchitura ese cintillo , que lindo te quedó ✨🐝
Muchas gracias amiga 🤗. Bendiciones miles 🤗🤗.