[EN-ES] How to decorate a cream container? // ¿Cómo decorar un recipiente de crema?
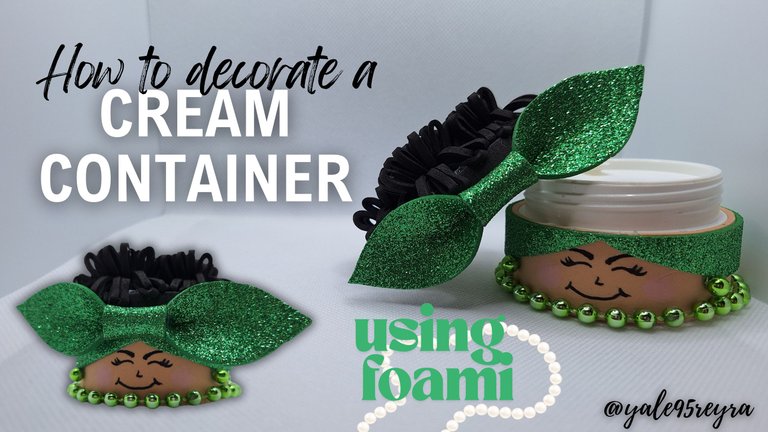
Hello, dear friends who love crafts, as some of you may know, I love to decorate recycled bottles and containers to give them a new life, but this time I wanted to decorate this bottle of Retinol cream that I bought a few days ago to remove some stains from my body. A long time ago I saw on social media and Pinterest this design and I loved it. From that moment I always had the desire to make one, but I didn't have the right container. As it is a very easy design, I made it in less than an hour using super cheap materials and a necklace I had saved, so if you want to give a radical change to your cream containers so they don't look so boring, this is your chance, today I will show you how to do it, they look too beautiful. Below, I show you the materials needed to make them and the step by step of the creative process.
Hola, queridos amigos amantes de las manualidades, como algunos sabrán, me encanta decorar botellas y recipientes reciclados para darles una nueva vida, pero en esta ocasión quise decorar este envase de Retinol en crema que compré hace unos días para quitarme algunas manchas de mi cuerpo. Hace mucho tiempo vi en redes sociales y en Pinterest este diseño y me encantó. Desde ese momento siempre tenía las ganas de hacer uno, pero no tenía el recipiente adecuado. Como es un diseño muy fácil, lo hice en menos de una hora usando materiales supereconómicos y un collar que tenía guardado, así que si quieres darle un cambio radical a tus recipientes de crema para que no se vean tan aburridos, esta es tu oportunidad, hoy te enseñaré como hacerlo, se ven demasiado hermosos. A continuación, te muestro los materiales necesarios para su elaboración y el paso a paso del proceso creativo.
💚Materials // Materiales💚

- Skin-colored, black and green frosted Foami / Foami color piel, negro y verde escarchado
- Cream container / Envase de crema
- Necklace or continuous beads / Collar o perlas continuas
- Eyeshadow / Sombras para los ojos
- Silicone / Silicona
- Marker or liner brush / Marcador o pincel liner
- Scissors / Tijera
💚Step by step // Paso a paso💚
 |  |
 | 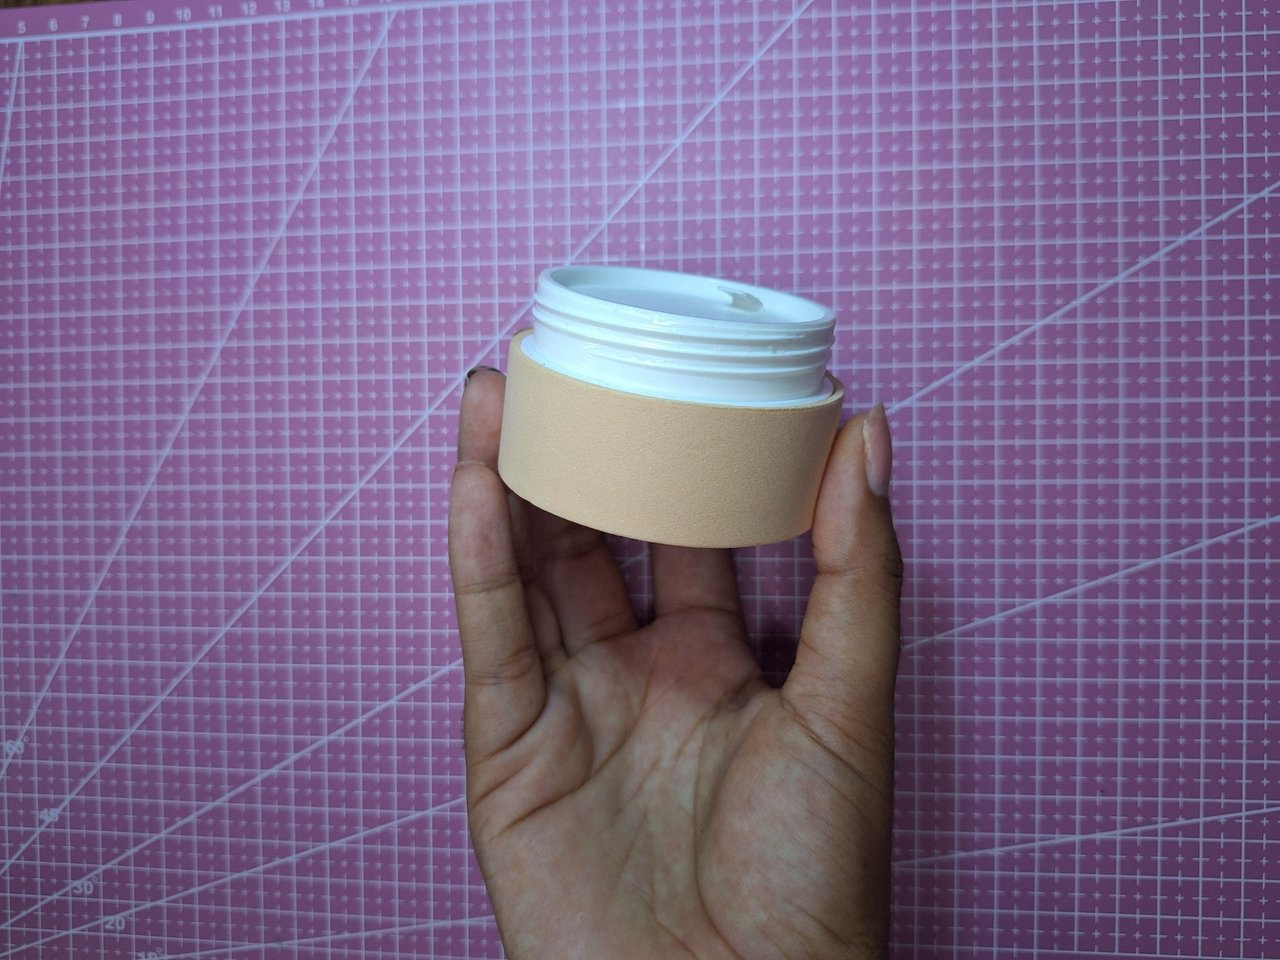 |
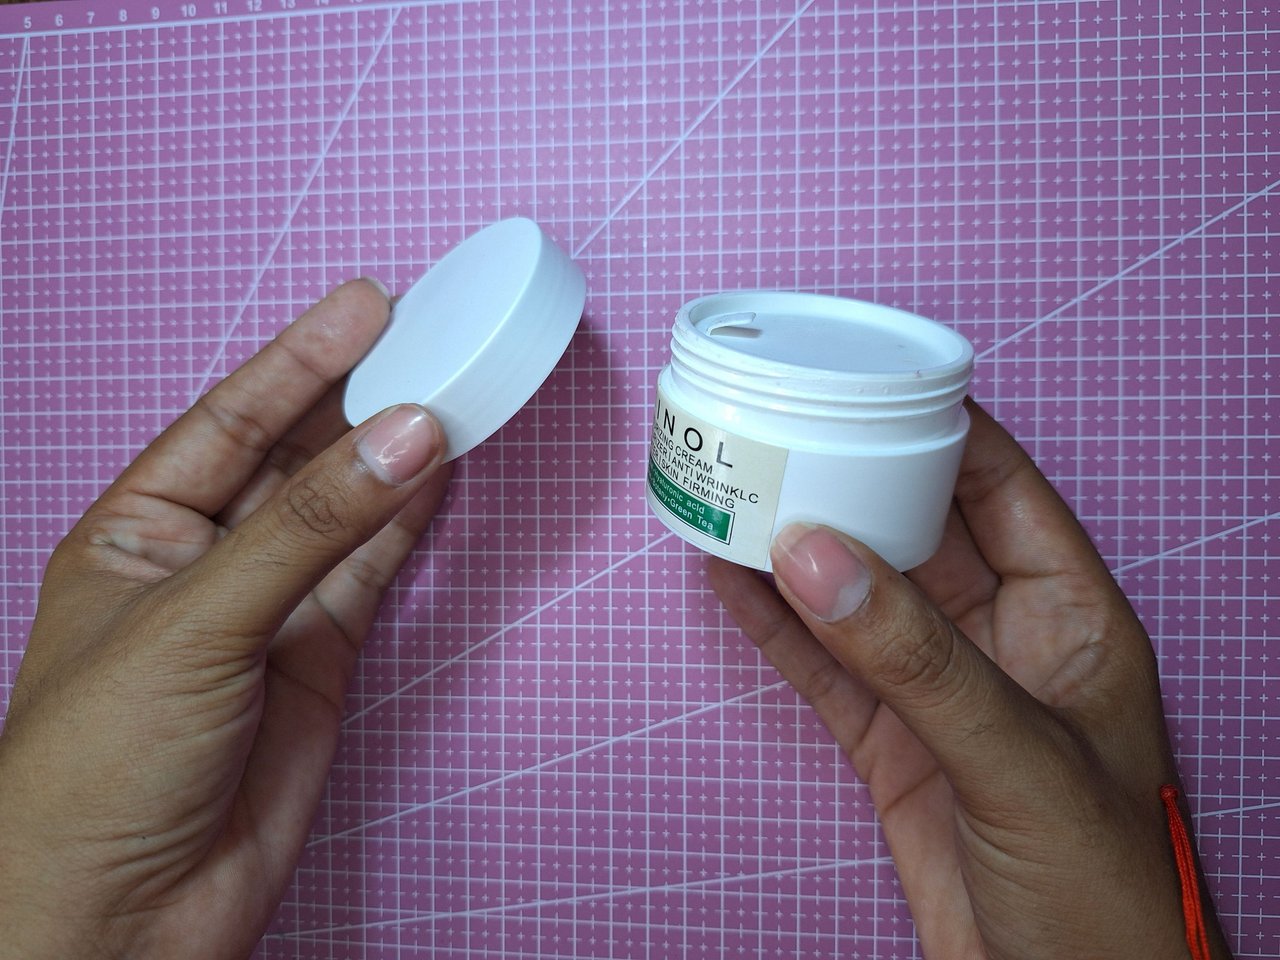
The most important thing is to have the right container. It is much better if both the lid and the body of the container have the same width so that the result looks much better. Measure the height and width of the circumference of the container to cut out a strip of skin-colored foami with these measurements. My container was 20.5 cm x 2.5 cm. Then glue it all over the body, leaving free the part of the thread to be able to open and close the container without problems.
Lo más importante es tener el envase adecuado. Es mucho mejor que tanto la tapa como el cuerpo del envase tengan el mismo ancho para que se vea mucho mejor el resultado. Medir la atura y el ancho de la circunferencia del envase para recortar una tira de foami color piel con estas mediadas. Mi recipiente tenía unas dimensiones de 20.5 cm x 2.5 cm. Luego se pega por todo el cuerpo, dejando libre la parte de la rosca para poder abrir y cerrar el recipiente sin problemas.
 |  |
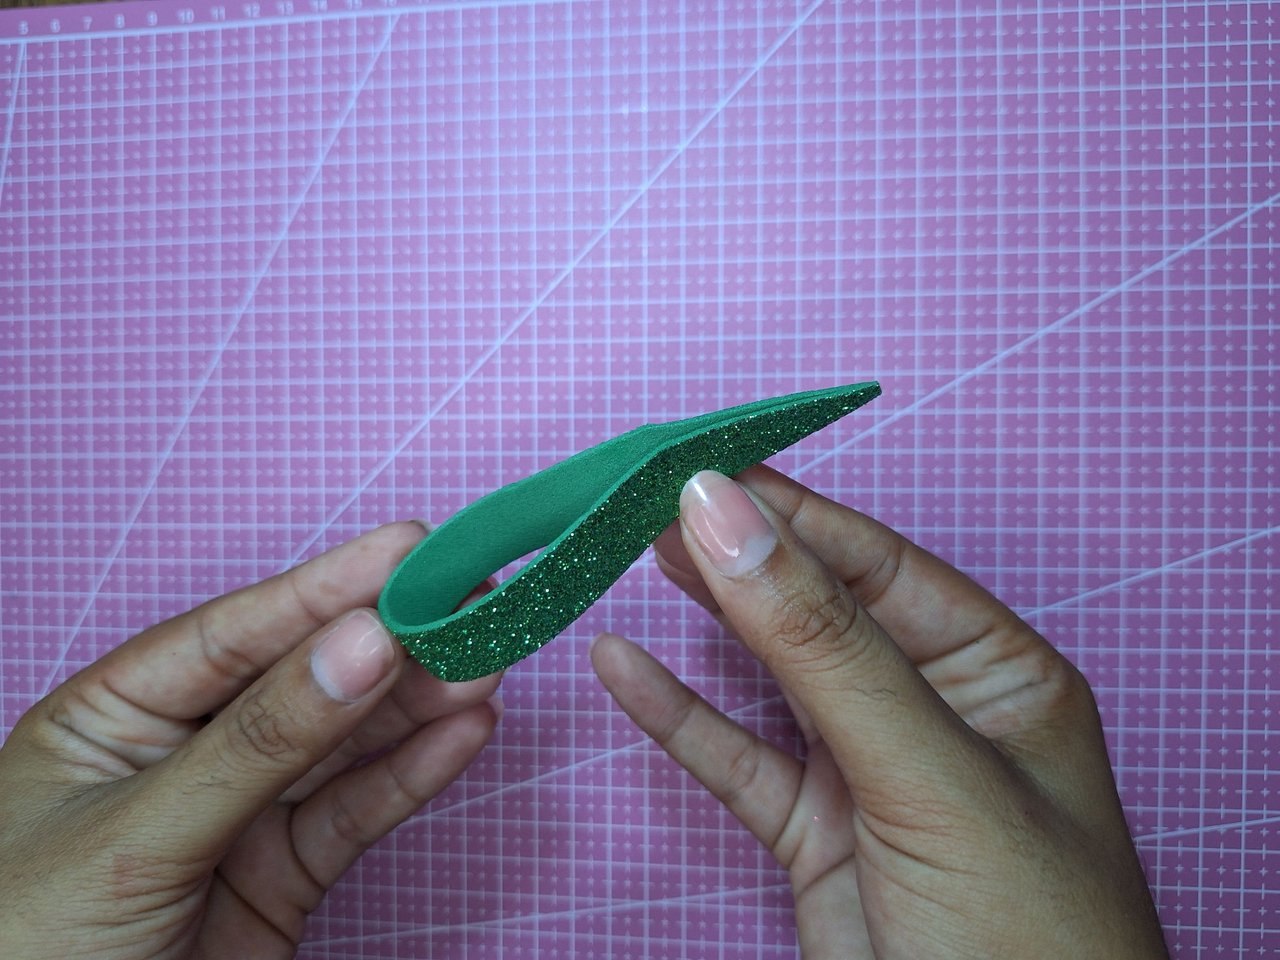 | 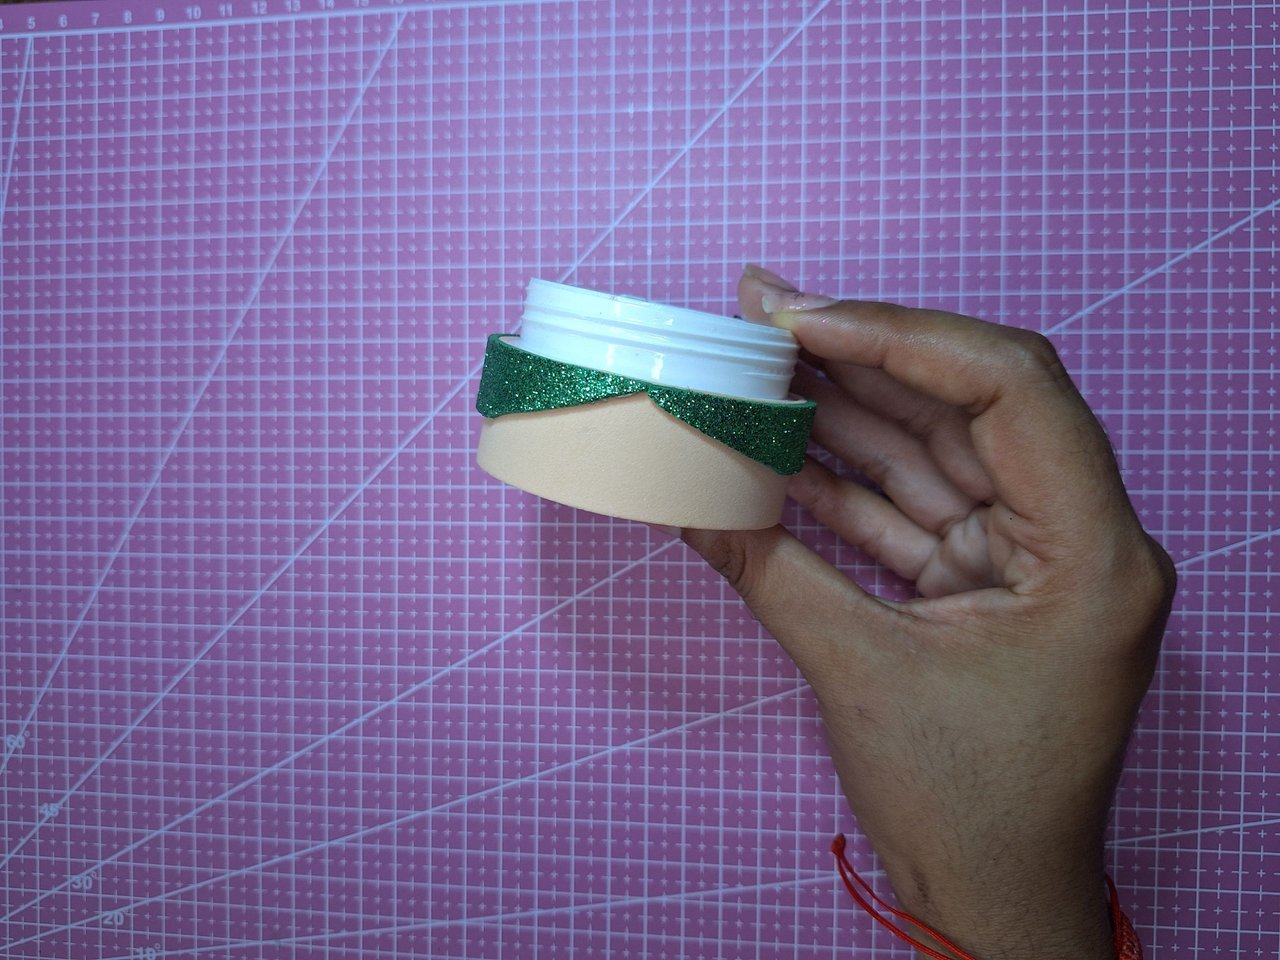 |
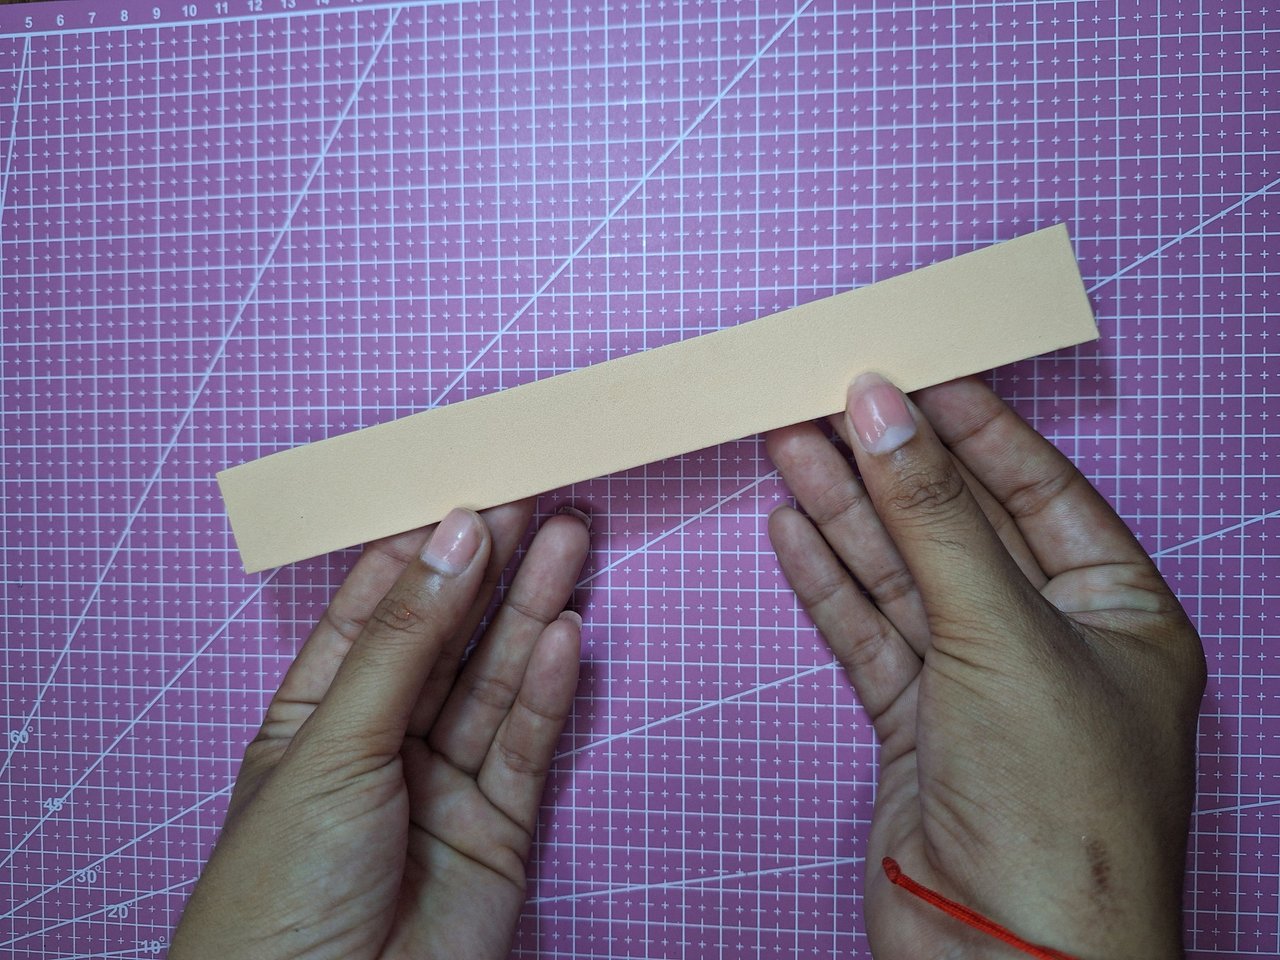
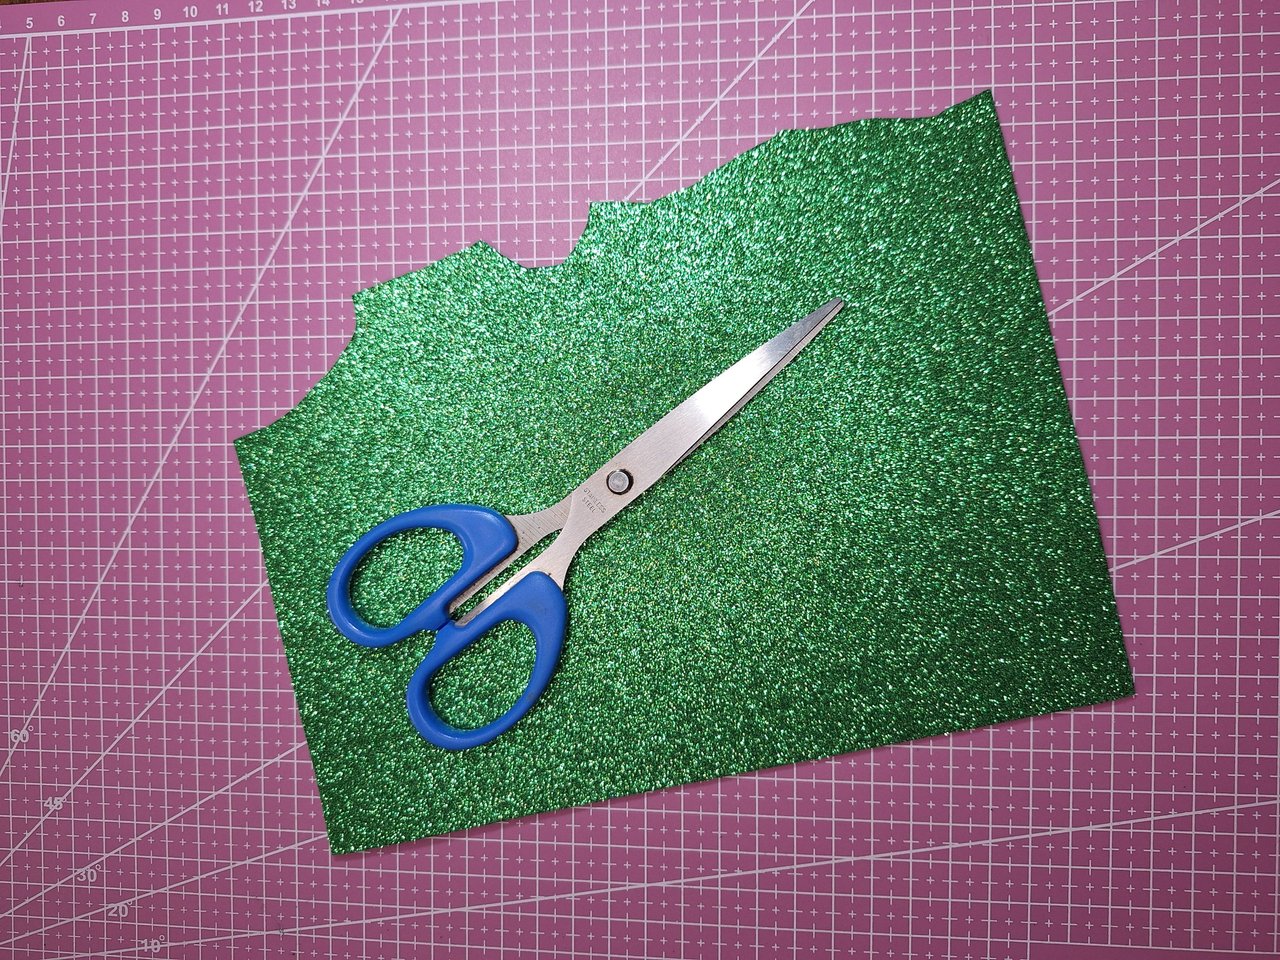
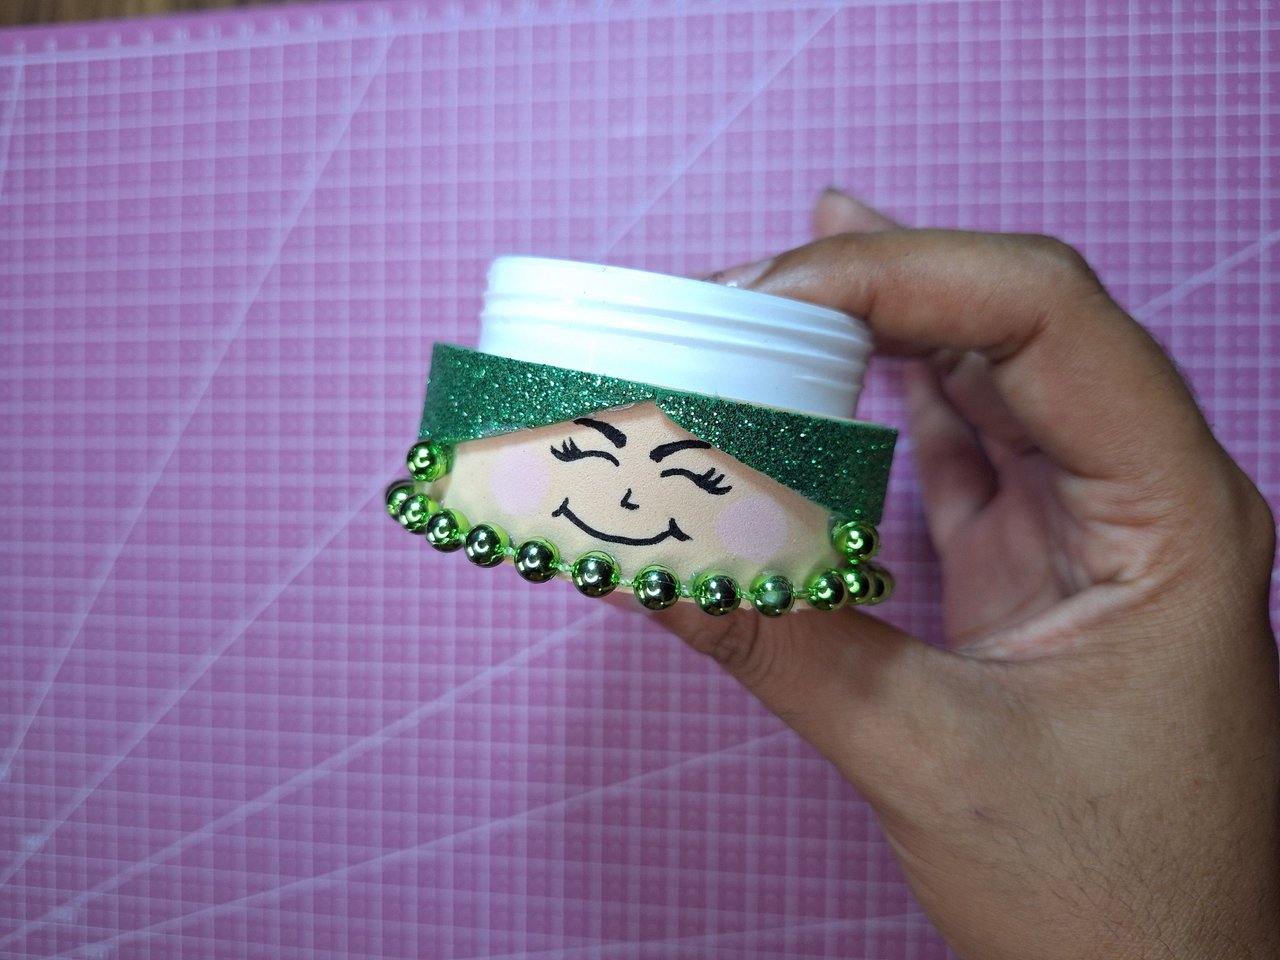
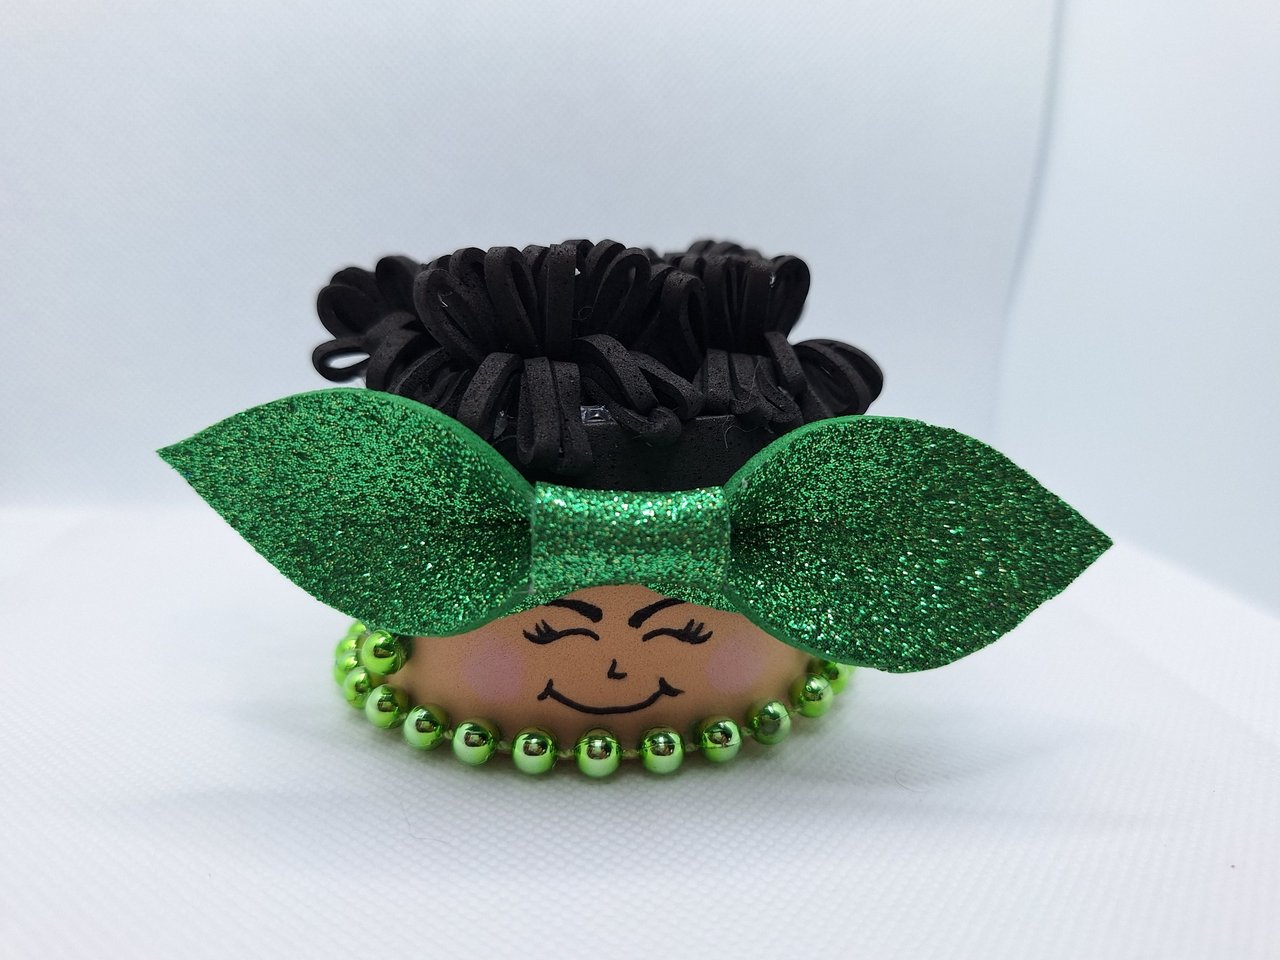
Choose the color of your preference to make the head scarf, I used frosted green foami to match the pearls I would use. Cut a strip with the same size as the width of the circumference but one cm less in height, that is, I would be left with dimensions of 20.5 cm x 1.5 cm. Fold in half and cut the ends diagonally so that they are the same size. Then glue on the top as shown here.
Escoger el color de tu preferencia para hacer el pañuelo para la cabeza, yo utilicé foami color verde escarchado para que combinara con las perlas que utilizaría. Cortar una tira con el mismo tamaño del ancho de la circunferencia pero de alto con un cm menos, o sea, me quedarían unas dimensiones de 20.5 cm x 1.5 cm. Doblar por la mitad y cortar de forma diagonal las puntas para que queden del mismo tamaño. Luego pegar en la parte superior de la forma que aquí te muestro.
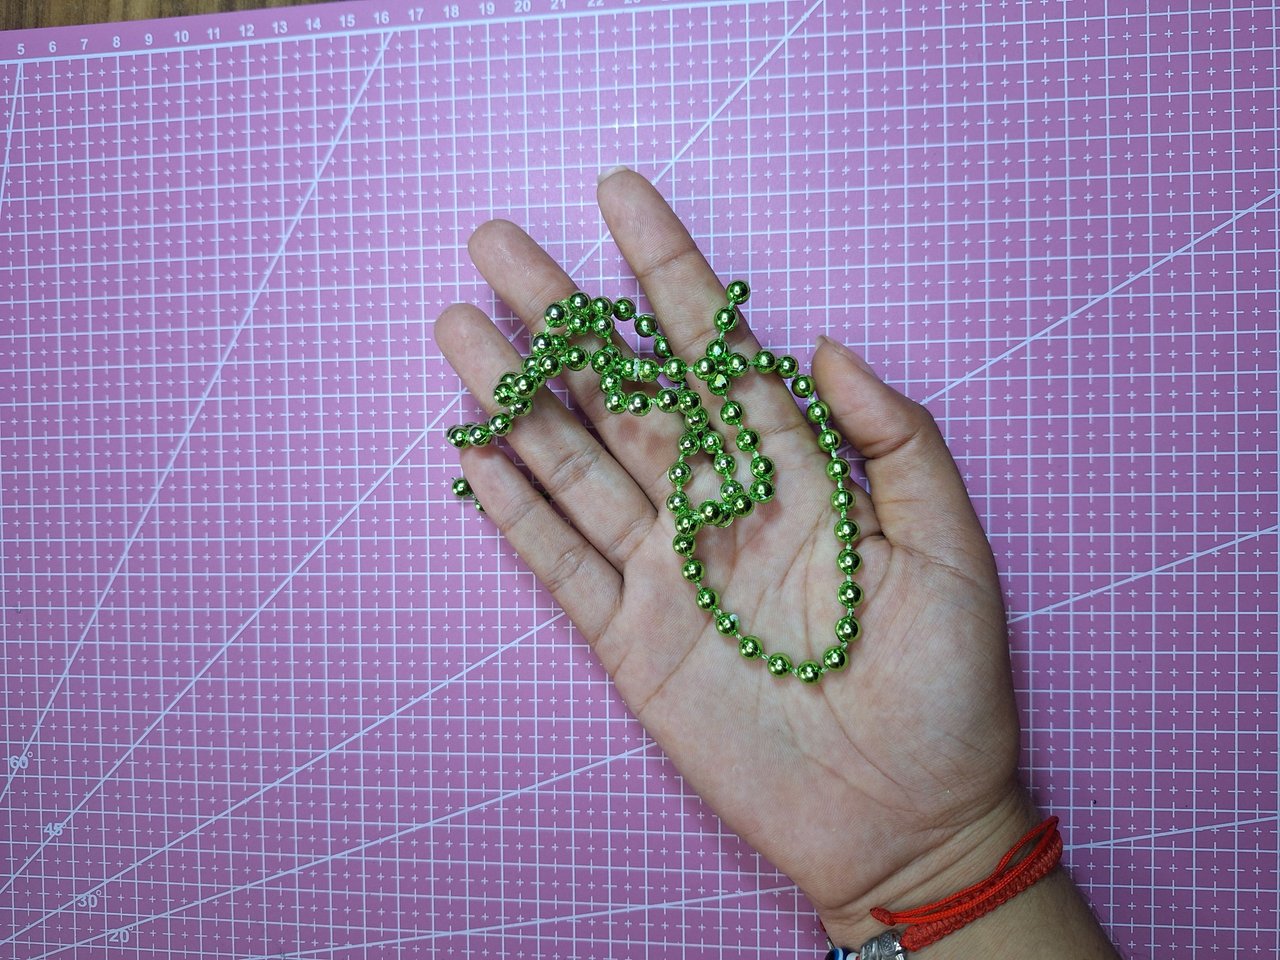 | 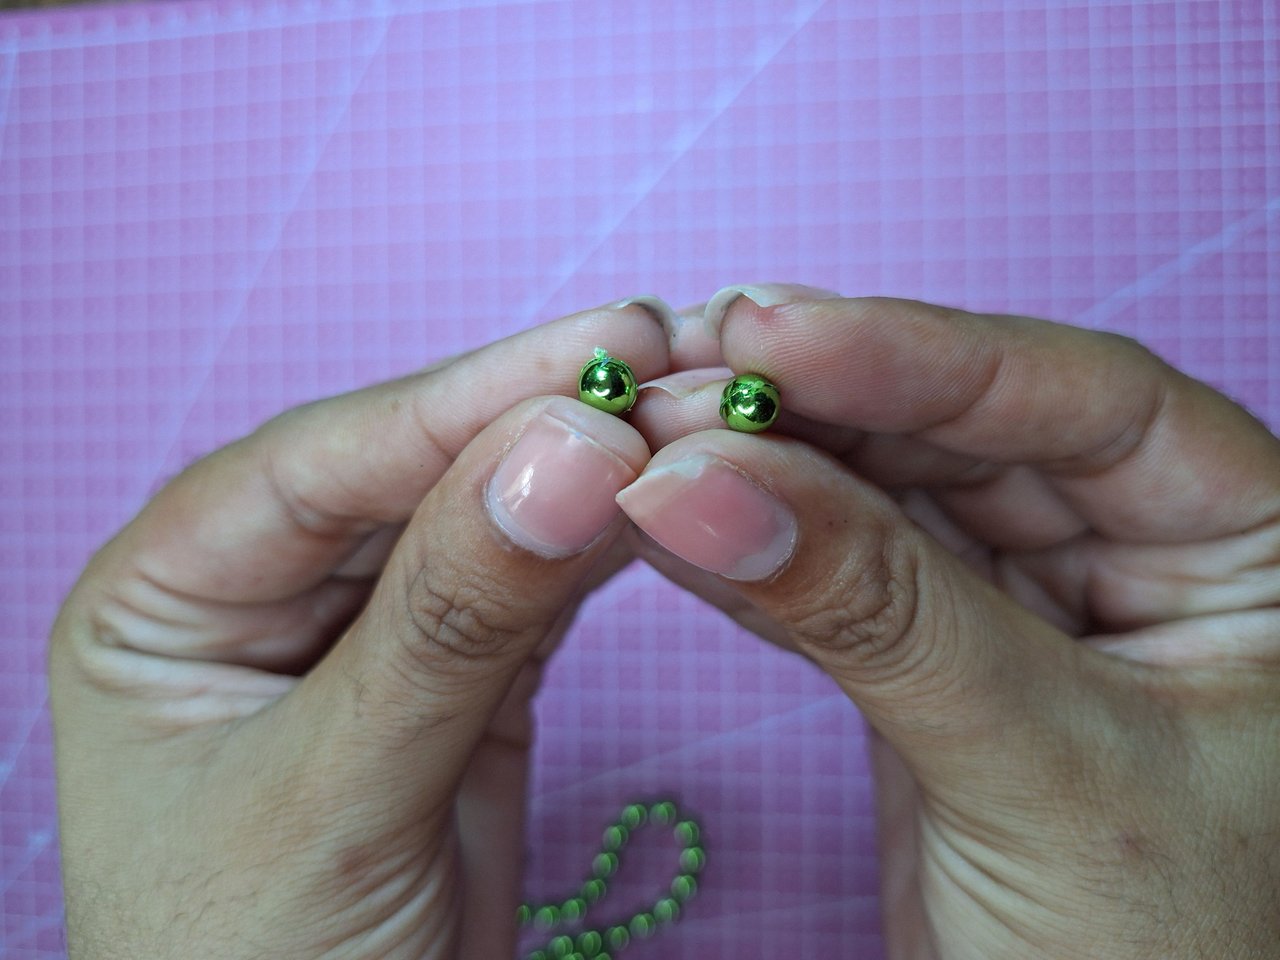 | 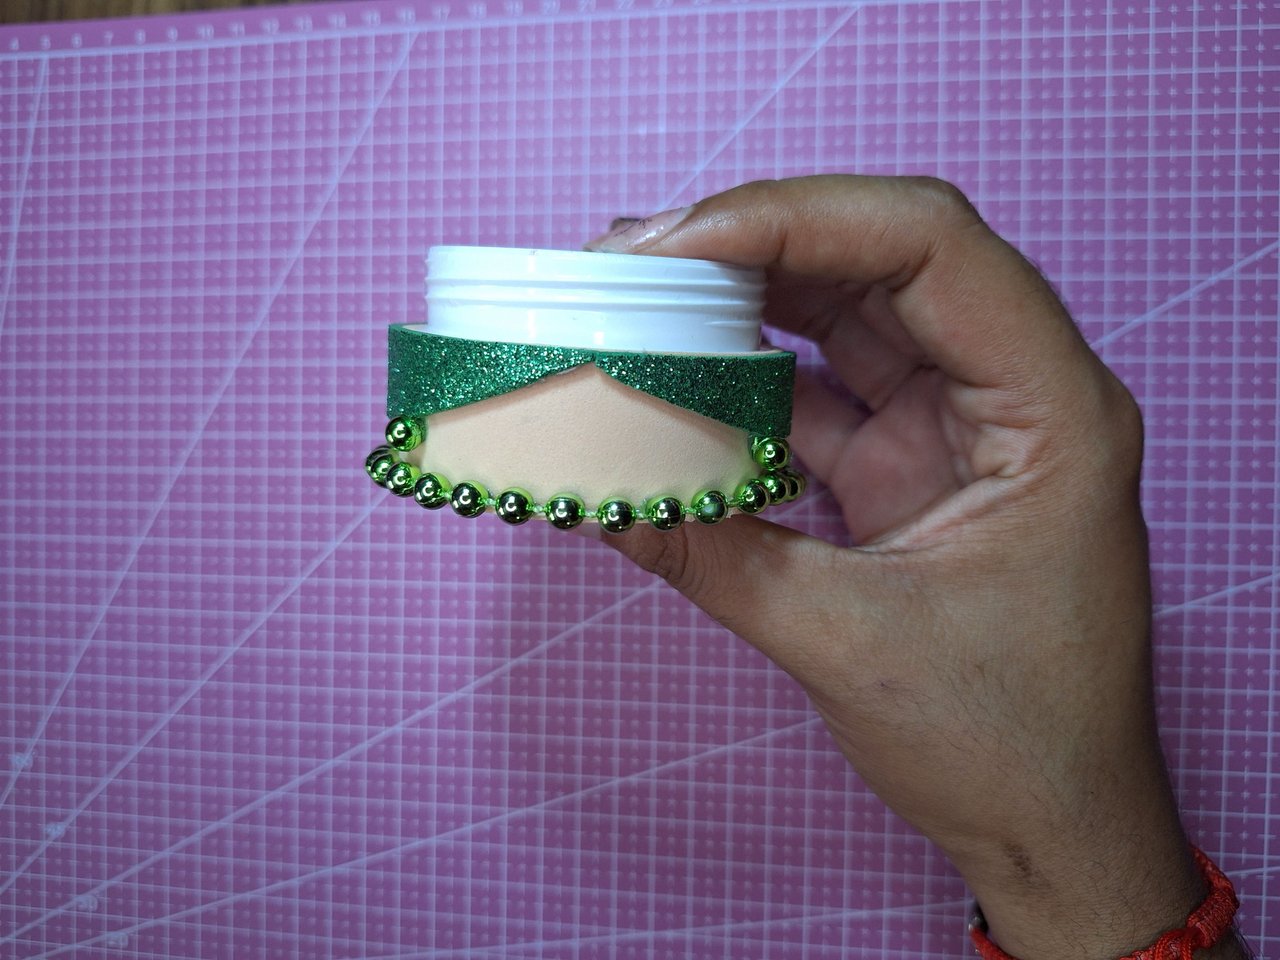 |
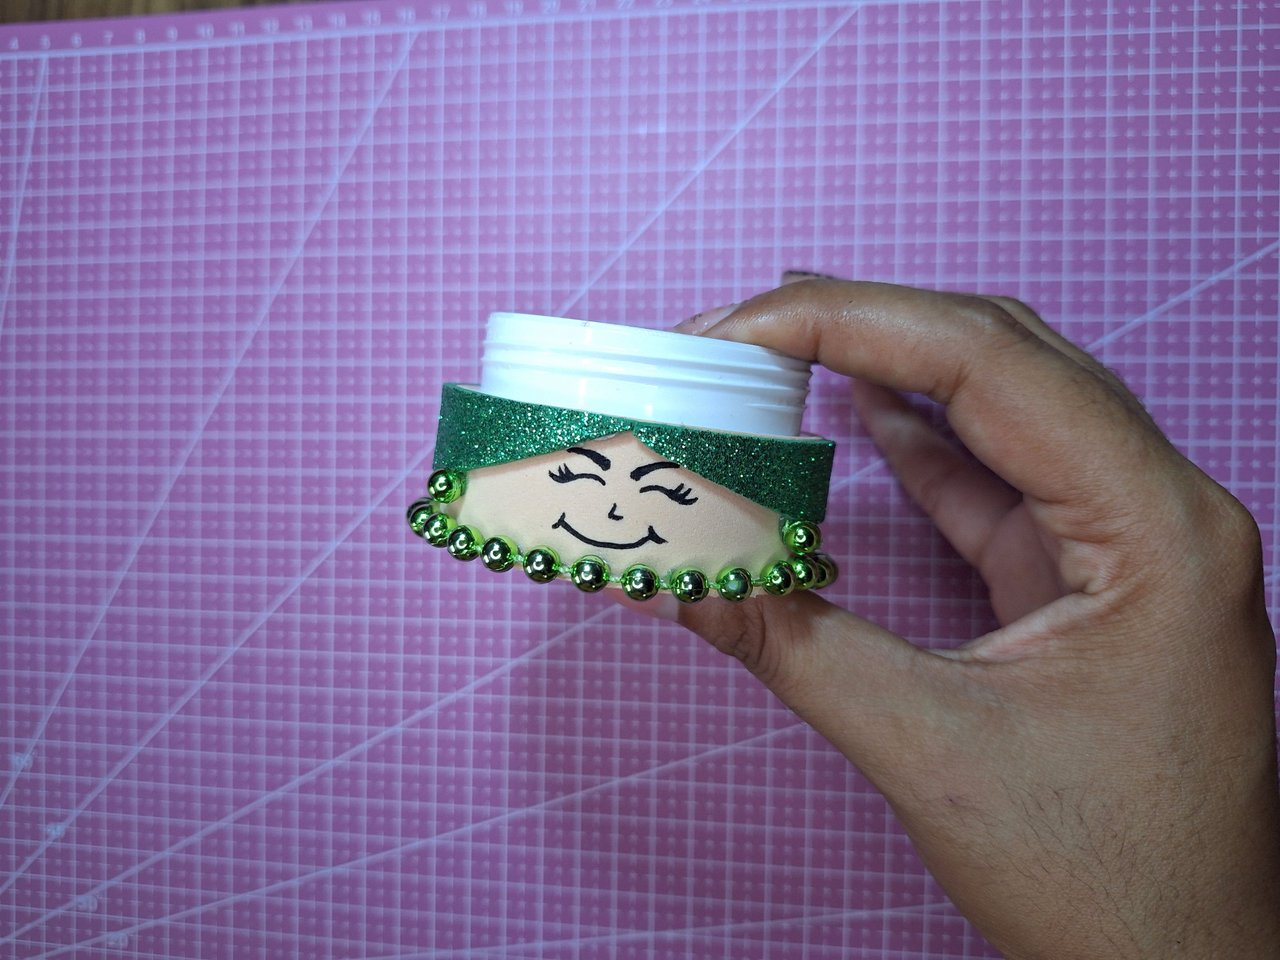
Use a pearl necklace or continuous pearls to embellish, simulating a pair of earrings and a wrist necklace.
Utilizar un collar de perlas o perlas continuas para embellecer, simulando un par de aretes y un collar para la muñeca.
 |  |
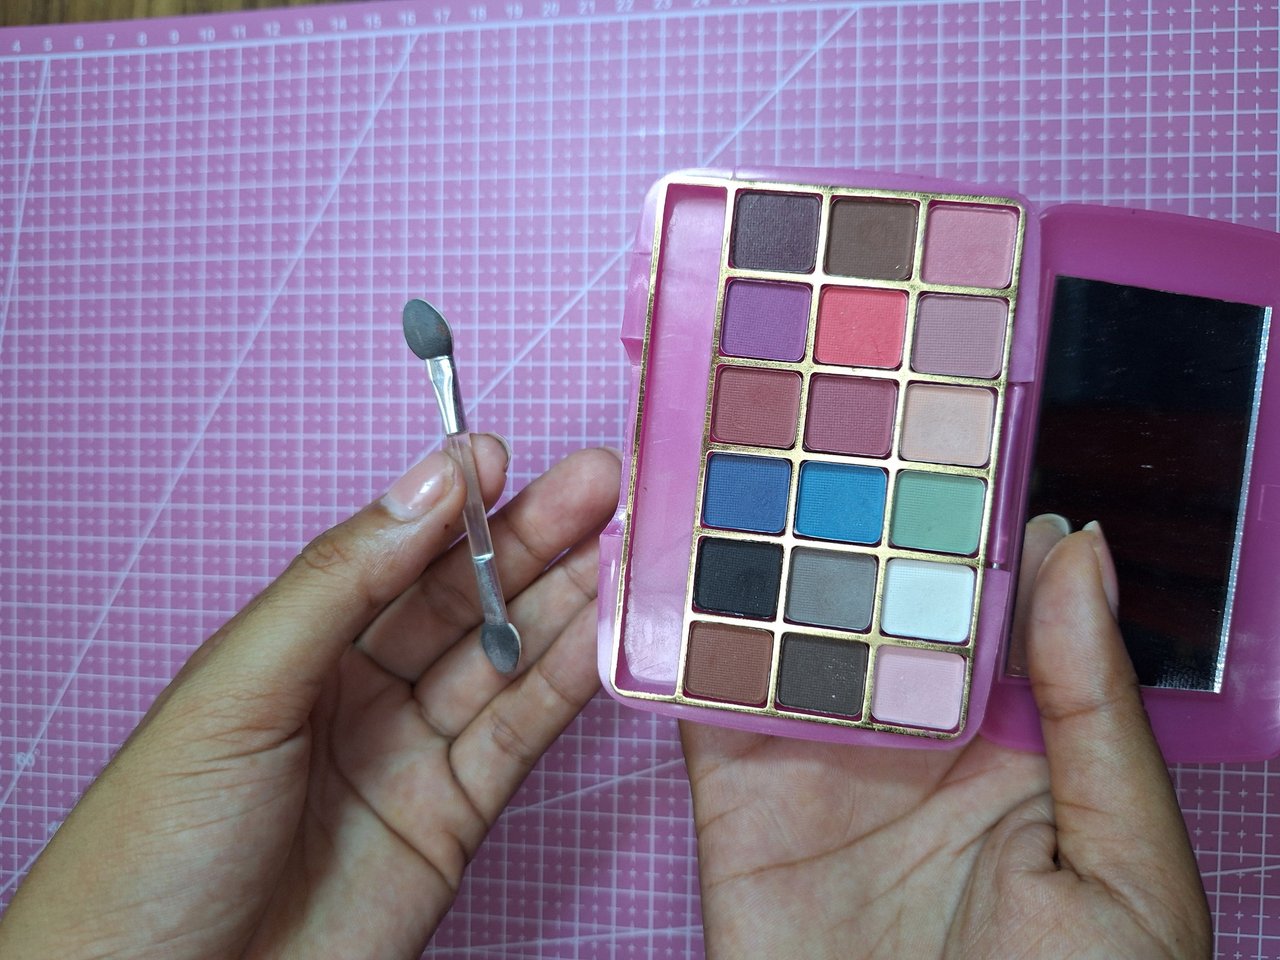 |  |
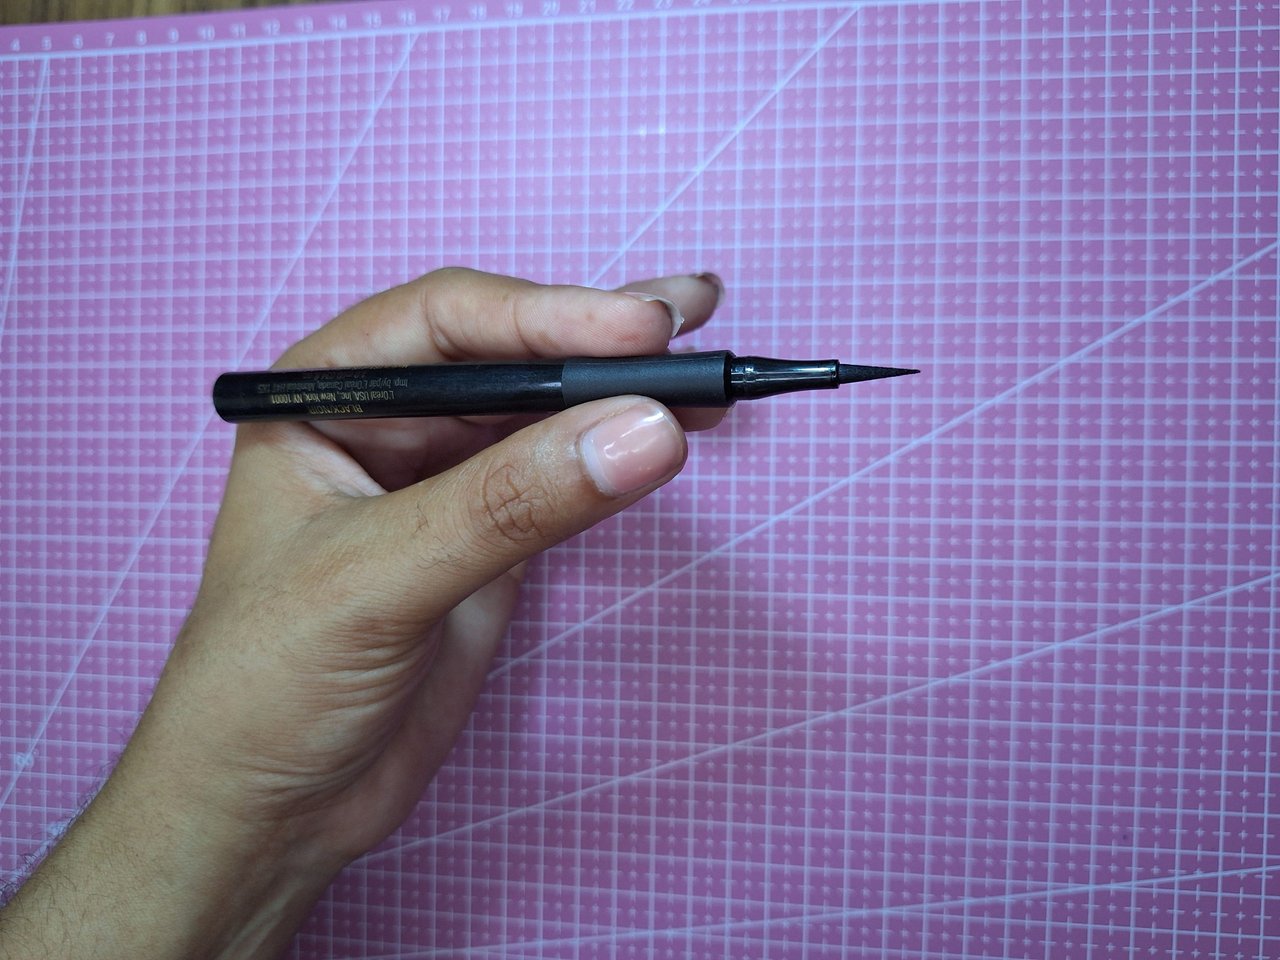
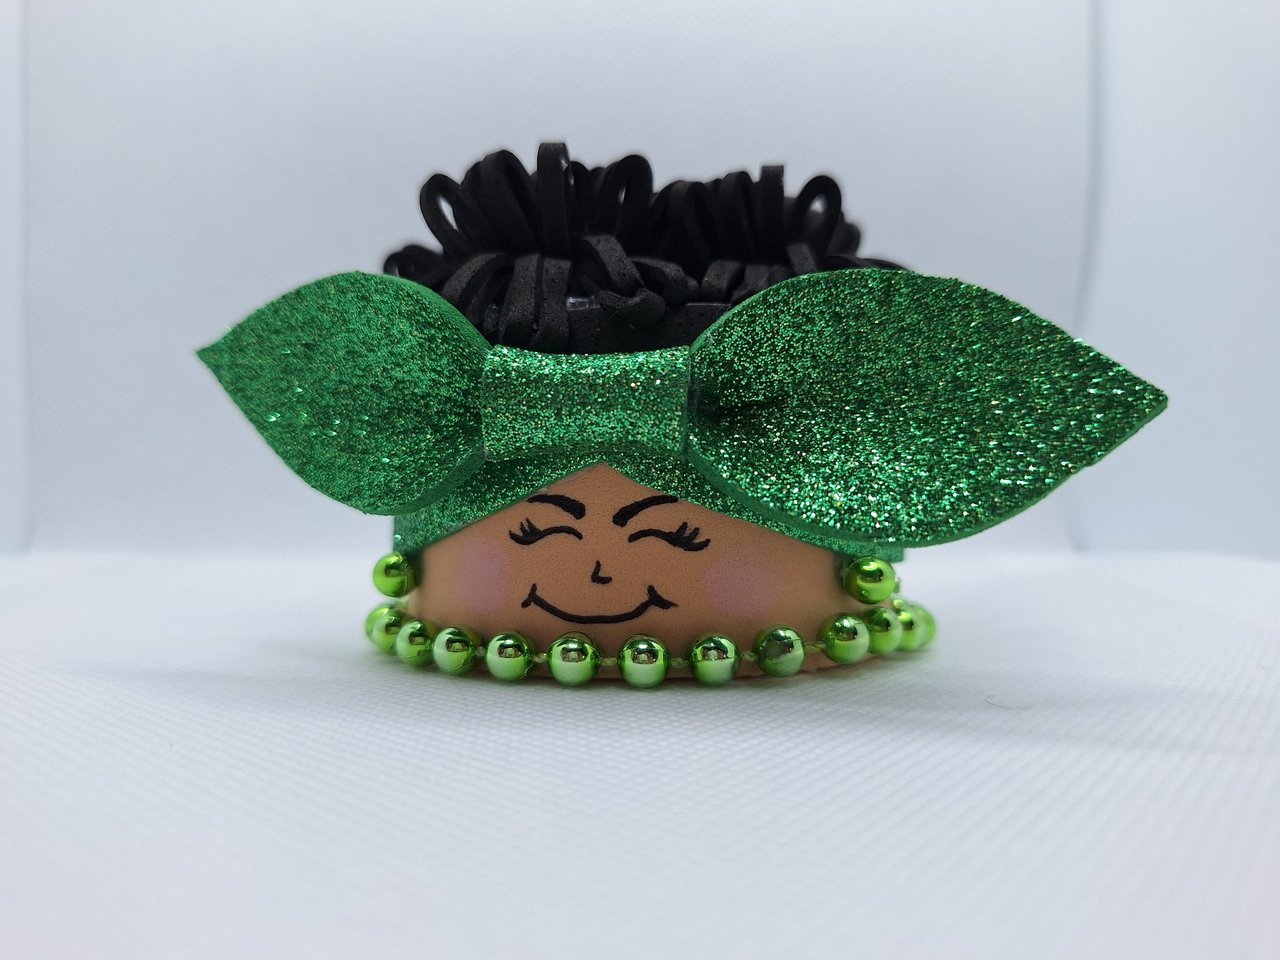
With a permanent marker or a liner brush draw the face, you can give it the shape and expression you want, as you like. Then with eye shadow paint the blush on the cheeks.
Con un marcador permanente o un pincel liner dibujar la cara, puedes darle la forma y expresión que desees, como más te guste. Luego con sombra para los ojos pintar el rubor de las mejillas.
 |  |
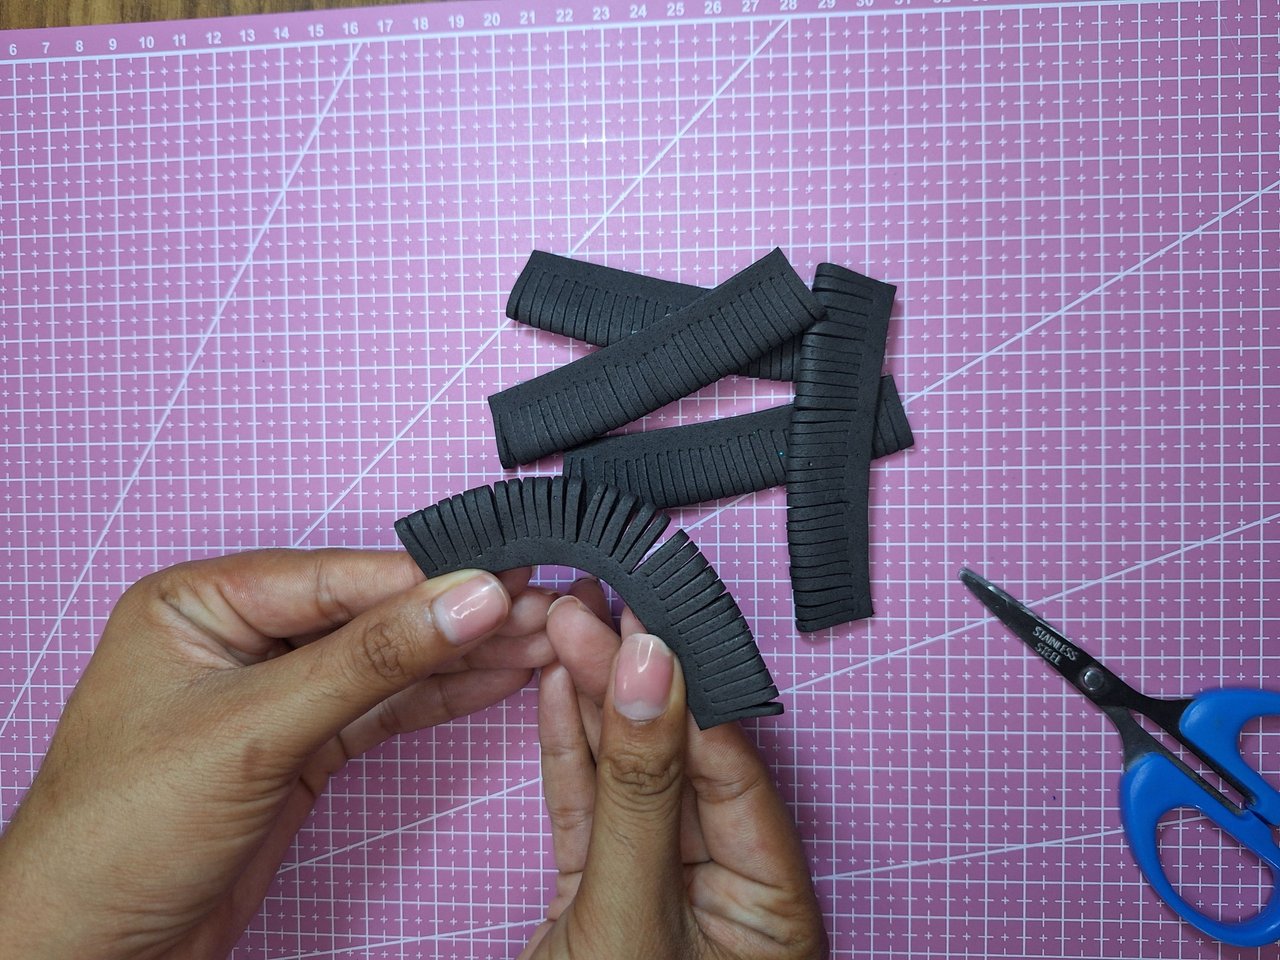 |  |
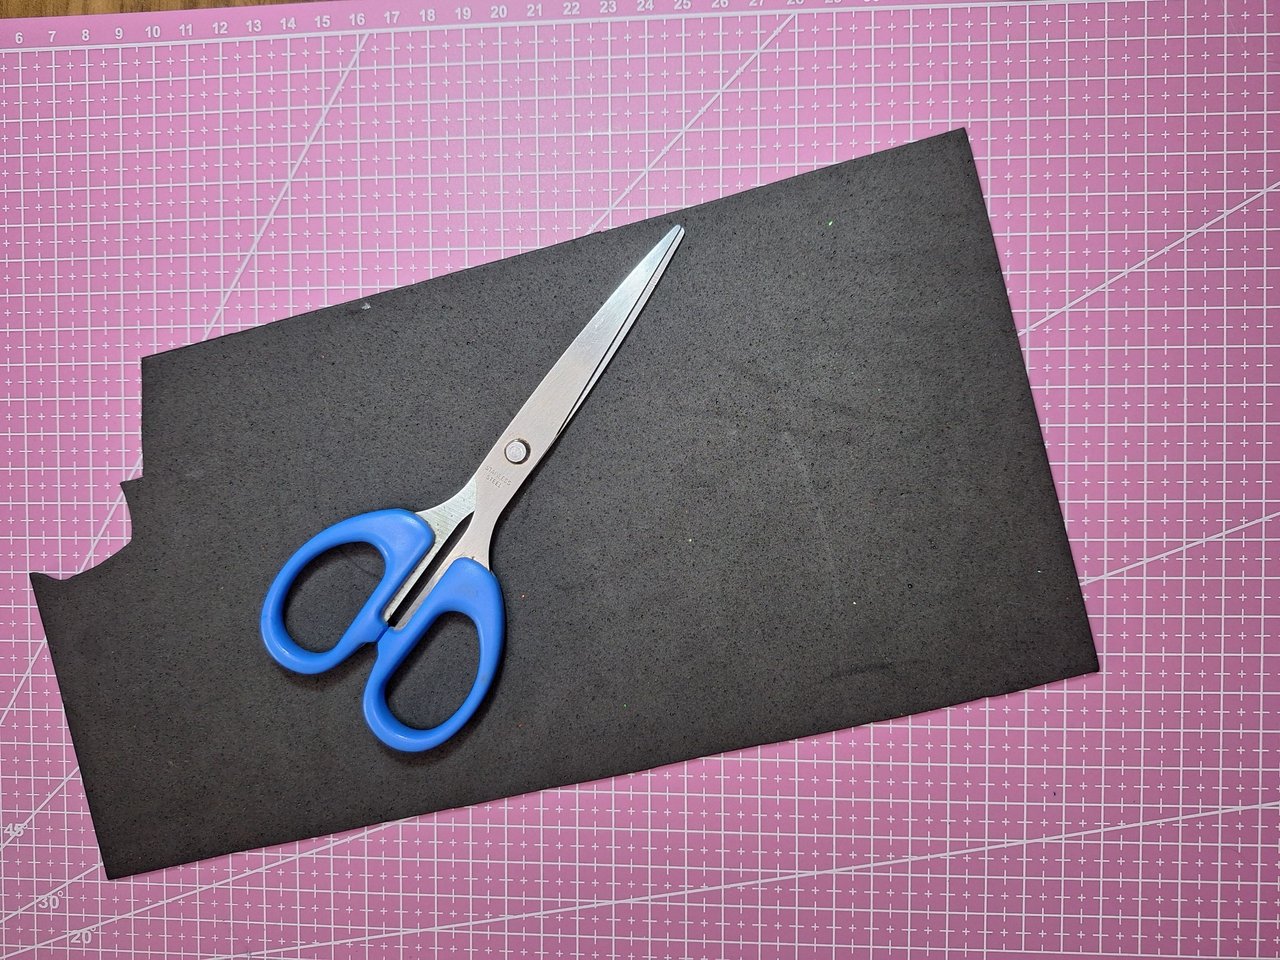
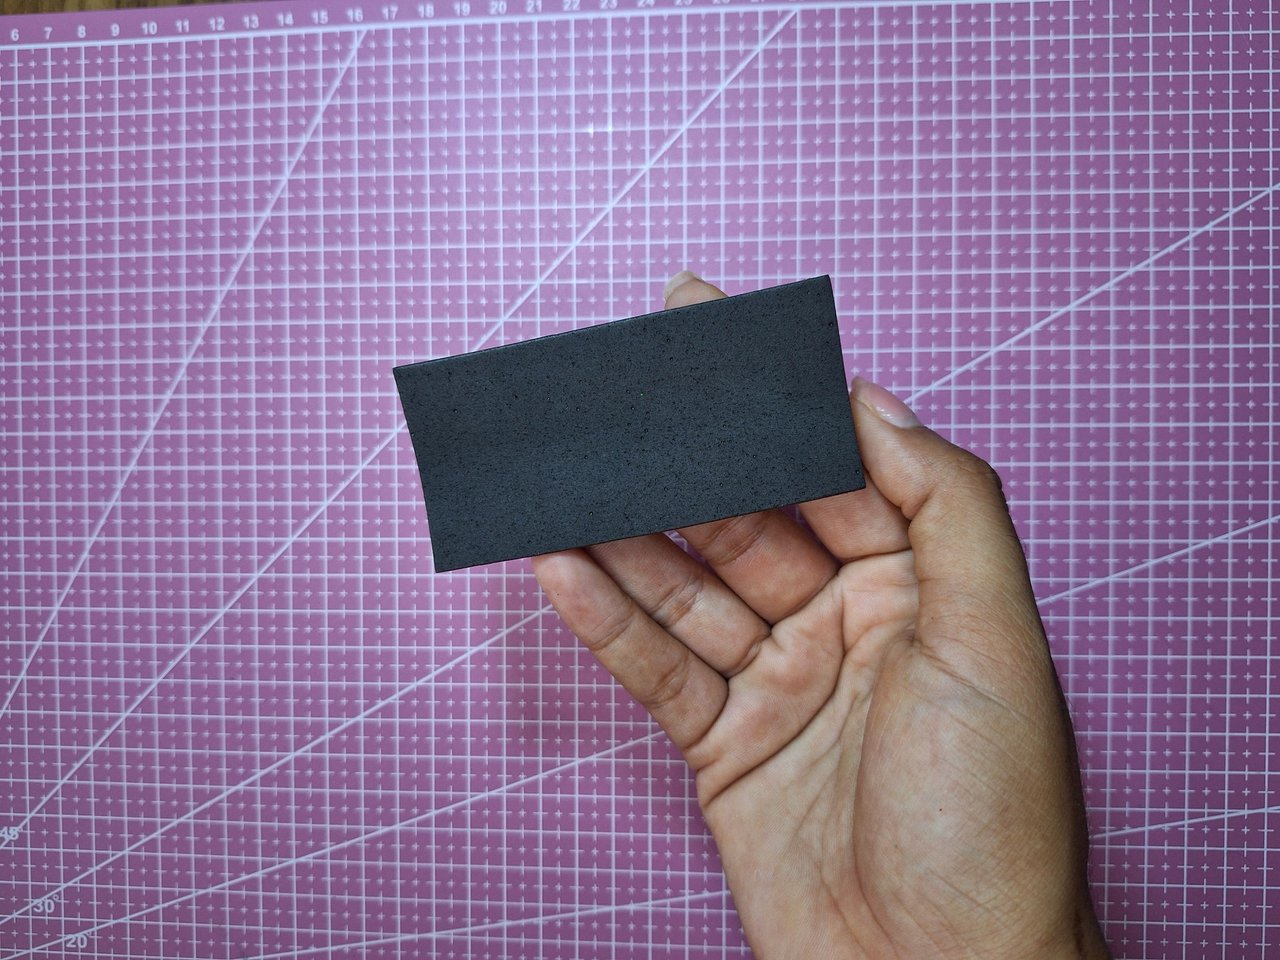
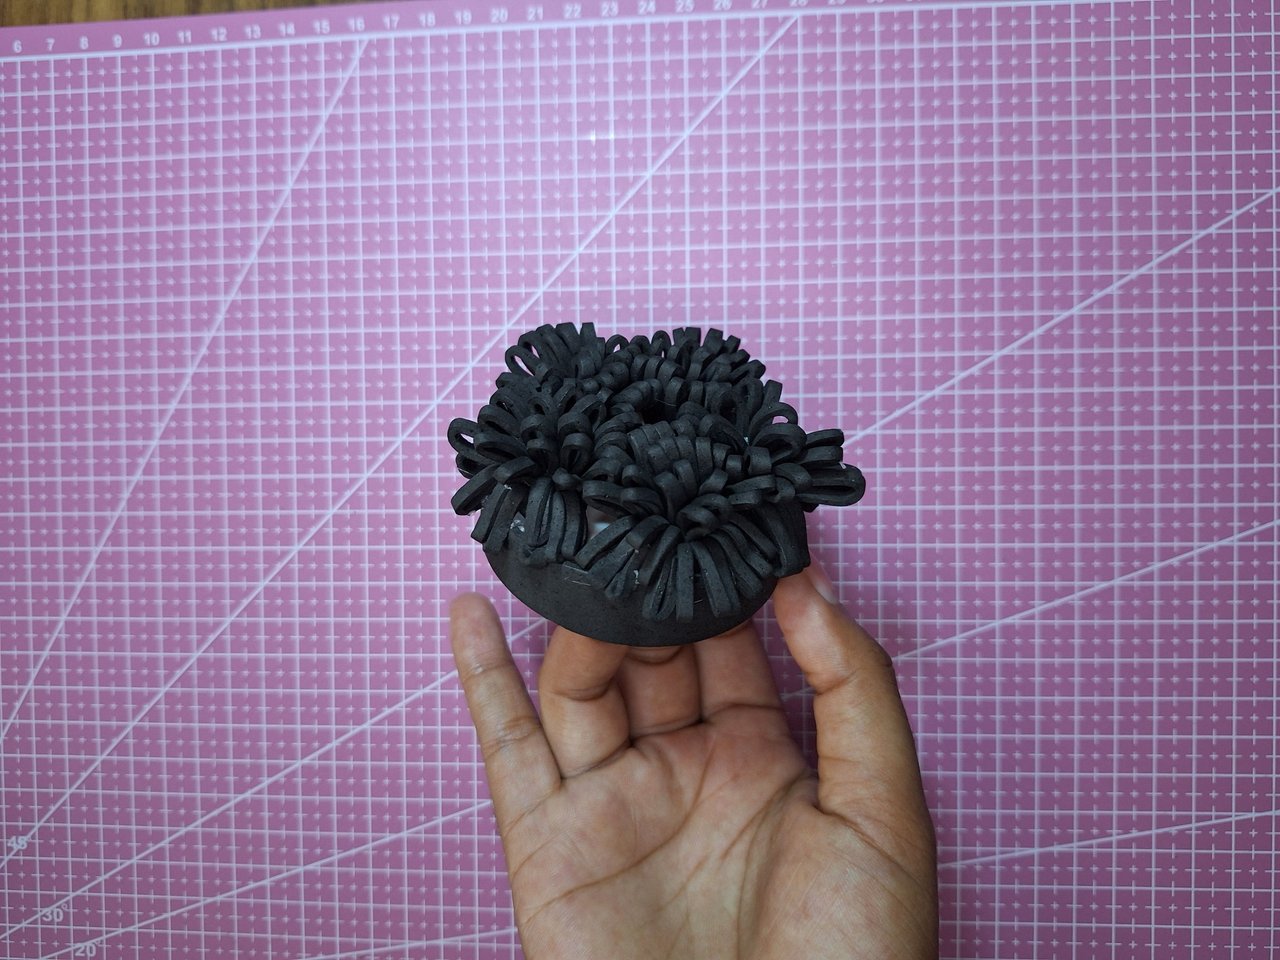
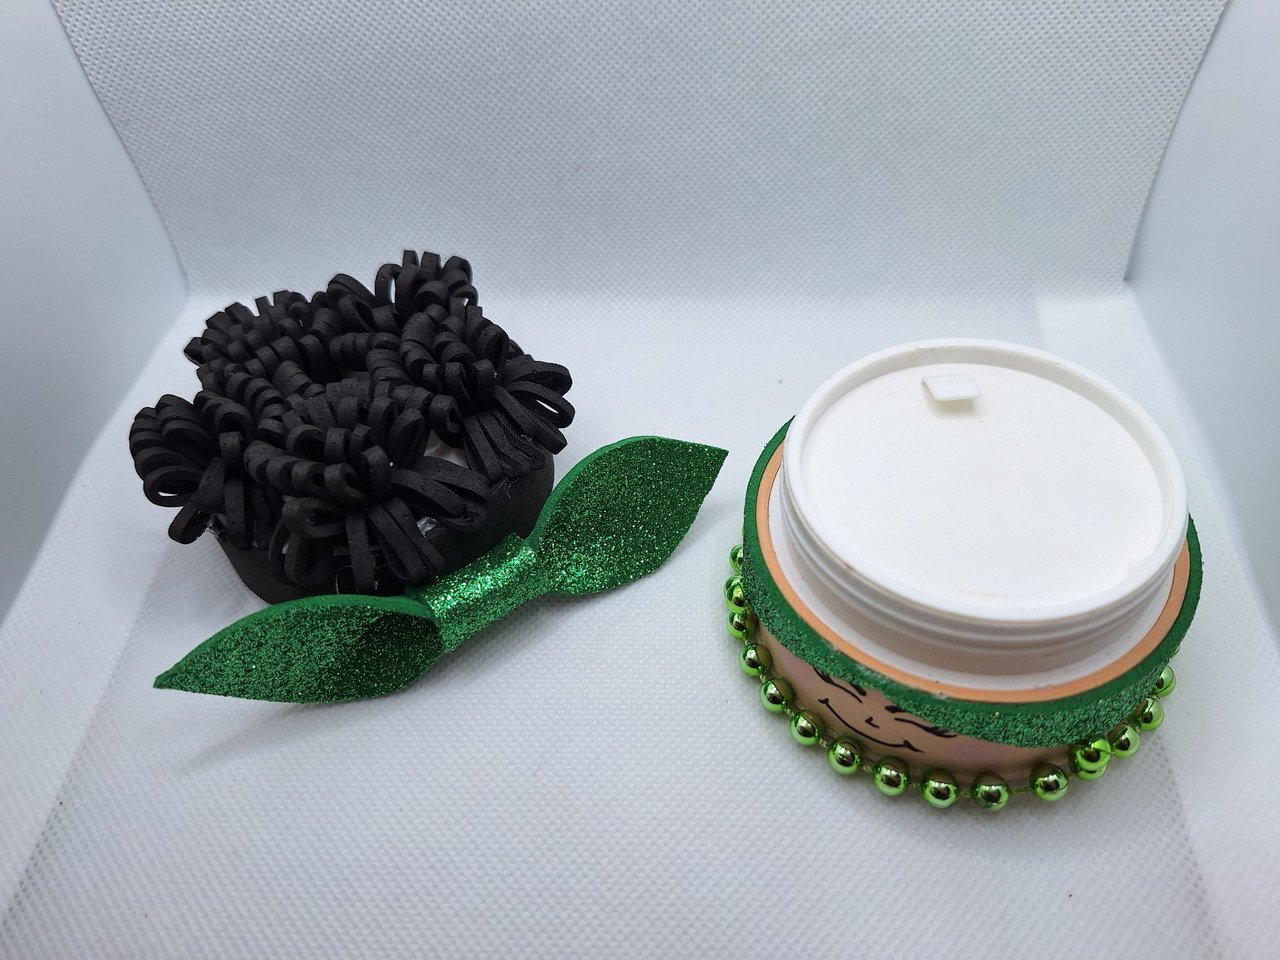
To decorate the lid of the container, the first thing to do is to cut out squares of foami with dimensions of 8 cm x 4 cm in black, yellow or the color you want for the hair. Then you will fold them in half lengthwise and glue them around the edge and then cut them approximately every 3 mm apart. When finished, they are rolled up in this way.
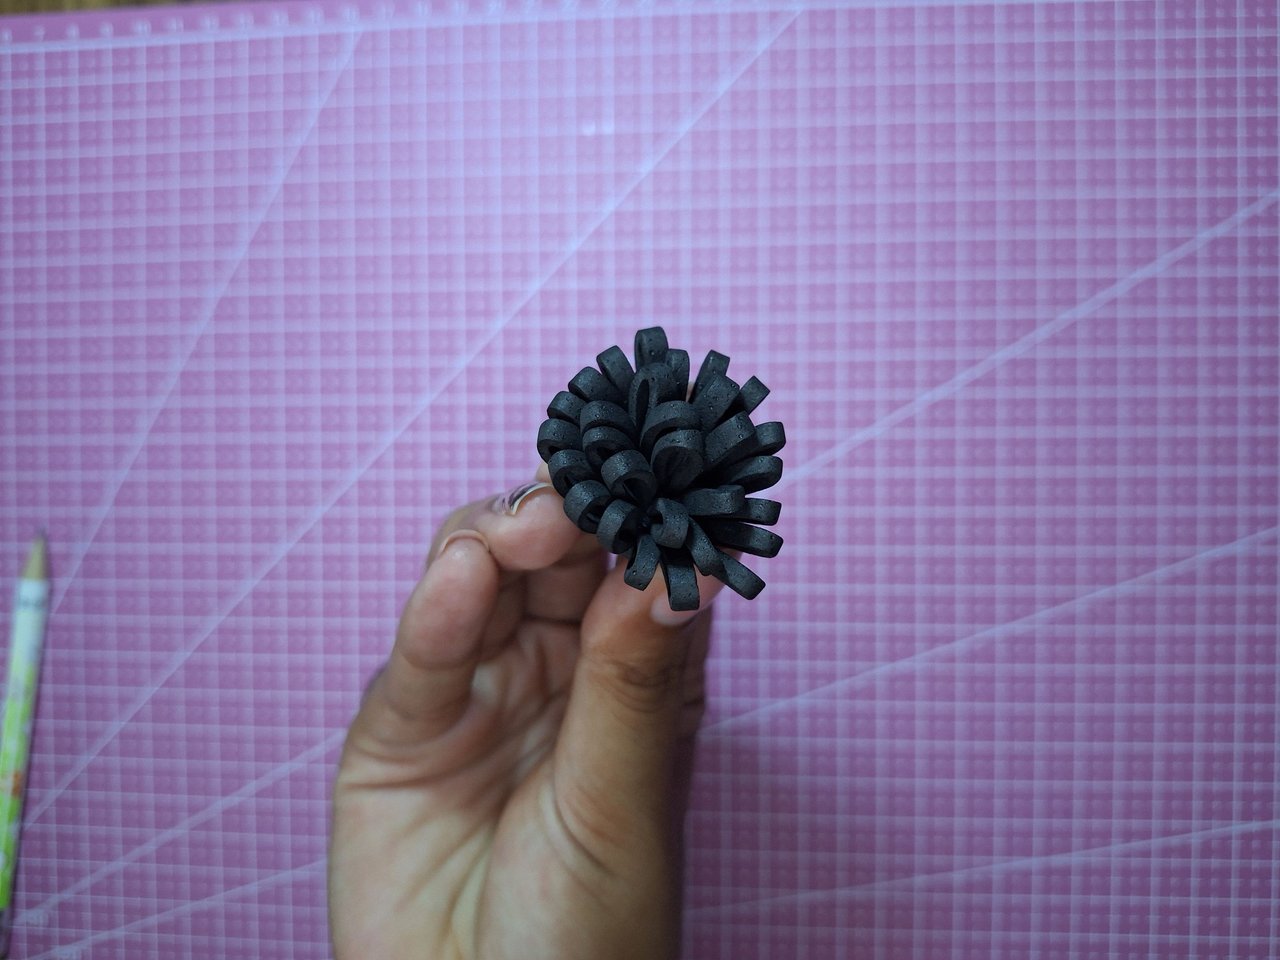
Para decorar la tapa del recipiente, lo primero será recortar cuadros de foami con dimensiones de 8 cm x 4 cm de color negro, amarillo o el color que desees para el cabello. Luego se doblará por la mitad a todo largo y se pegan por el borde para después recortar cada 3 mm de separación aproximadamente. Al terminar, se enrollan de esta manera.
 |  |  |
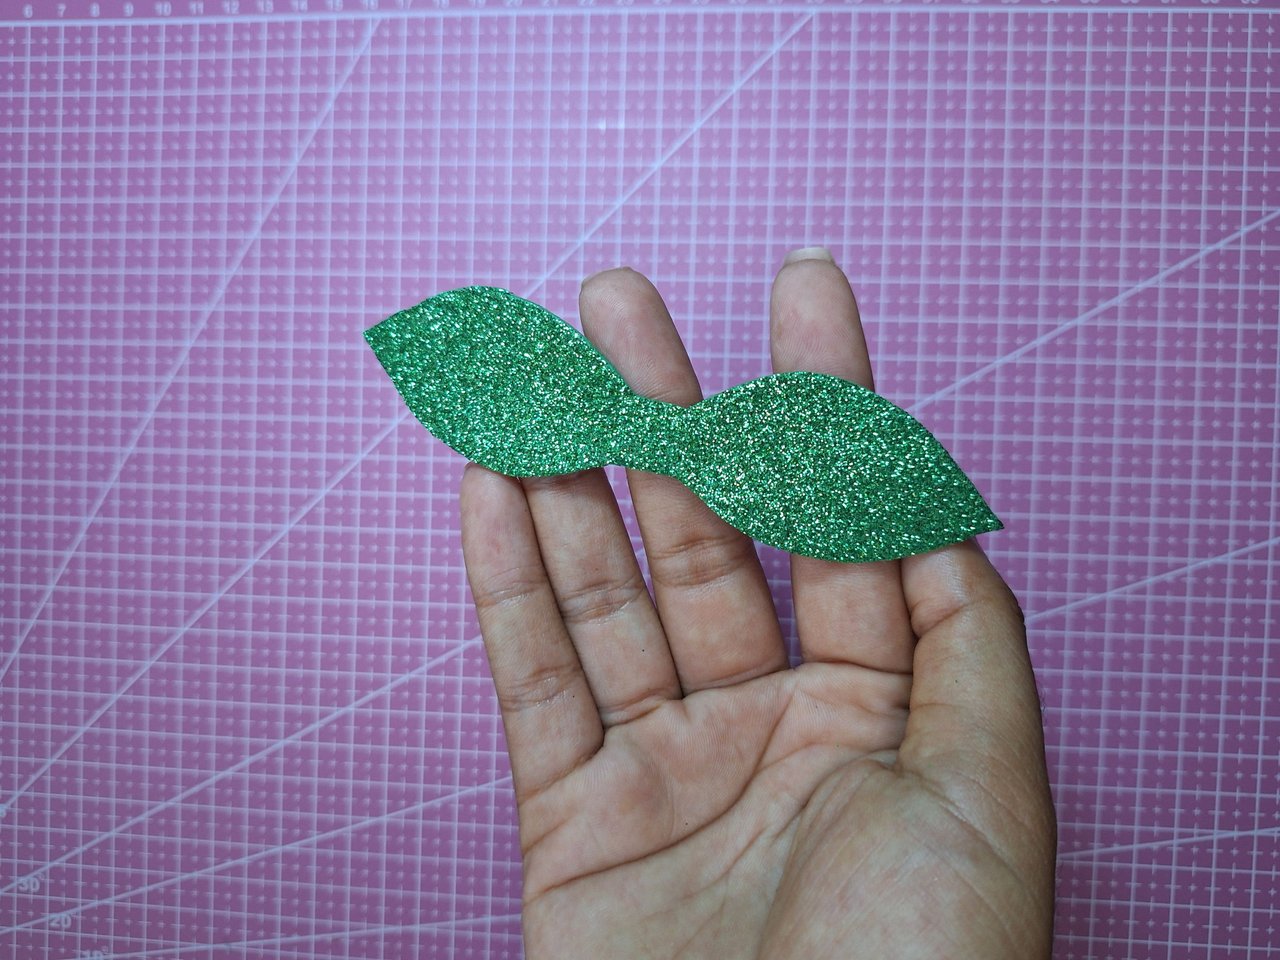 | 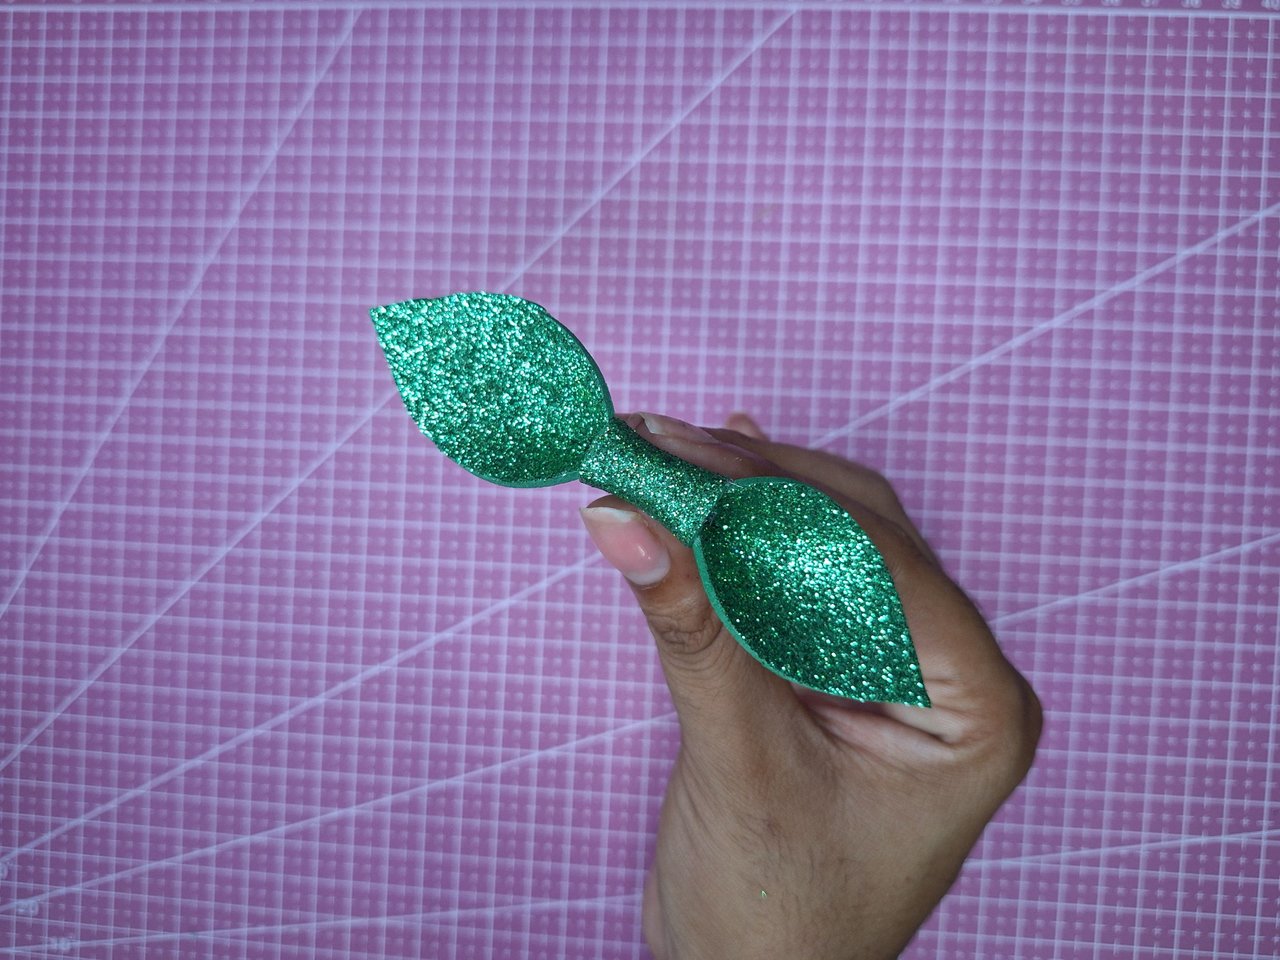 | 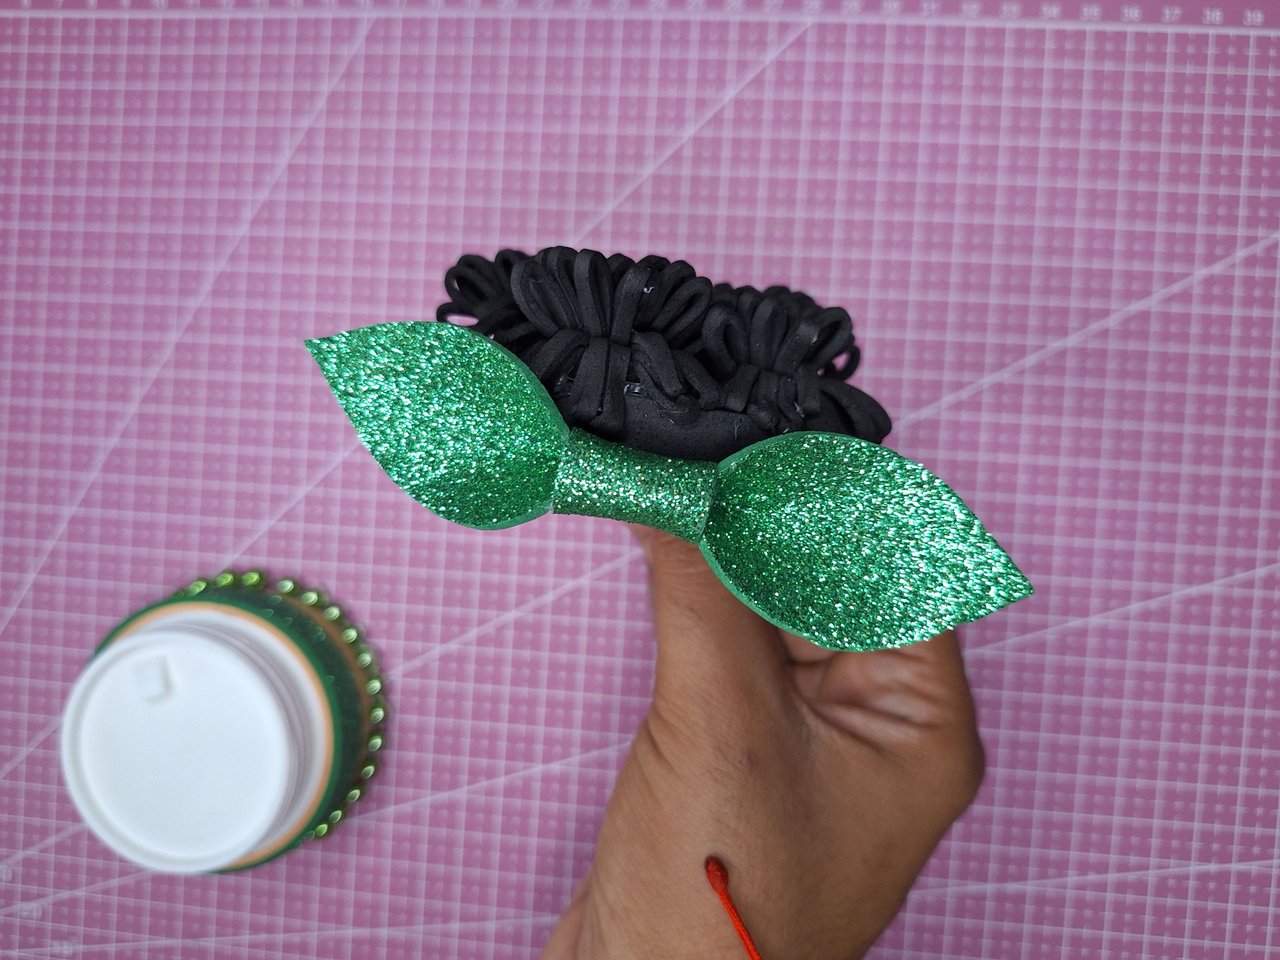 |
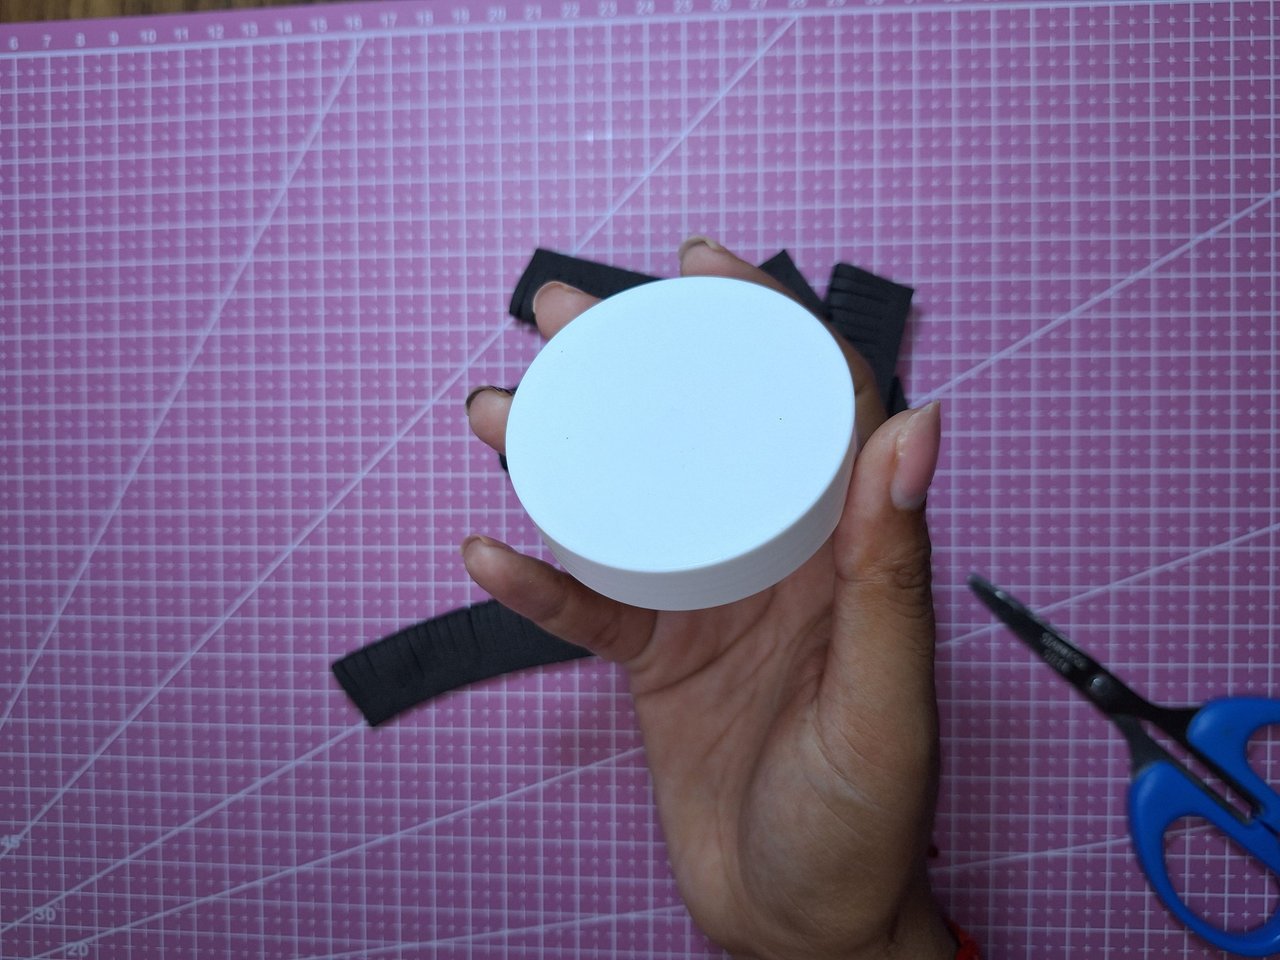
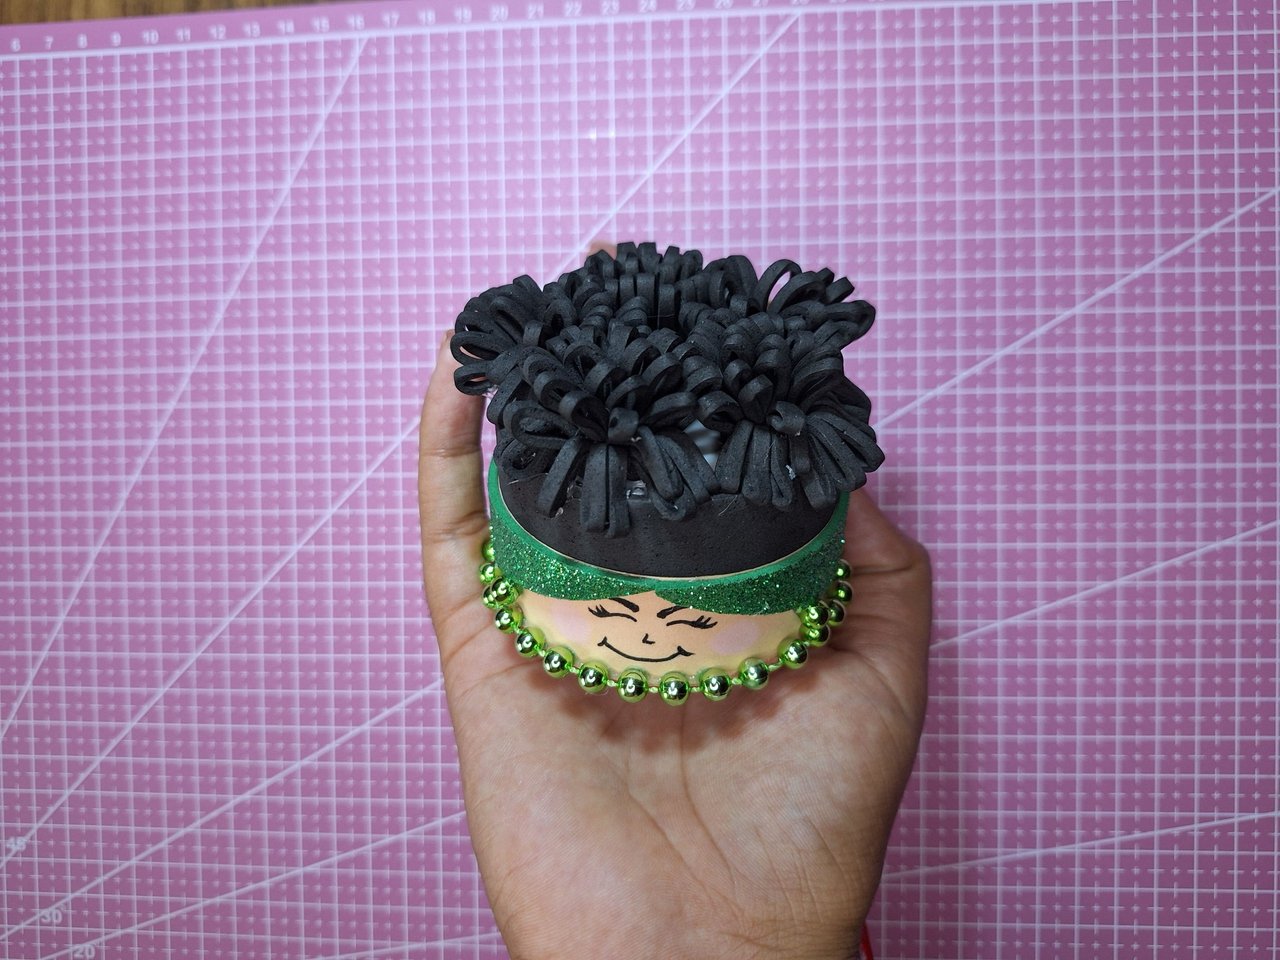
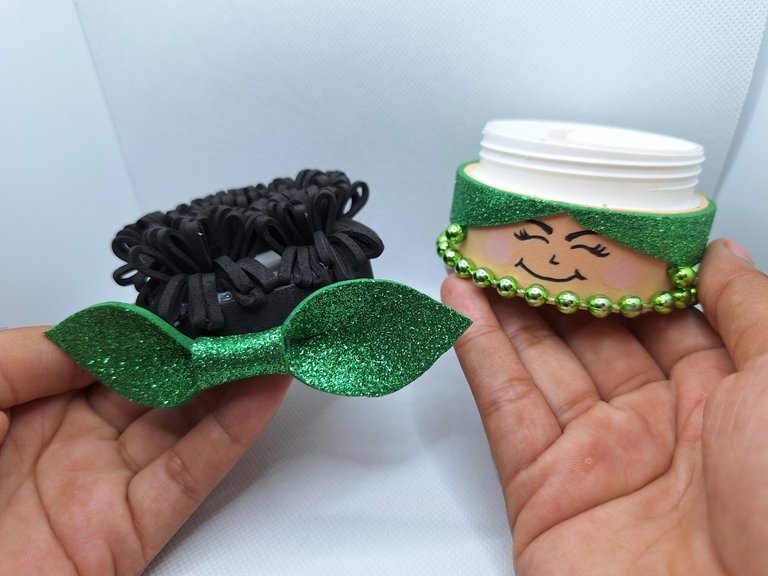
Glue these rolls all over the surface of the lid and on the sides glue a strip of the same color. Make a piece as I show you here, they are like two drops of water joined together and place a small strip in the center to form the bow of the headscarf. Then place it on the front of the head, so that you don't make a mistake, I recommend that you place the lid to verify which is the front and don't glue where it is not.
Pegar estos rollitos por toda la superficie de la tapa y por los lados pegar una tira del mismo color. Hacer una pieza como aquí te muestro, son como dos gotas de agua unidas y colocarle una tira pequeña en el centro para formar el lazo del pañuelo de la cabeza. Luego se coloca en la parte frontal de la cabeza, para que no te equivoques, te recomiendo que le coloque la tapa para verificar cuál es el frente y no pegues donde no es.
 |  |  |
 |  | 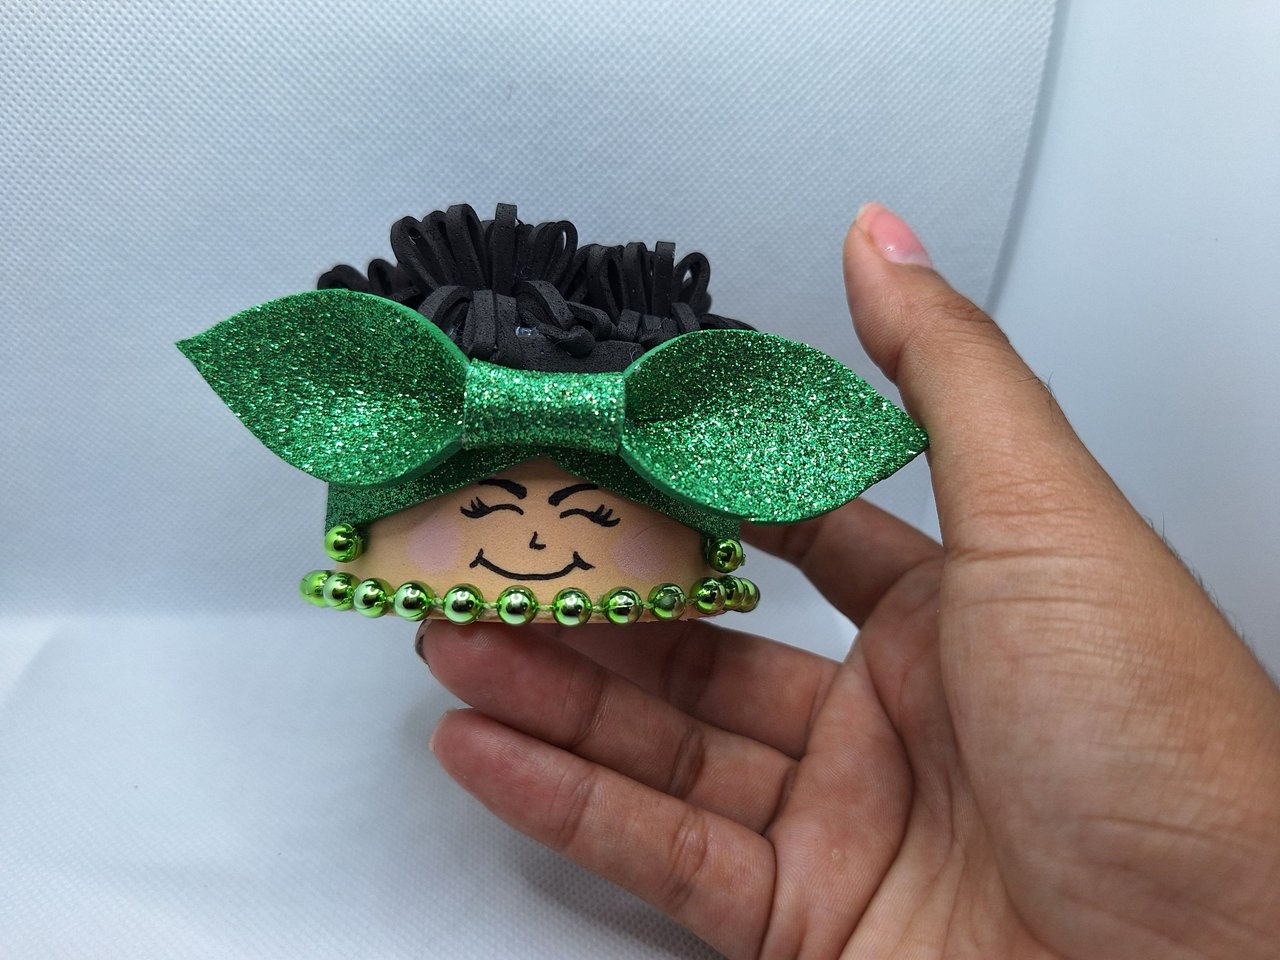 |
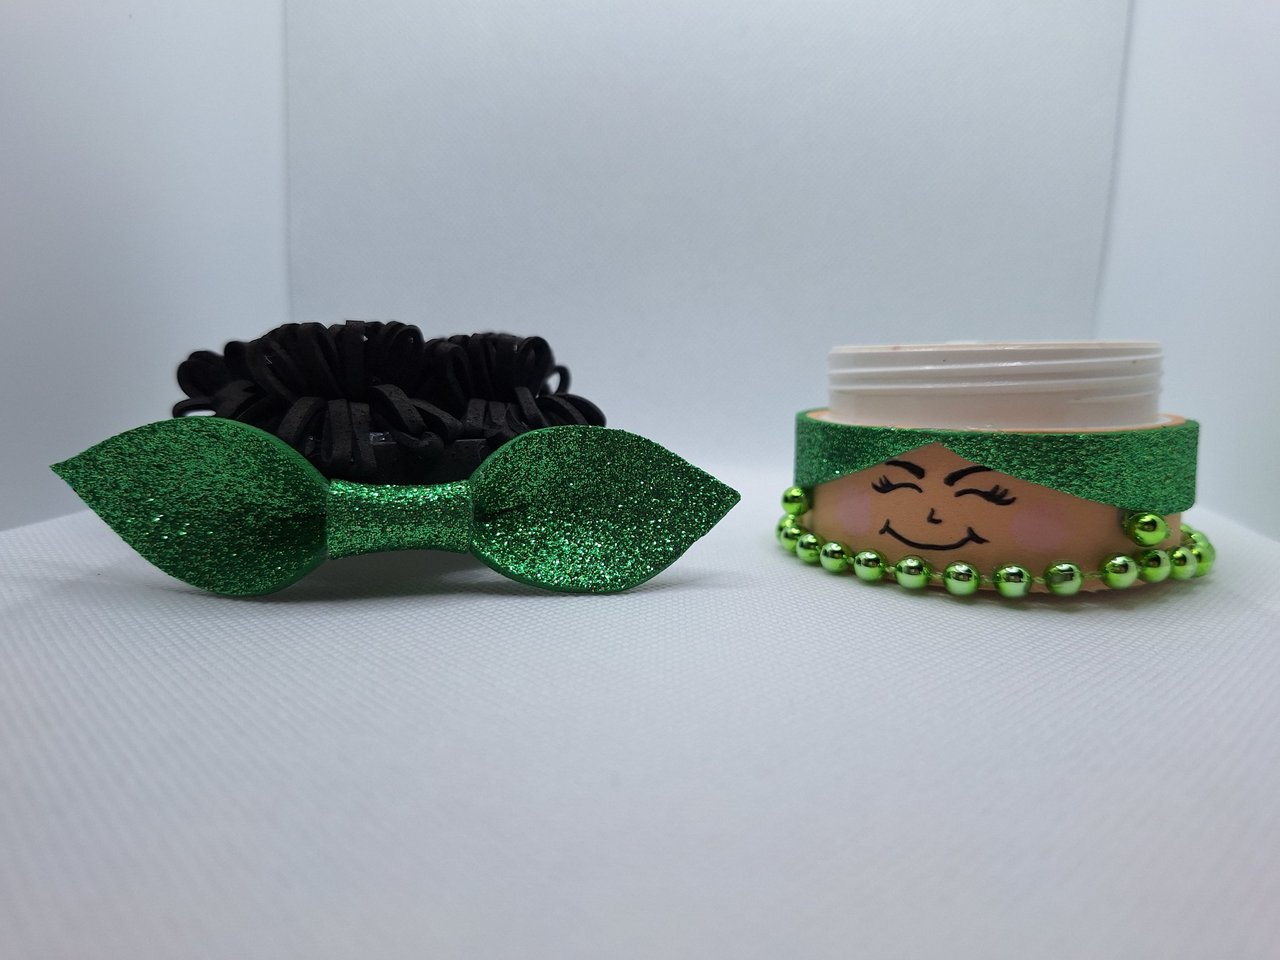
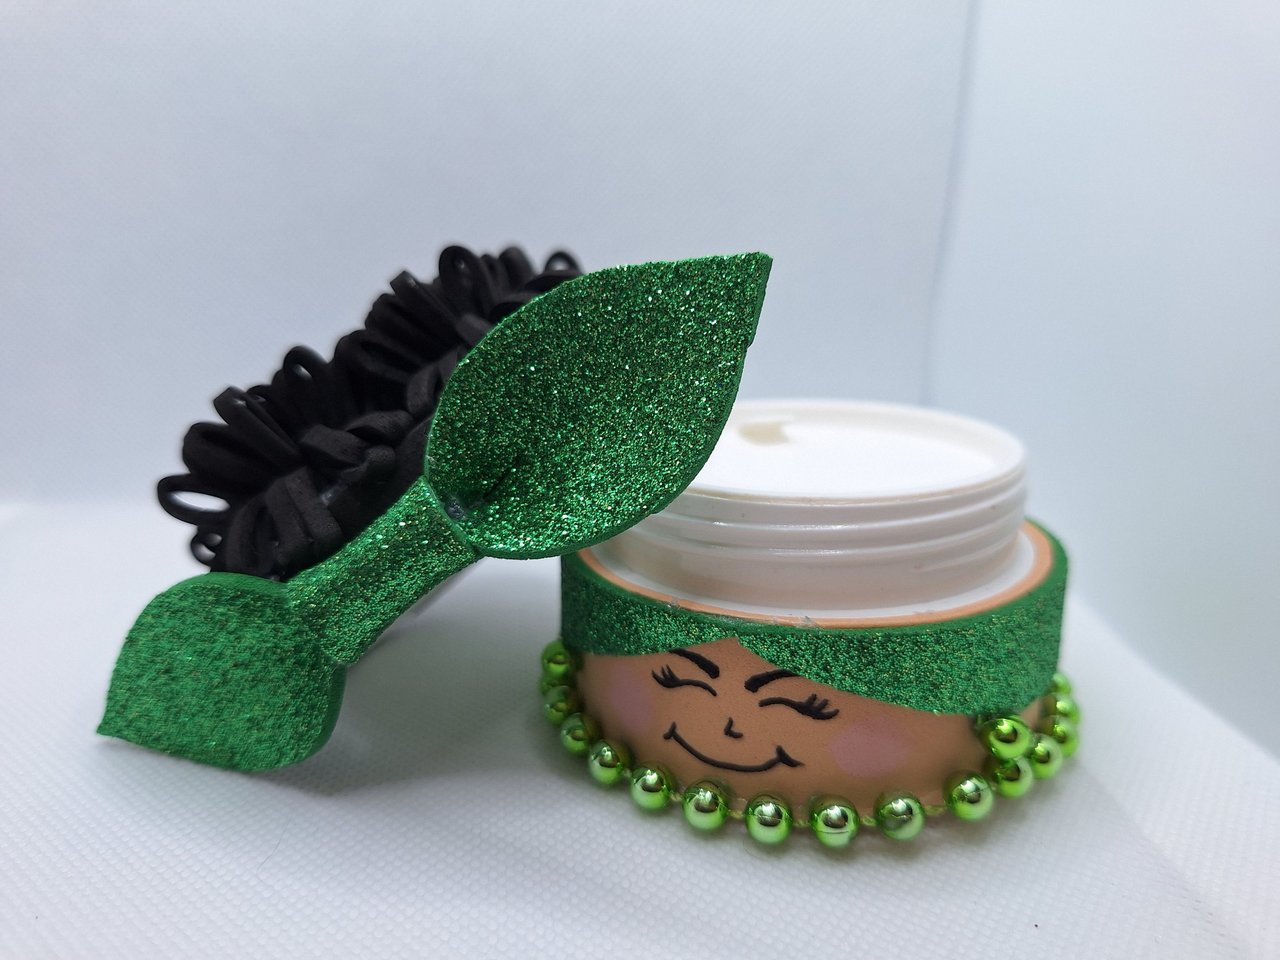
And that's how this cute cream container decoration is finished. I adored it, I always had the illusion of making me one like this. It looks super beautiful on the dresser next to the rest of the accessories I have there. Without a doubt, it is a radical change that brings beauty and charisma to any container of this type that most of the time are bland and boring. I hope you liked it, leave me in the comments what you thought and new suggestions. Best regards.
Y de esta forma se encuentra terminada esta linda decoración de envases de crema. Yo la adoré, siempre tuve la ilusión de hacerme uno así. Se ve superhermoso en la cómoda junto al resto de accesorios que tengo allí. Sin duda alguna, es un cambio radical que le aporta belleza y carisma a cualquier envase de este tipo que la mayoría de las veces son sosos y aburridos. Espero que te haya gustado, déjame en los comentarios qué te pareció y nuevas sugerencias. Un saludo.
Cover made in Canva
English is not my native language, translated by DeepL
Reference
Posted Using INLEO
Que mulata rumbera más hermosa. Te quedó lindísimo 😘.
Se parece a mi 🫣😄
Te quedó precioso mimi. Me encanta🤗.
Muchas gracias 🤗, yo lo adoré, hace tiempo que quería hacerlo pero no tenia pomito 😅
Hermosa creatividad, gracias por compartir.
Muchas gracias 🥰
Magnífico trabajo. Ahí tengo la idea
Muchas gracias 🥰
A ti 🙏🏻🥰
Hay que lindo! Cobró sin dudas mucha vida amiga. Bendiciones 🤗.
Muchas gracias, viste que gran cambio dio 😄
What a beautiful design! it looks great. It shows creativity and talent. Love it. Keep up the good work!
selected by @ibbtammy
Thank you very much, I'm really glad you liked it 🤗.
Wow, it's so beautiful, the design details are very beautiful and also neat
Thank you very much, I'm really glad you liked it 🤗.
Yes, you're welcome♥️
Que chulis queda bien diamativo. Que delicado y bonito.
Muchas gracias, la verdad es que queda muy chulo.
https://www.reddit.com/r/somethingimade/comments/1kye9ko/i_decorated_a_cream_container/
This post has been shared on Reddit by @yale95reyra through the HivePosh initiative.