Obsesionada con los Cuadros (🇪🇸 | 🇺🇸)

FULL ENGLISH VERSION

Greetings my beautiful people of #HiveDIY. Guess who is obsessed with the cubes/squares after making a heart with 3D effect? Well yes, and I was so relaxed by the previous drawing that I showed you that I wanted to look for inspiration to do something similar but different. So today I brought you this kind of square spiral.

𝐒𝐭𝐞𝐩-𝐛𝐲-𝐒𝐭𝐞𝐩
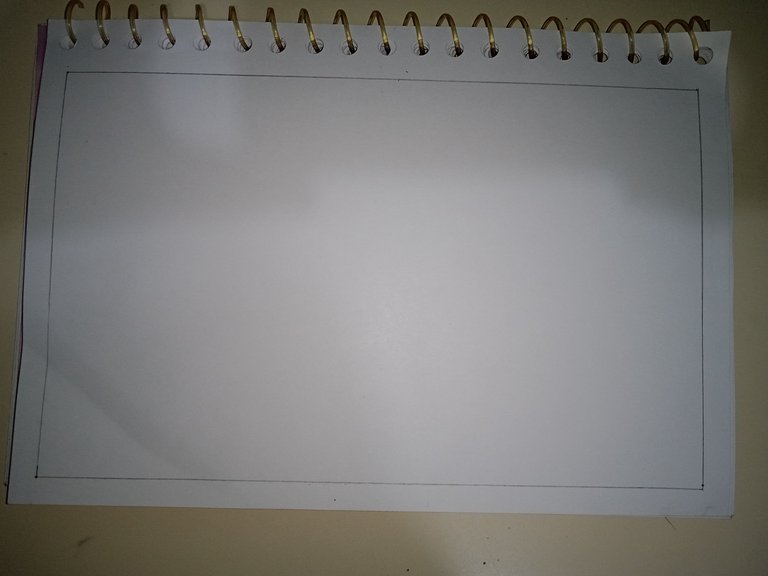
For this kind of drawing, I like to make a kind of frame that limits the lines I want to mark. It also serves as a guide for the next step I'm going to take.

First, I traced the dividing lines from corner to corner, marking a giant X.

Then I made separations vertically and then horizontally, adding a cross to the drawing.
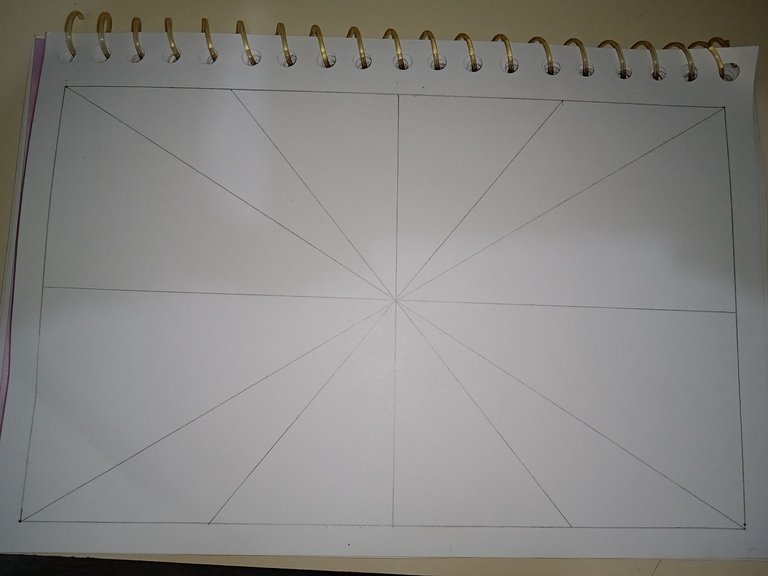
I then made divisions between the upper and lower triangles.

Then I divided the lateral triangles into equal parts, resulting in this figure.

And since I noticed that one triangle was wider than the others, I decided to make a new division so that it would be on a par with the others.
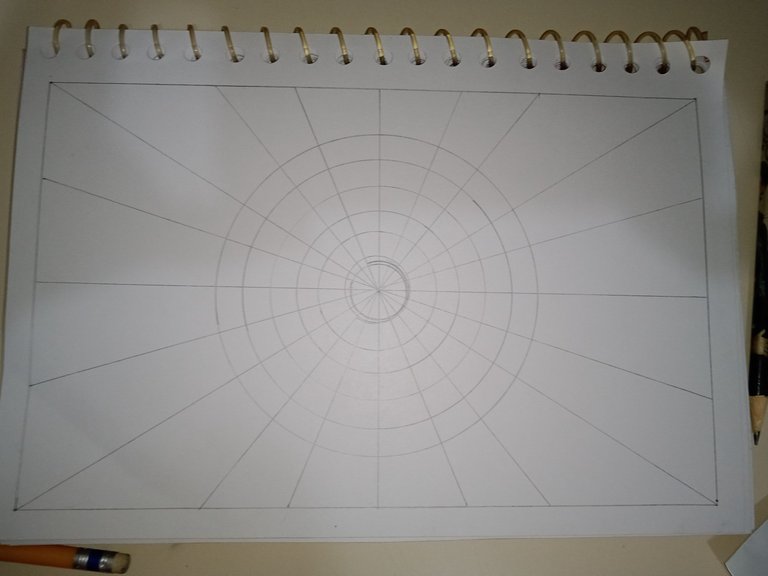
Then what I did was to start making circles with 1 cm of separation between each other. This has more squares to color.
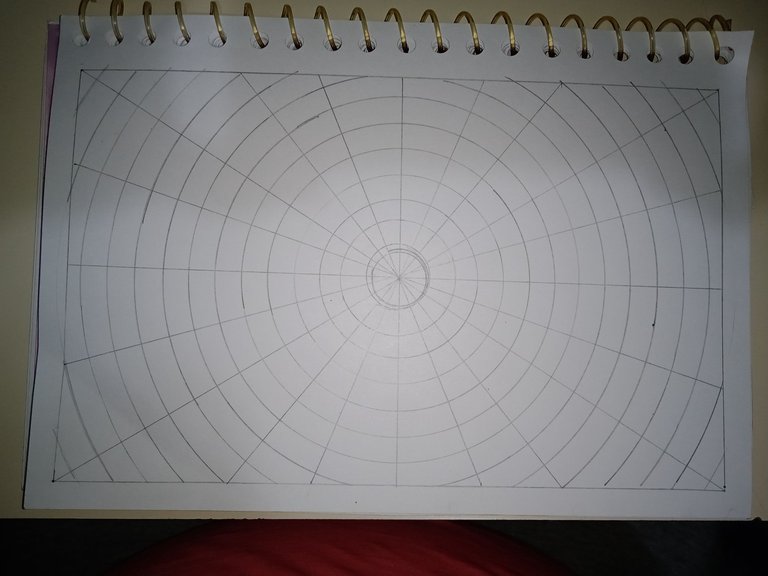
And so the sketch was finished. This time, I didn't want to highlight any line in black so that only the colors I was going to use would stand out.
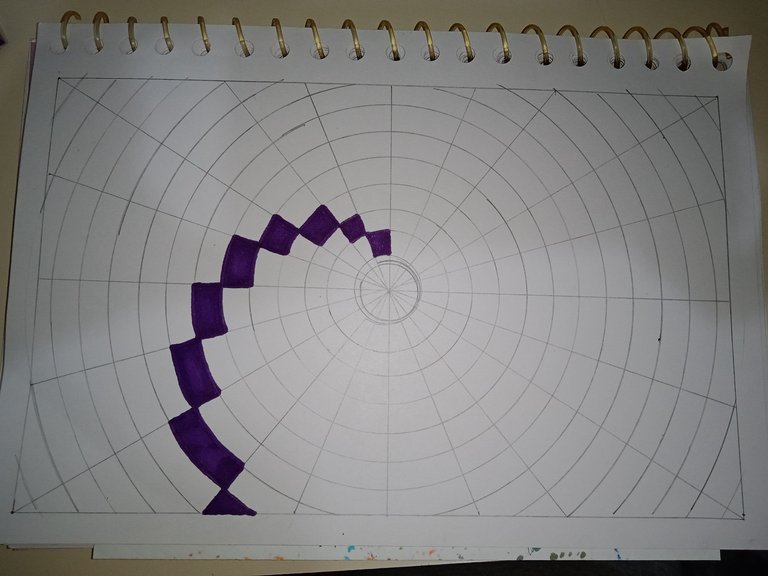
I started by using my favorite color, Purple, and started on a Random painting, I didn't choose any specific one, just the one that inspired me to add color to it.
And well, as you can see, I wanted to color them as if they were following a staircase and give the final effect of a spiral.
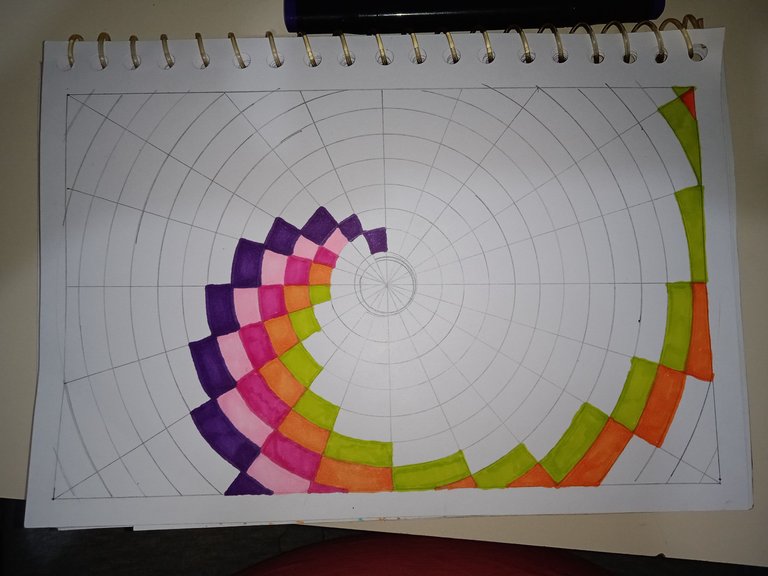
To color it completely, I wanted to use a total of 5 colors, but you can use two or 3, whichever you prefer, just keep in mind that the number of colors should be equal to the number of squares you are going to fill.
In my case, I used 5 because when I counted the squares, it gave me a total of 20 spaces. I could also use 4 colors, but I wanted to give two slightly darker tones and the rest lighter tones so that there would be better contrast.
I kept repeating the colors and concentrating a lot so as not to make mistakes, however, there were moments when I got distracted and got confused. So I recommend a lot of concentration and to be very attentive when coloring.
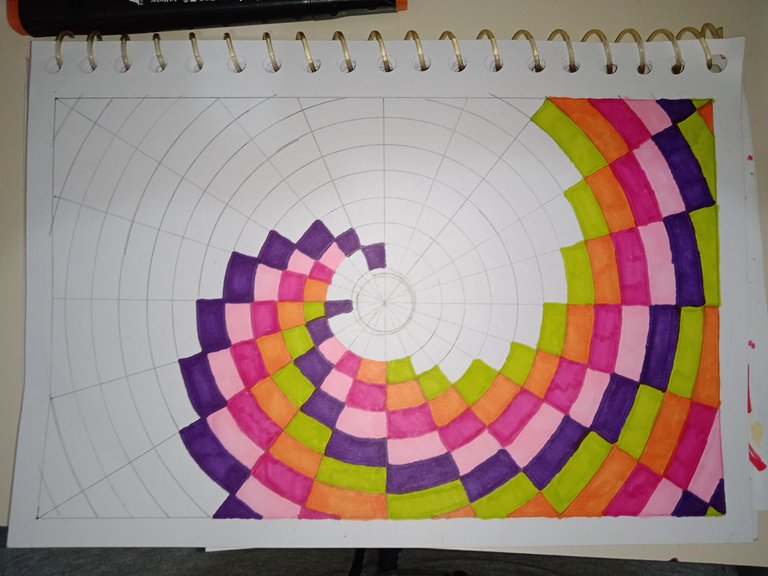
𝐅𝐢𝐧𝐚𝐥 𝐑𝐞𝐬𝐮𝐥𝐭

This is the final result. To give it a more realistic touch and depth, you can add some shadow with a darker color or a pencil on each edge of the squares.
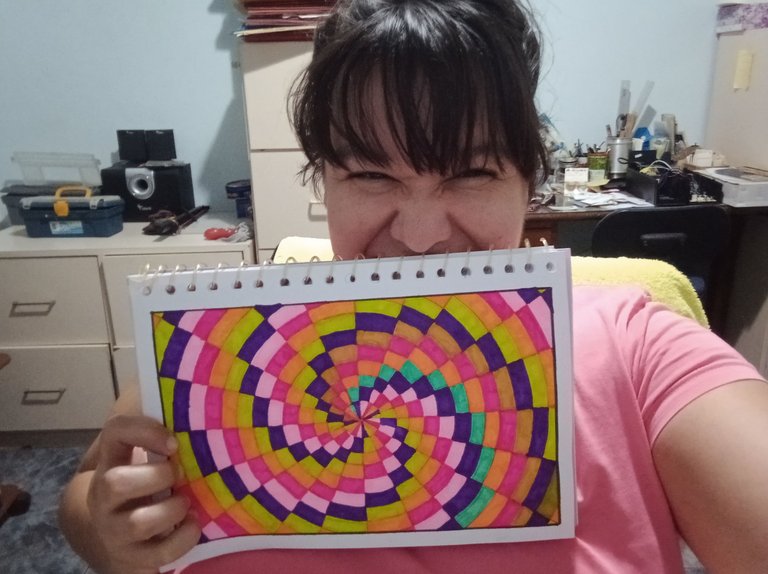
For my part, I didn't do that part because I was short of time, but I still loved the result, even if I made a mistake in the attempt. I hope to do better for the next one. Anyway, that's all for today. Let me know in the comments what you think. I read you! Until my next post! 💚
Español
Saludos mi gente linda de #HiveDIY. ¿Adivinen quién está obsesionada con los cubos/cuadros después de armar un corazón con efecto 3D? Pues sí, y es que me relajó tanto el dibujo anterior que les mostré que quise buscar inspiración para hacer algo parecido pero diferente. Así que hoy les traje esta especie de espiral cuadrada.
𝐏𝐚𝐬𝐨 𝐚 𝐏𝐚𝐬𝐨
Para este tipo de dibujos me gusta hacer una especie de marco que limite las líneas que quiero marcar. También me sirve de guía para el siguiente paso que voy a hacer.
Primero tracé las líneas divisoras de esquina a esquina, marcando una X gigante.
Luego hice separaciones de manera vertical y luego horizontal, agregando una cruz al dibujo.
Luego hice divisiones entre los triángulos superiores e inferiores.
Después dividí en partes iguales los triángulos laterales quedando esta figura.
Y bueno como noté que un triángulo quedó más ancho que los demás, decidí hacerle una nueva división para que quedara a la par con los otros.
Ya después lo que hice fue empezar a hacer círculos con 1 cm de separación entre uno y otro. Esto con el fin de tener más cuadritos para poder colorear.
Y quedando así el boceto finalizado. Esta vez no le quise resaltar ninguna línea en negro para que resaltaran sólo los colores que iba a utilizar.
Empecé usando mi color favorito, el Morado, e inicié en un cuadro Random, no elegí ninguno en específico, sólo el que me inspiró a que le echara color.
Y bueno, como ven, quise colorearlos como siguiendo una escalera y darle como efecto final el de una espiral.
Para colorearlo completamente, quise usar un total de 5 colores, pero pueden usar dos o 3, los que ustedes prefieran, sólo deben tener en cuenta que la cantidad de colores sean pares a la cantidad de cuadros que van a rellenar.
En mi caso usé 5 porque al contar los cuadros, me dio un total de 20 espacios. También pude usar 4 colores pero quise darle dos tonos un poco más oscuros y el resto tonos claros para que hubiera mejor contraste.
Continué repitiendo los colores y concentrándome mucho para no equivocarme, sin embargo hubo momentos en los que me distraje y pues me confundí. Así que te recomiendo mucha concentración y estar bien atento al momento de colorearlo.
𝐑𝐞𝐬𝐮𝐥𝐭𝐚𝐝𝐨 𝐅𝐢𝐧𝐚𝐥
Así quedó el resultado final. Para darle un toque más realista y de profundidad puedes agregar un poco de sombra con un color más oscuro o un lápiz en cada borde de los cuadros.
Por mi parte, esa parte no la hice porque estuve corta de tiempo, pero igual me encantó el resultado obtenido, aun cuando me equivoqué en el intento. Espero hacerlo mejor para la próxima. En fin, esto es todo por hoy, déjame saber en los comentarios ¿qué piensan? Los leo! Hasta mi siguiente post! 💚


| 𝐄𝐥𝐞𝐦𝐞𝐧𝐭𝐨𝐬 (𝐄𝐥𝐞𝐦𝐞𝐧𝐭𝐬) | 𝐇𝐞𝐫𝐫𝐚𝐦𝐢𝐞𝐧𝐭𝐚𝐬 (𝐓𝐨𝐨𝐥𝐬) |
|---|---|
| Las Fotos Utilizadas a lo largo del Post son de mi galería (Photos used throughout the post are from my gallery) | Cámara del Teléfono Redmi Note 9A (Redmi Note 9A Phone Camera) |
| Contenido y Texto Original de mi Autoría (Content and Original Text of my Authorship) | DeepL |
| CANVA | |
| Grammarly |
Posted Using INLEO
Que bonito resultado✨ además me gustó mucho tu selección de colores☺️
Guao! Te quedó genial ese cuadro. Te estás volviendo toda una artista en arte cinético
Bueno la verdad es que me relaja mucho hacer este tipo de dibujos, así que creo que vendrán más de este estilo. Gracias por pasar y comentar, lo aprecio un montón!
you are so good at making it. the result looks so spectacular. I like it👍
Wow! This is precise, neat and very detailed. You are very talented, Great work and thanks for sharing.
selected by @ibbtammy