🍀🌊 Fanart for Holozing-Drawing Forest Healer and Water Healer //Fanart para Holozing-Dibujo Sanador del bosque y sanador del agua.🌊🍀
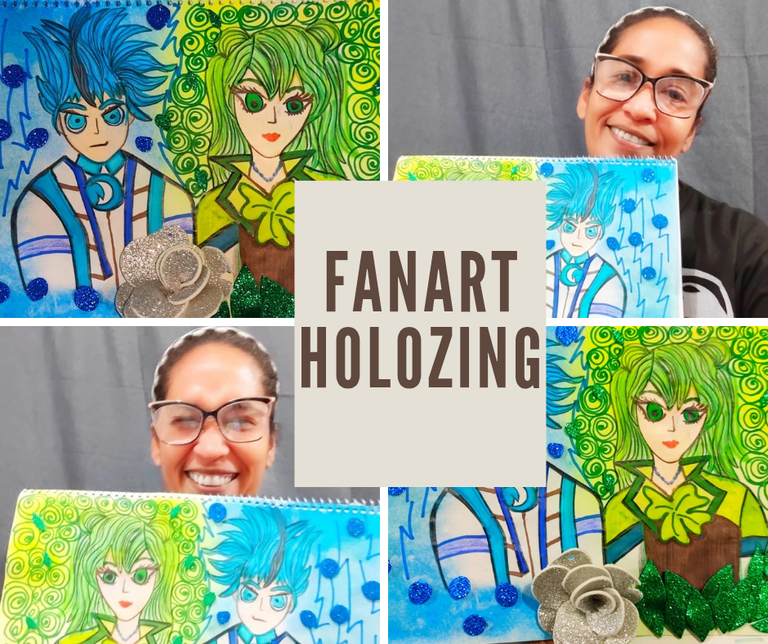
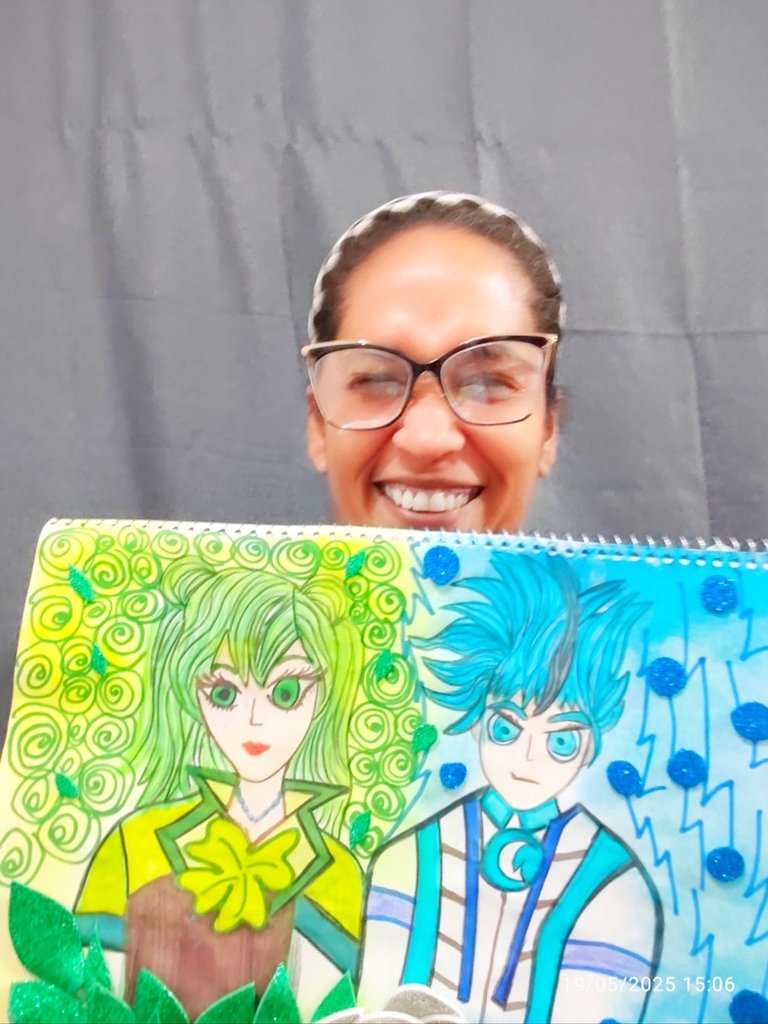
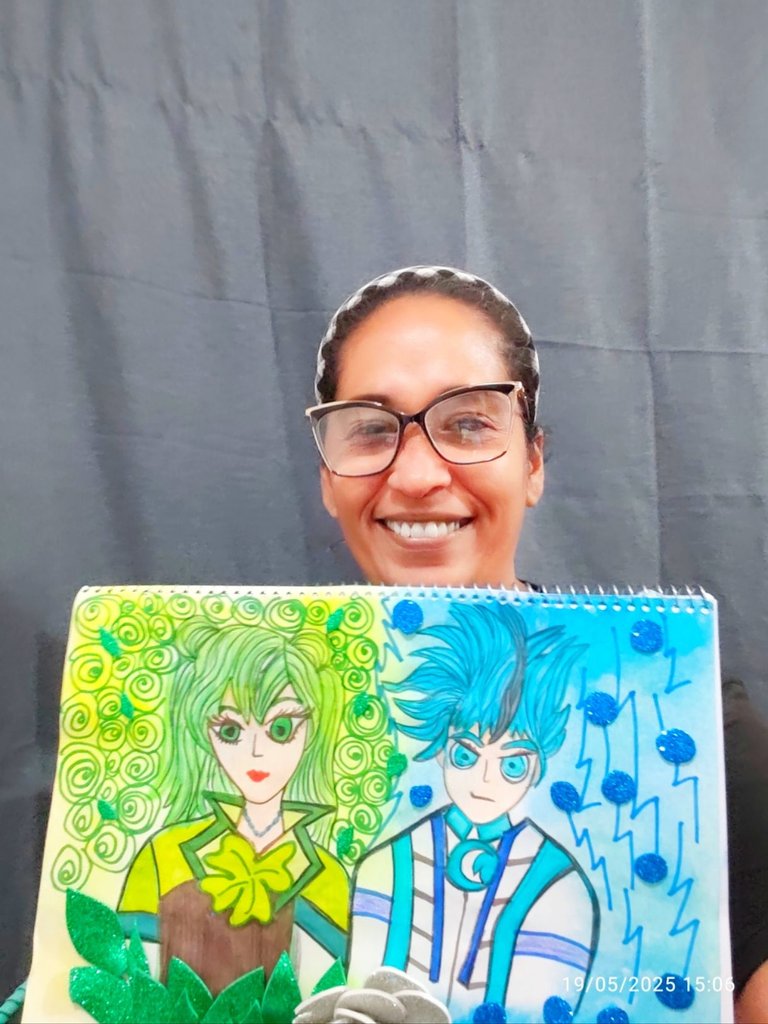
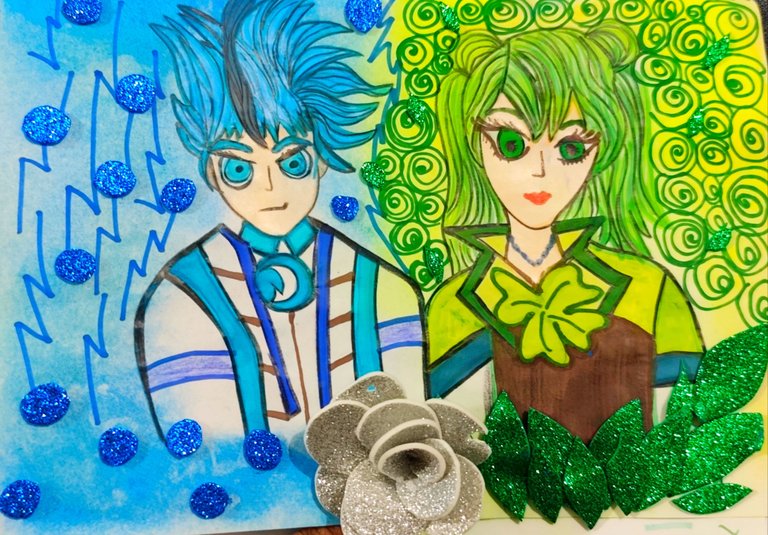
Happy start of the week to all my little bee lovers of the game and adventure, today I return with a little fanart for the Holozing community, this time it is a freehand drawing of two of the three healers, the water and the forest, in which I worked with neon tones, creating a game of fun and wonderful colors, I hope you like.
🍀🌊 MATERIALS 🌊🍀
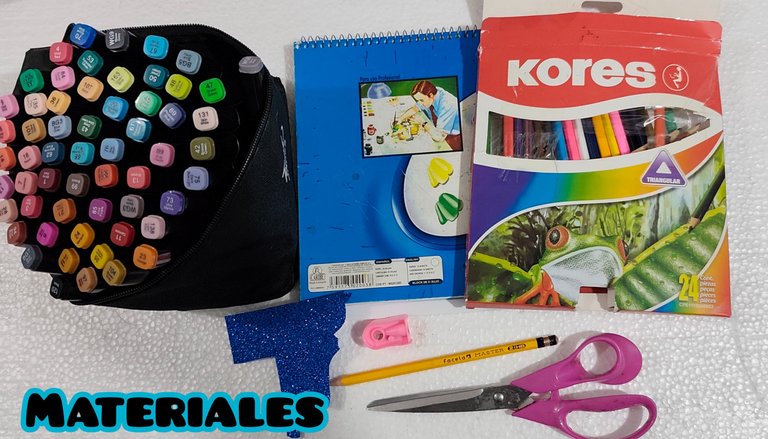
🍀 Drawing pad.
🌊 Markers.
🍀 Colored pencils.
🌊 Neon pigments.
🍀 Green and blue foami scraps.
🌊 Creyon pencil.
🍀 Scissors.
🌊 Silicone.
🍀🌊 STEP BY STEP 🌊🍀
🌊 STEP 1:

In the drawing pad and with the help of the crayon pencil I start drawing the face of the water healer, in this opportunity I will do it in a male version, since I have always done it in a female version.
After drawing the face and hair, process to draw the body.
🍀 STEP 2:

Now I begin to draw the healer of the forest, in this case I worked with the female version, I made a very different hairstyle, also, I placed on her clothes the iconic four-leaf clover.
🌊 STEP 3:
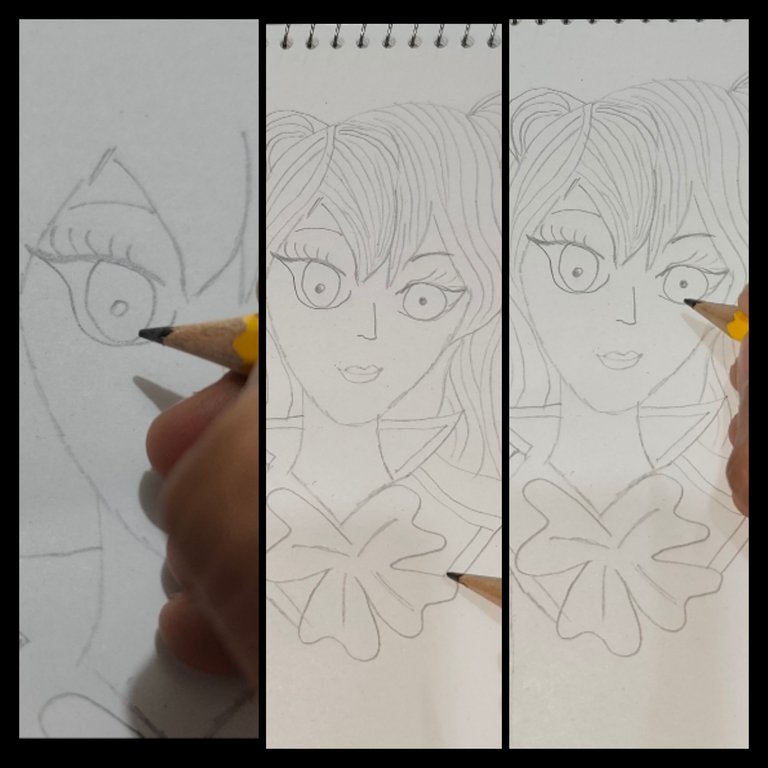
Then we detailed the features of the face: eyes, mouth and nose, of course he drew the eyelashes and eyebrows and gave details to the rest of the costume.
🍀 STEP 4:
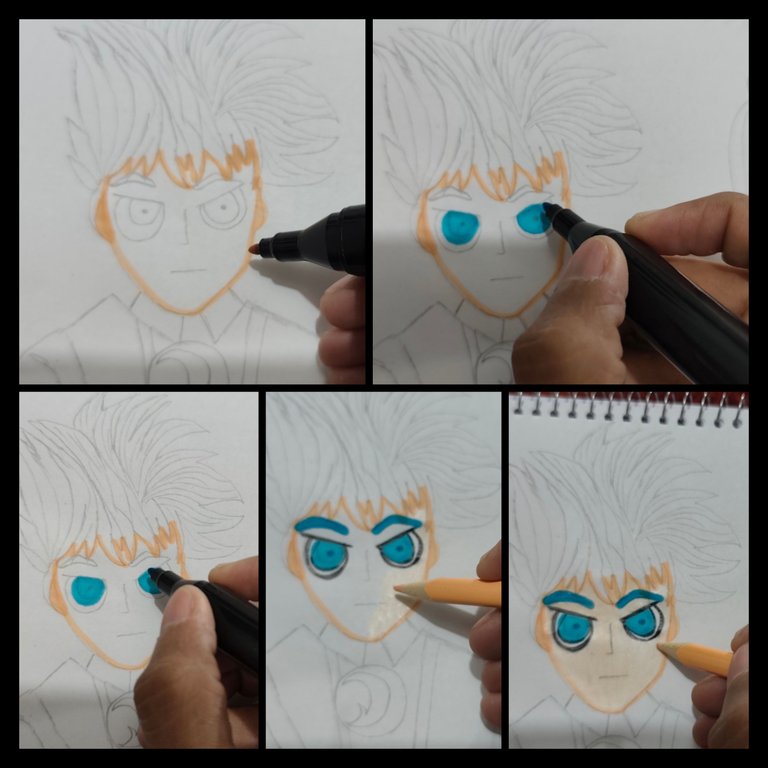
With the skin-colored marker we outline everything that will be in skin tone, the face, neck and ears.
Then with the skin color pencil I fill in, now with the blue marker I fill in the eyes, then we outline with the black color pencil.
🌊 STEP 5:
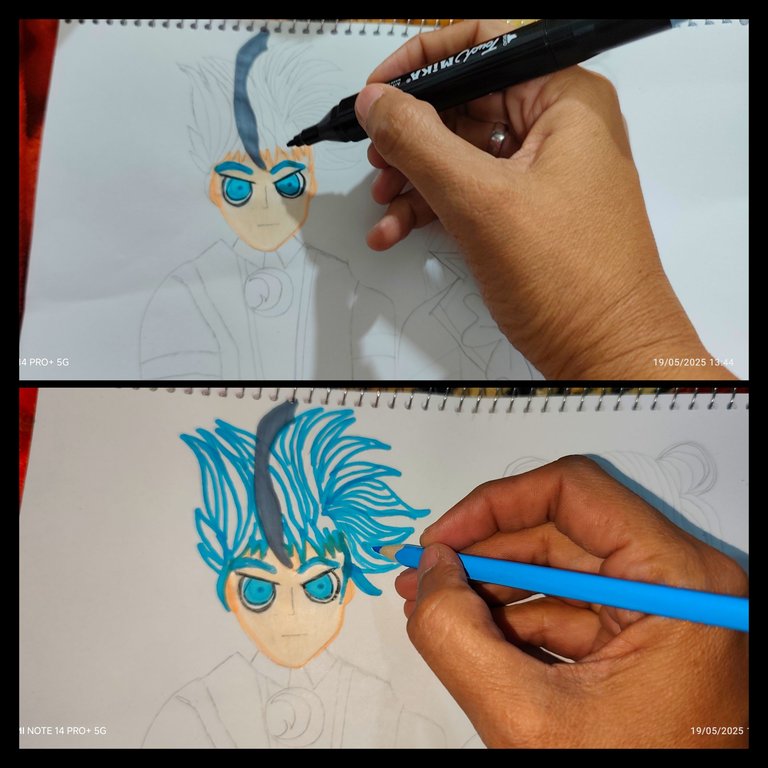
Then with the blue-gray marker, he drew a lock of her hair, then we outlined the rest of the hair, and with the colored pencil he filled in the hair.
🍀 STEP 6:
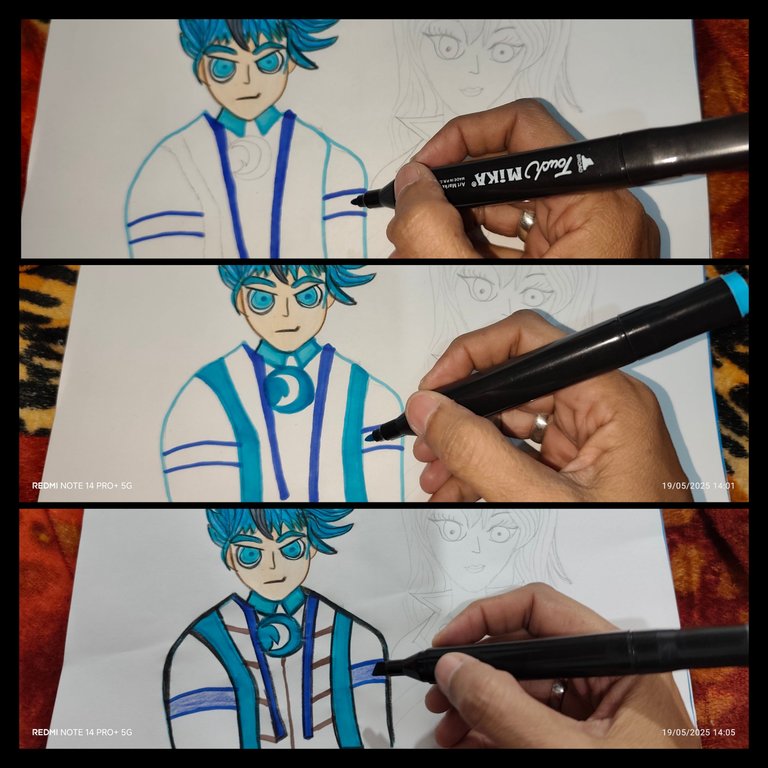
Now with a navy blue marker he drew part of the suit, followed by applying turquoise blue marker to other parts of the water healer's suit.
Then with the black marker we outline everything.
🌊 STEP 7:
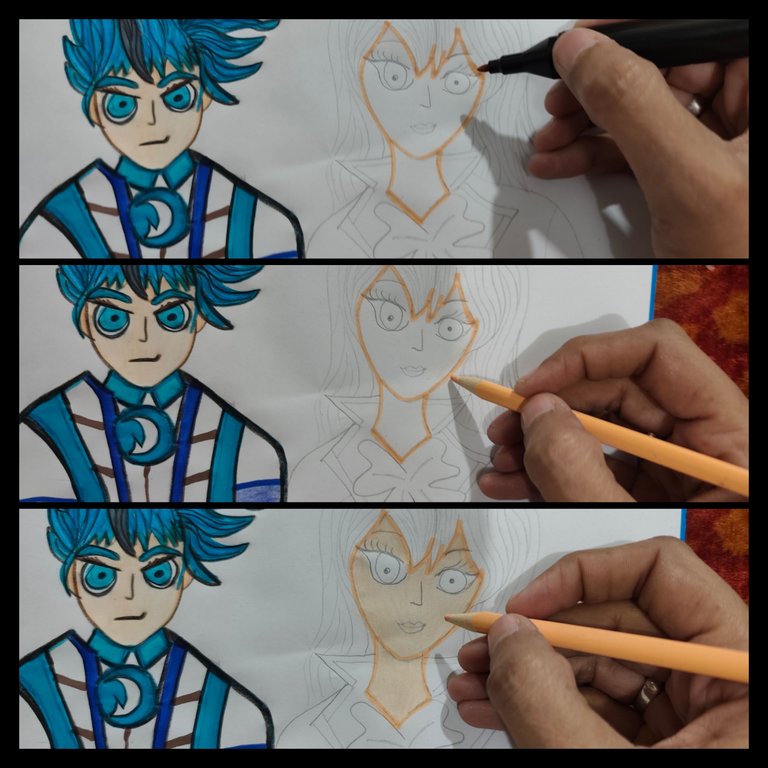
Now we outline with the skin tone marker the face of the forest healer, and then fill in with the skin color pencil.
🍀 STEP 8:
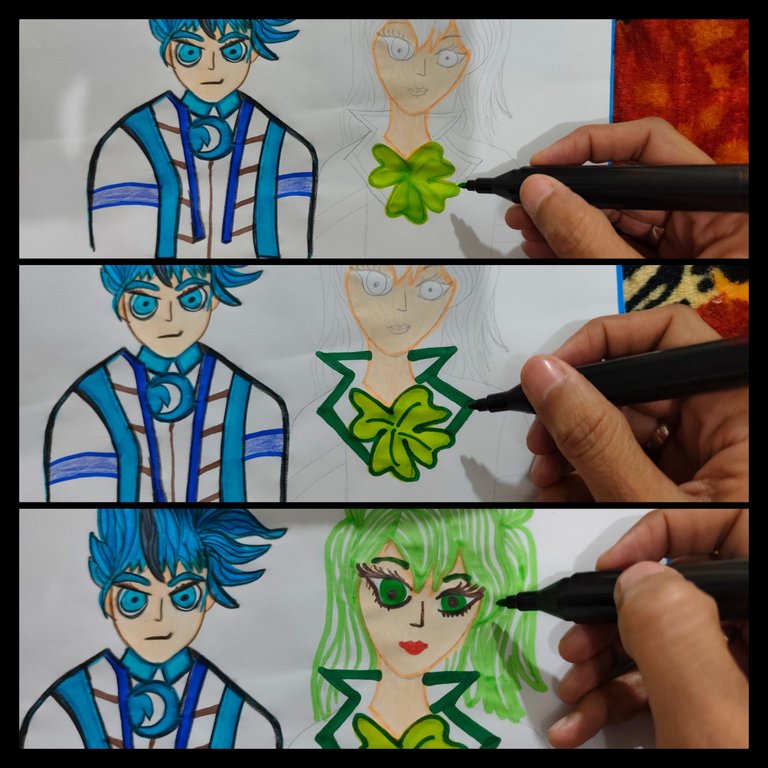
With the apple green marker I fill in the clover, then with the grass green marker I draw the border of the suit.
Then with the light green marker we outline the hair.
🌊 STEP 9:

We fill in with the colored pencil, then outline and fill in the hair with the black marker.
🍀 STEP 10:

With the thick brush he applied the green Pigment on the side of the forest healer, then applied the blue Pigment on the side of the water healer.
🌊 STEP 11:

Now with the blue marker we draw cracks in the Healer's part of the water, and with a green marker we draw spirals.
🍀 STEP 12:
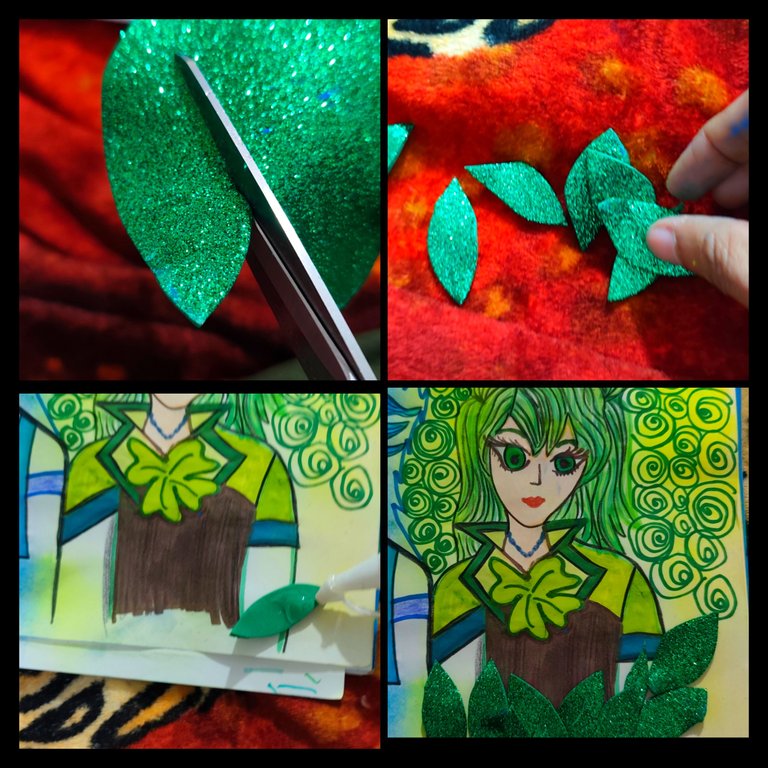
Now from the green frosted foami we cut out small leaves, to which we apply liquid silicone and glue on the edge of the forest healer drawing.
🌊 STEP 13:
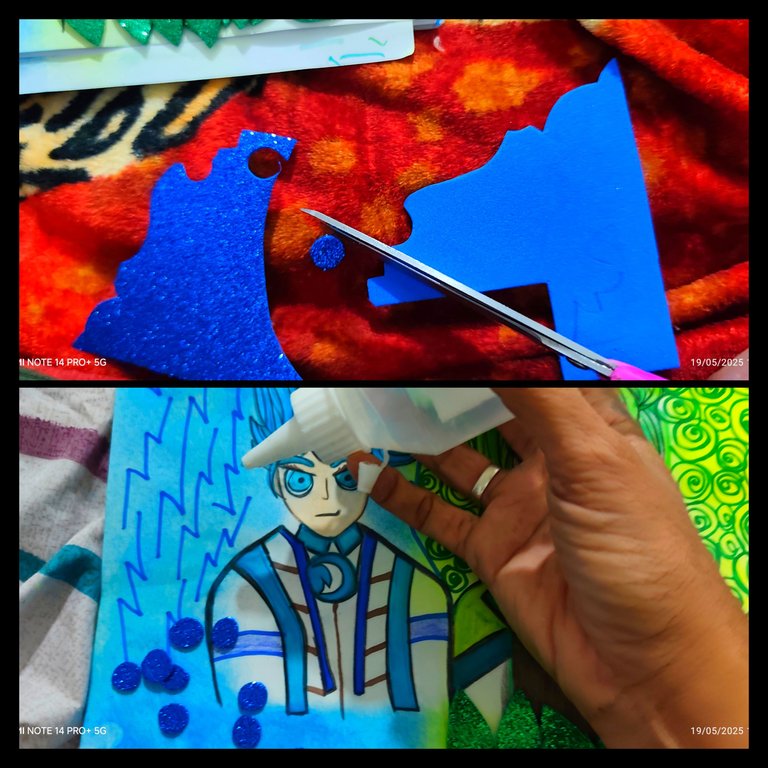
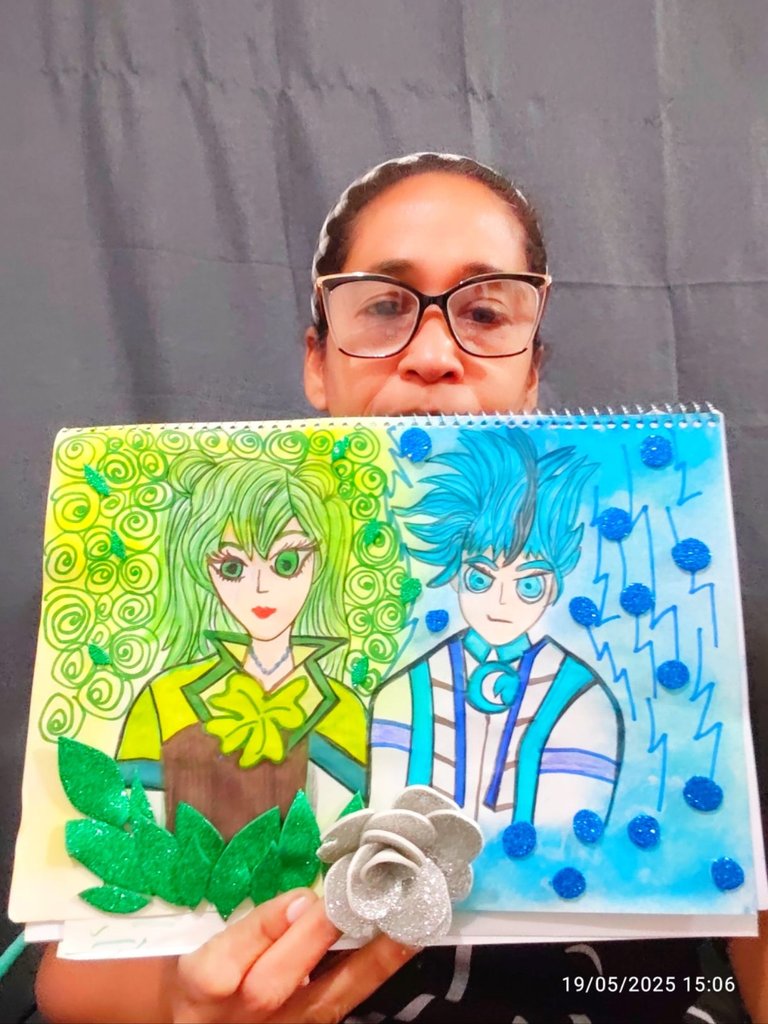
Then from the blue frosted foami we cut out small circles which we glued on the side of the water healer drawing. At the end, as a detail, we glued a pretty gray frosted foami flower which we placed in the center of the two characters and that was it.


🍀 CRÉDITS 🌊
All photos were taken with my Xiaomi redmi phone and are my own using polish and canvas and Deepl translator.

Feliz inicio de semana tengan todas mis abejitas amantes del juego y de la aventura, hoy regreso con un poco de fanart para la comunidad de Holozing, se trata en esta oportunidad de un dibujo a mano alzada de dos de los tres sanadores, el de agua y del bosque, en los que trabaje con tonos neones, creando un juego de colores divertidos y maravillosos, espero que les guste.
🍀🌊 MATERIALES 🌊🍀
🍀 Block de dibujo.
🌊 Marcadores.
🍀 Lápices de colores.
🌊 Pigmentos neones.
🍀 Retazos de foami verde y azul.
🌊 Lápiz de creyon.
🍀 Tijera.
🌊 Silicón.
🍀🌊PASO A PASO 🌊🍀
🌊 PASO 1:
En el block de dibujo y con ayuda del lápiz de creyón inicio dibujando el rostro del sanador del agua, en esta oportunidad lo haré versión masculina, ya que siempre lo he hecho en versión femenina.
Luego de dibujar el rostro y el cabello, proceso a dibujar el cuerpo.
🍀 PASO 2:
Ahora comienzo a dibujar el sanador del bosque, en este caso trabaje con la versión femenina, le hice un peinado bien diferente, también, coloque en su ropa el icónico trébol de cuatro hojas.
🌊 PASO 3:
Luego detallamos los rasgos del rostro: ojos, boca y nariz, por supuesto dibujó las pestañas y las cejas y dio detalles al resto del traje.
🍀 PASO 4:
Con el marcador color piel delineamos todo lo que será en tono piel, el rostro, cuello y orejas.
Luego con el lápiz de color piel relleno, ahora con el marcador azul relleno los ojos, luego delineamos con el lápiz de color negro.
🌊 PASO 5:
Luego con el marcador de color azul grisáceo, le dibujó un mechón del cabello, luego delineamos el resto del cabello, y con el lápiz de color relleno el cabello.
🍀 PASO 6:
Ahora con un marcador de color azul marino dibujo parte del traje, seguido de eso aplicó marcador de color azul turquesa en otras partes del traje del sanador del agua.
Luego con el marcador negro delineamos todo.
🌊 PASO 7:
Ahora delineamos con el marcador tono piel al rostro de la sanadora del bosque, y luego rellenamos con el lápiz de color piel.
🍀 PASO 8:
Con el marcador verde manzana relleno el trébol, luego con el marcador verde grama dibujo el borde del traje.
Luego con el marcador verde claro delineamos el cabello.
🌊 PASO 9:
Rellenamos con el lápiz de color, luego delineamos y rellenamos el cabello con el marcador negro.
🍀 PASO 10:
Con la brocha gruesa aplicó el Pigmento verde del lado de la sanadora del bosque, luego aplicó el Pigmento de color azul, del lado del Sanador de agua.
🌊 PASO 11:
Ahora con el marcador azul dibujamos grietas en la parte del Sanador del agua, y con un marcador de color verde grama dibujo espirales.
🍀 PASO 12:
Ahora del foami escarchado verde recortamos pequeñas hojas, a las cuales le aplicamos silicón líquido y pegamos en el borde del dibujo del sanador del bosque.
🌊PASO 13:
Luego del foami escarchado azul recortamos pequeños círculos los cuales pegamos en el lado del dibujo del sanador del agua al final como un detalle le pegamos una linda flor de foami escarchado de color gris la cual colocó en el centro de los dos personajes y listo.
🍀 CRÉDITOS 🌊
Todas las fotografías fueron tomadas con mi teléfono Xiaomi redmi y son de mi propiedad utilizando el programa polish y canvas y el traductor Deepl.
Posted Using INLEO
0
0
0.000
https://x.com/Mayelin2021/status/1924608422432940480?t=JYYc7KEe_DTTdIjJ7fjLAw&s=19