Mi primer llavero de trébol en foami moldeable para Holozing. 🍀 / My first moldable foam clover keychain for Holozing.
Hola hola! Saludos a los miembros de la comunidad Holozing, espero se encuentren bien en esta noche preparados para descansar para luego enfrentar un nuevo día de trabajo, hoy me siento contenta y no pude esperar compartir una nueva manualidad para la comunidad Holozing.
Hello hello! Greetings to the members of the Holozing community, I hope you are well tonight, ready to rest and then face a new day of work, today I feel happy and I couldn't wait to share a new craft for the Holozing community.
Hace algún tiempo descubrí el foami moldeable, más aún no había comenzado ya que me daba un poco de temor de como quedaría la figura al ser la primera vez que la utilizaría, pues la semana pasada ví una publicación en Instagram de foami moldeable y me dirigí a la tienda Pointer a comprarlo, me sorprendió ya que no es un material tan costoso como pensaba, y hoy por fin les traigo mi primer llavero de trébol inspirado en los sanadores del bosque, espero les guste, al ser promera vez estoy conforme con el resultado y espero seguir mejorando.
Some time ago I discovered moldable foam, but I hadn't started yet since I was a little afraid of how the figure would look since it was the first time I would use it, because last week I saw a post on Instagram about moldable foam and I went to I went to the Pointer store to buy it, I was surprised since it is not as expensive a material as I thought, and today I finally bring you my first clover keychain inspired by the healers of the forest, I hope you like it, as it is the first time I am satisfied with it result and I hope to continue improving.

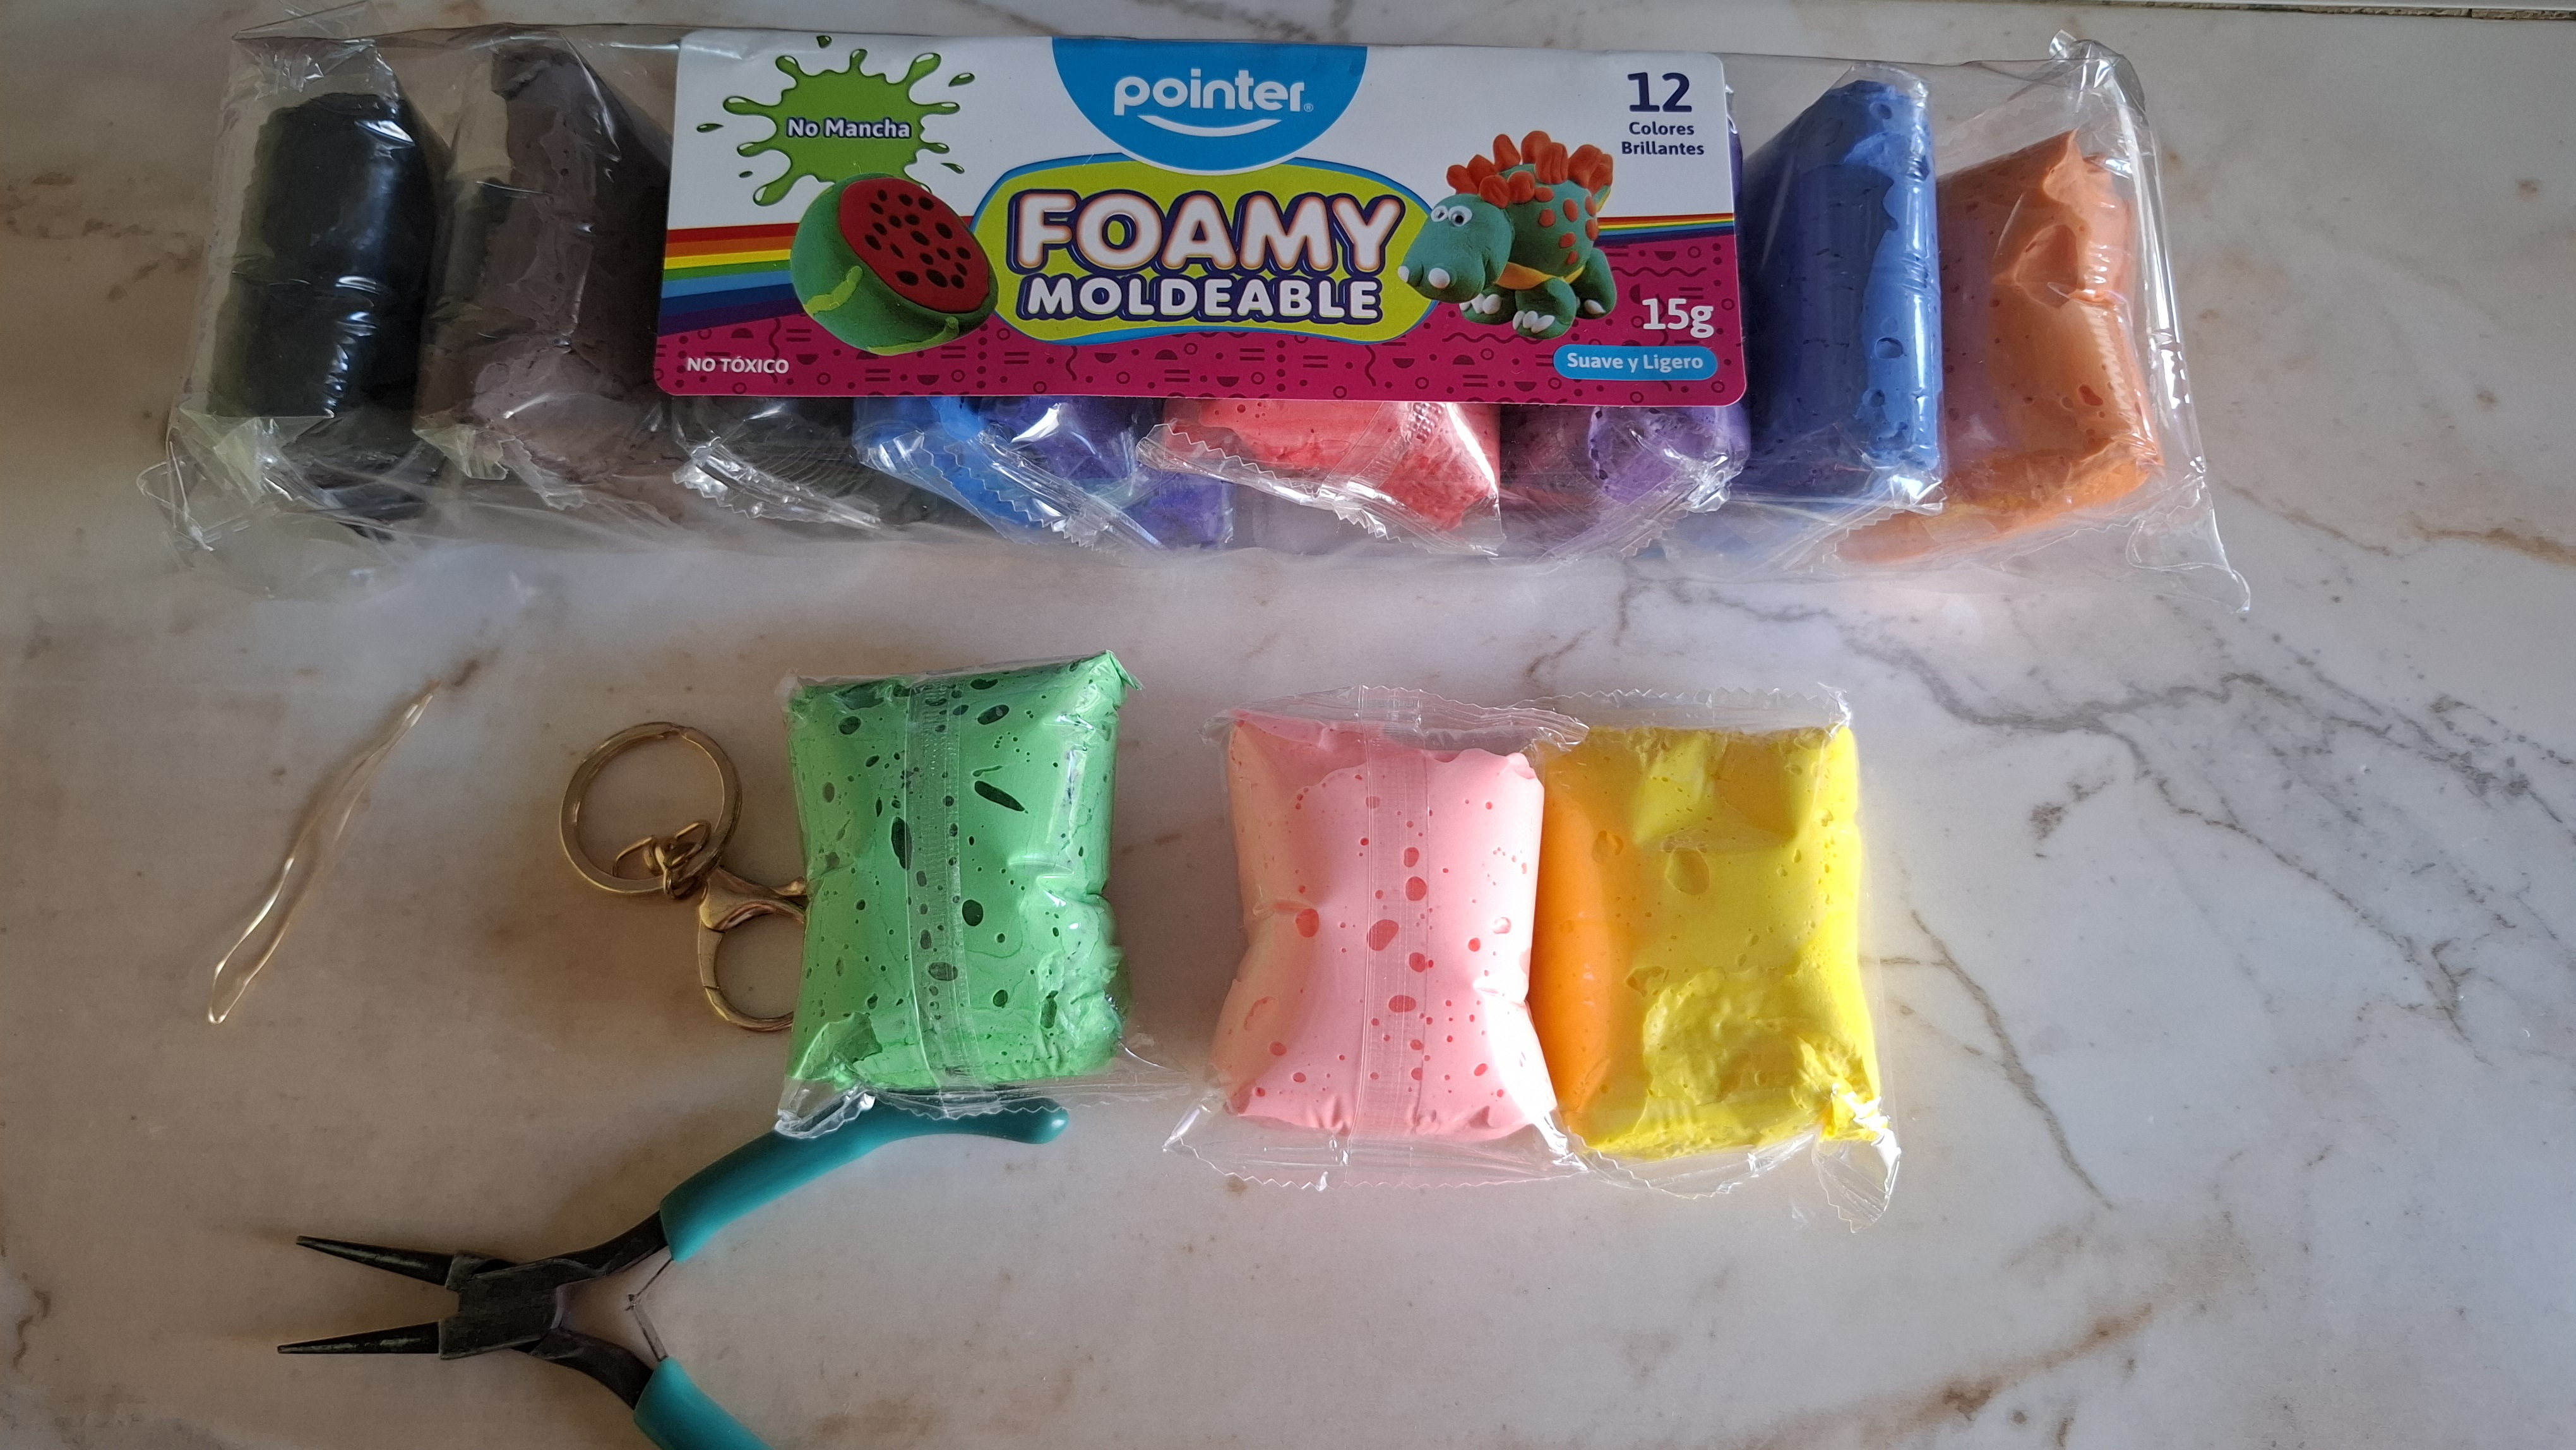
| Materiales | Materials |
|---|---|
| Foami moldeable color verde | Green moldable foam |
| Foami moldeable color marrón | Brown moldable foam |
| Alambre dorado | golden wire |
| Llavero | Key ring |
| Pinza de bisutería | Jewelry tweezers |
Paso a paso / Step by step
El proceso es sencillo, a pesar de que no tenía en el momento las herramientas para modelar el foami, utilicé un pequeño cuchillo para realizar la forma de la punta, si es importante tenerlas ya que permite realizar detalles en la figura, más sin embargo nunca falta la creatividad.
The process is simple, even though I did not have the tools to model the foam at the time, I used a small knife to make the shape of the tip, it is important to have them as it allows you to make details in the figure, but never the less creativity is missing.
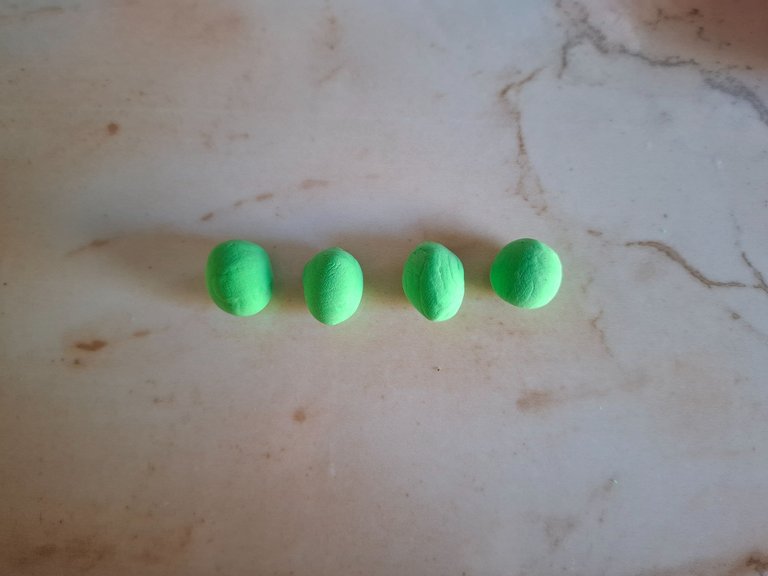
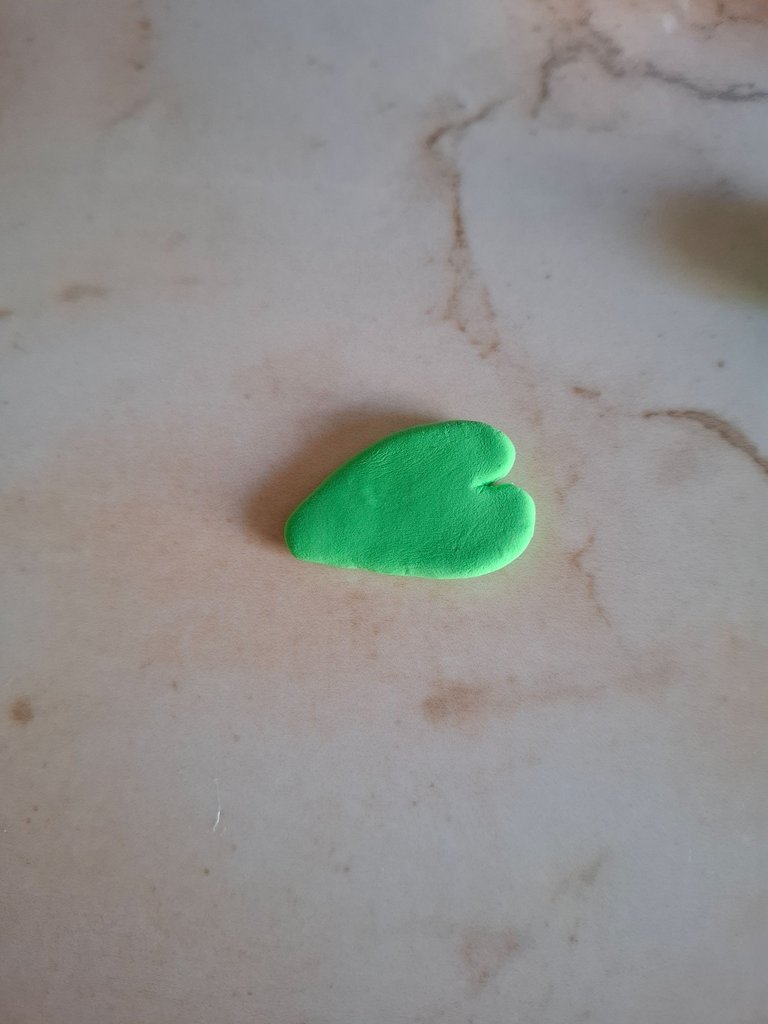
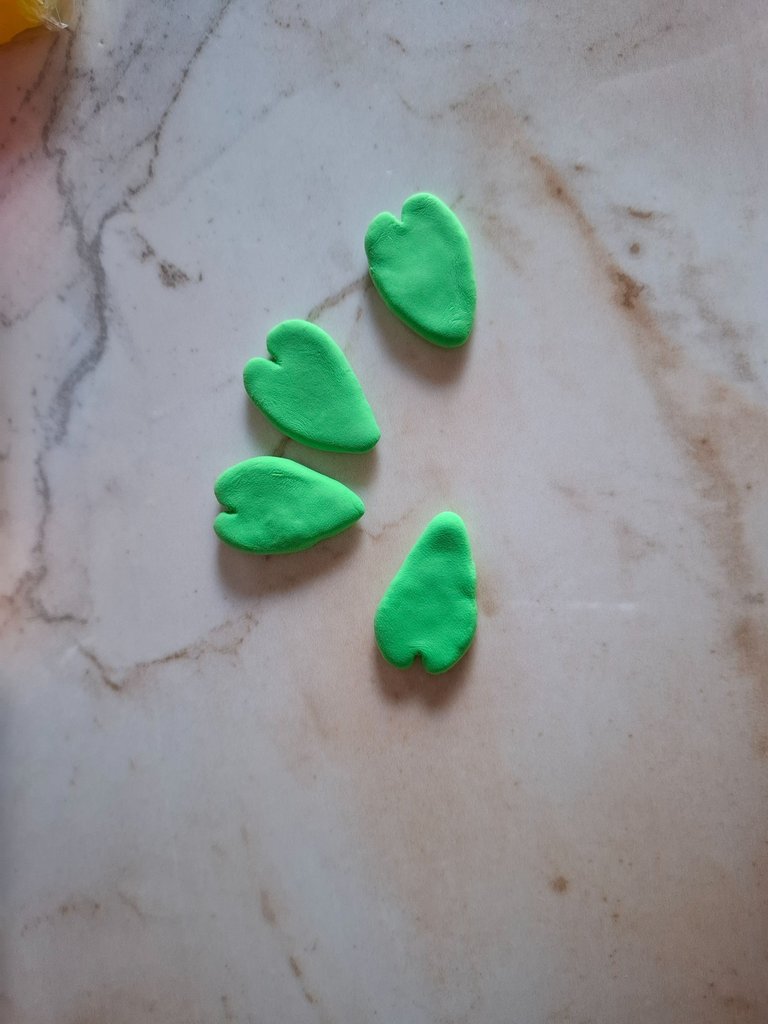
El primer paso es formar cuatro pequeñas bolitas de foami, luego las voy a ir aplanando con ayuda de la yema de los dedos dando una forma puntiaguda al final, si me costó un poco obtener una textura más lisa ya que al comienzo se agrietó un poco hasta que logré mejorarla con los dedos.
The first step is to form four small foam balls, then I am going to flatten them with the help of my fingertips, giving a pointed shape at the end. It was a little difficult for me to obtain a smoother texture since at the beginning it cracked a little. until I managed to improve it with my fingers.
 |  |  |
|---|
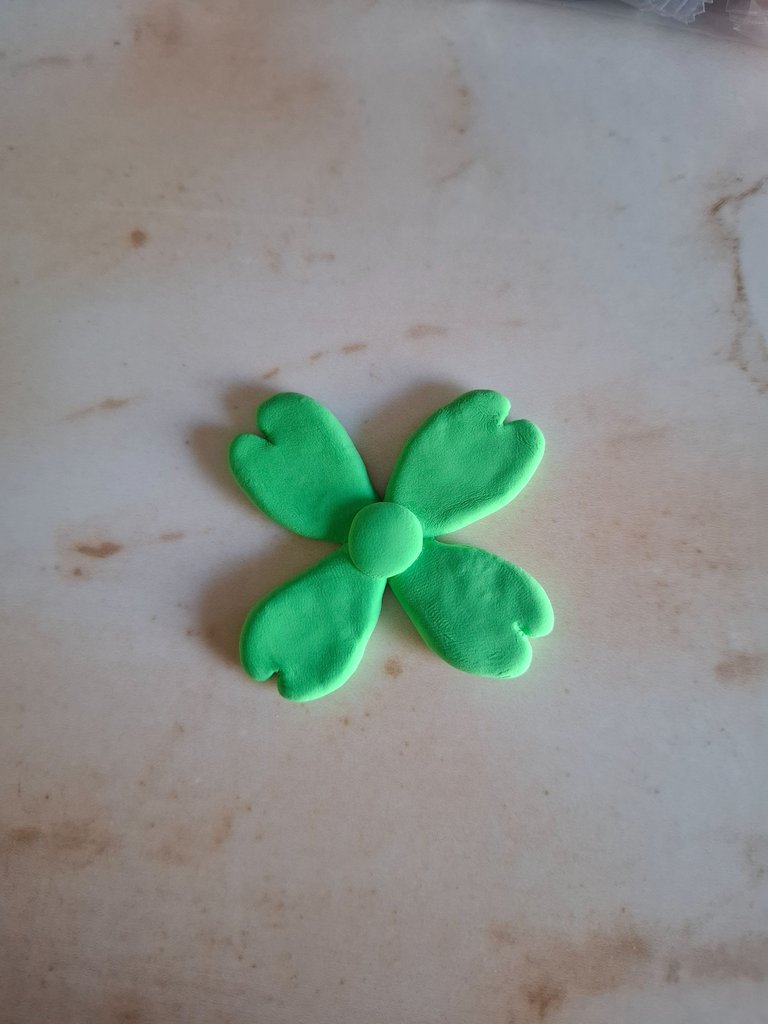
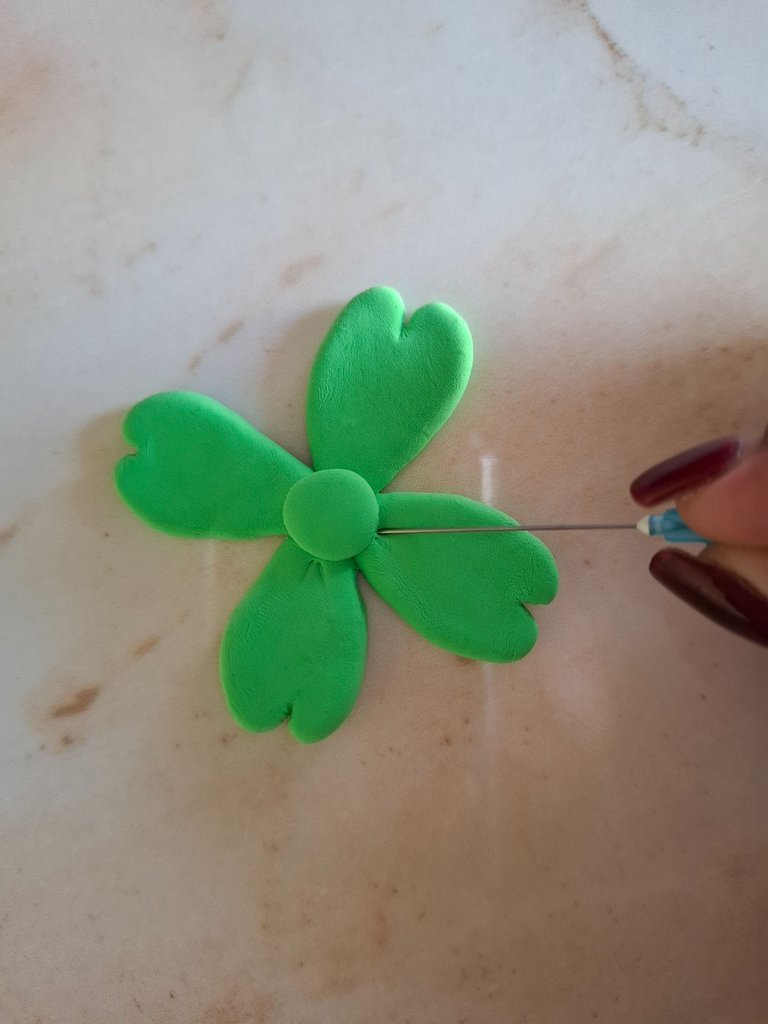
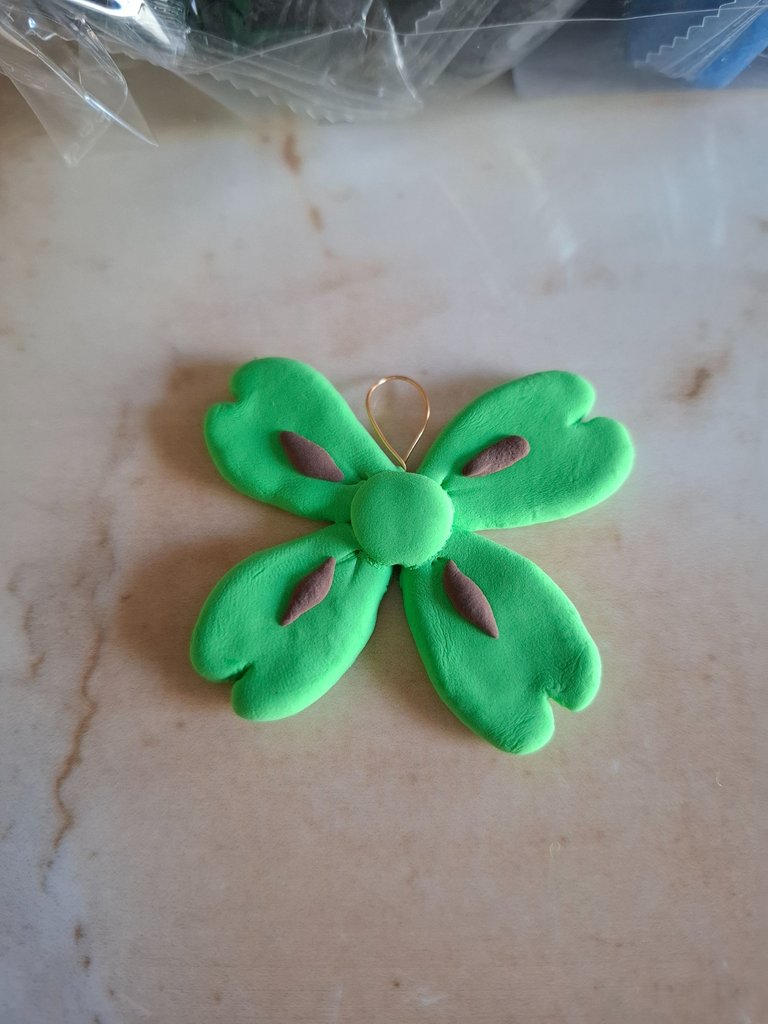
Luego voy a marcar en medio una pequeña separación, también formé una pequeña bolita y la ubiqué en medio del trébol ya luego de haber unido las cuatro partes, con ayuda de una aguja realicé unas líneas delgadas en el inicio, de cada hoja, así mismo con una pequeña cantidad de foami marrón formé una franja delgada y la ubiqué en el centro a cada hoja.
Then I am going to mark a small separation in the middle, I also formed a small ball and placed it in the middle of the clover, after having joined the four parts, with the help of a needle I made some thin lines at the beginning of each leaf, likewise With a small amount of brown foam I formed a thin strip and placed it in the center of each leaf.
 |  |
|---|
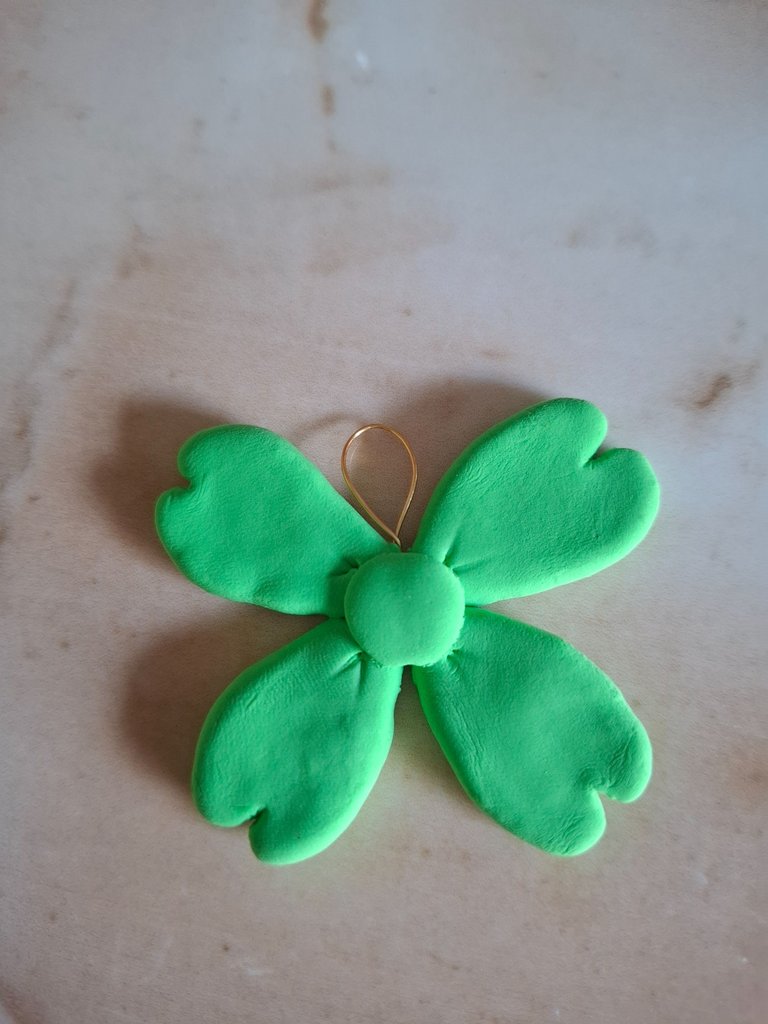
Luego voy a a tomar un retazo de alambre dorado, formé una argolla y lo ubiqué entre la parte trasera, para decorar tome otro retazo de alambre dorado con forma ondulada y coloqué una bolita de foami verde en la punta.
Then I am going to take a piece of gold wire, I formed a ring and placed it between the back part, to decorate I took another piece of gold wire with a wavy shape and placed a green foam ball on the tip.
 |  |
|---|
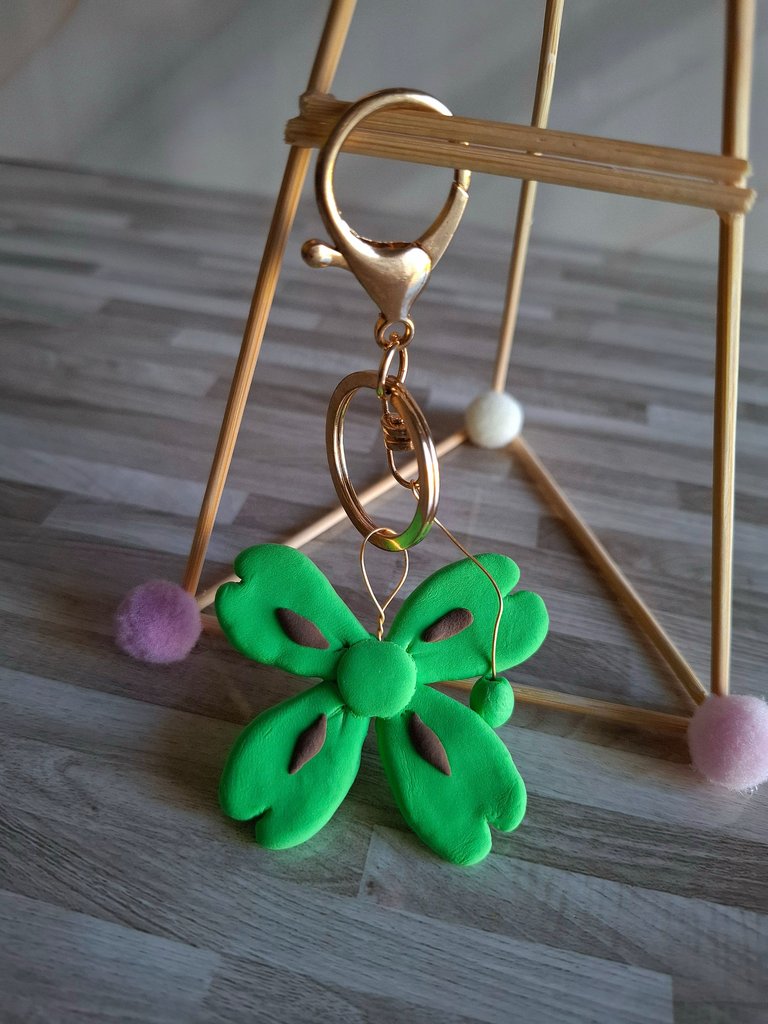
El último paso es unir al llavero y listo, esperamos que seque al aire, de esta forma terminé mi trébol inspirado en los sanadora del bosque, gracias por visitar mi publicación nos vemos en una próxima oportunidad.
The last step is to attach the keychain and that's it, we hope it air dries, this is how I finished my clover inspired by the healers of the forest, thank you for visiting my publication, see you next time.


Contenido original. - original content.
Los separadores y banner fueron realizados en Canva. - The dividers and banner were made in Canva.
Fotografías tomadas con mi Samsung A55. - Photographs taken with my Samsung A55.
Traducción de: Google traductor - Translation of: Google translator.
Posted Using InLeo Alpha
Your pendant is very nice for the first time, but with practice one always improves. Thank you for sharing your work with us.
If so, I hope to continue improving, thanks for the support 🤗
You've been curated by @amazingdrinks! Delegations welcome!
It is beautiful and charming. What you did, that's pretty cool. Good to see how you made this. Great work!