Detective Pikachu Handmade Soda Can Sculpture [ENG-ESP]

Hello dear friends of The Anime Realm, I hope you are all doing well. This time I won't be talking about a new anime or an OVA I've found, but rather I'll share with you another way I have of expressing my passion for this wonderful world. I've made a handmade sculpture of one of the most famous figures of recent times, it's Pikachu, but it's from Detective Pikachu. I know many of you saw it and were delighted. I really enjoyed seeing Pikachu participating in a Live Action show. I made this sculpture as a papercraft model, but instead of using traditional cardboard, I used beer cans. I was fortunate enough to find the color yellow, so I got to work. Here I'll briefly show you how it was step by step. I hope you like it.
Hola queridos amigos de The Anime Realm, espero que todos se encuentren muy bien, en esta oportunidad no hablaré de un anime nuevo o alguna ova que haya encontrado sino que compartiré con ustedes otra forma que tengo de expresar mi pasión por este maravilloso mundo. He realizado una escultra hecha a mano de una de las figuras más famosas de los últimos tiempos, se trata de Pikachu, pero se trata de Detective Pikachu, sé que muchos la vieron y quedaron encantados, a mi me gustó mucho ver a Pikachu participando en un Live Action. Esta escultura la he realizado como un modelo de papercraft, pero en lugar de usar el cartón tradicional, he usado latas de cerveza, tuve la fortuna de encontrar el color amarillo así que puse manos a la obra, aquí les mostraré brevemente como fue el paso a paso. Espero les guste.

 |  | |
|---|---|---|
 | 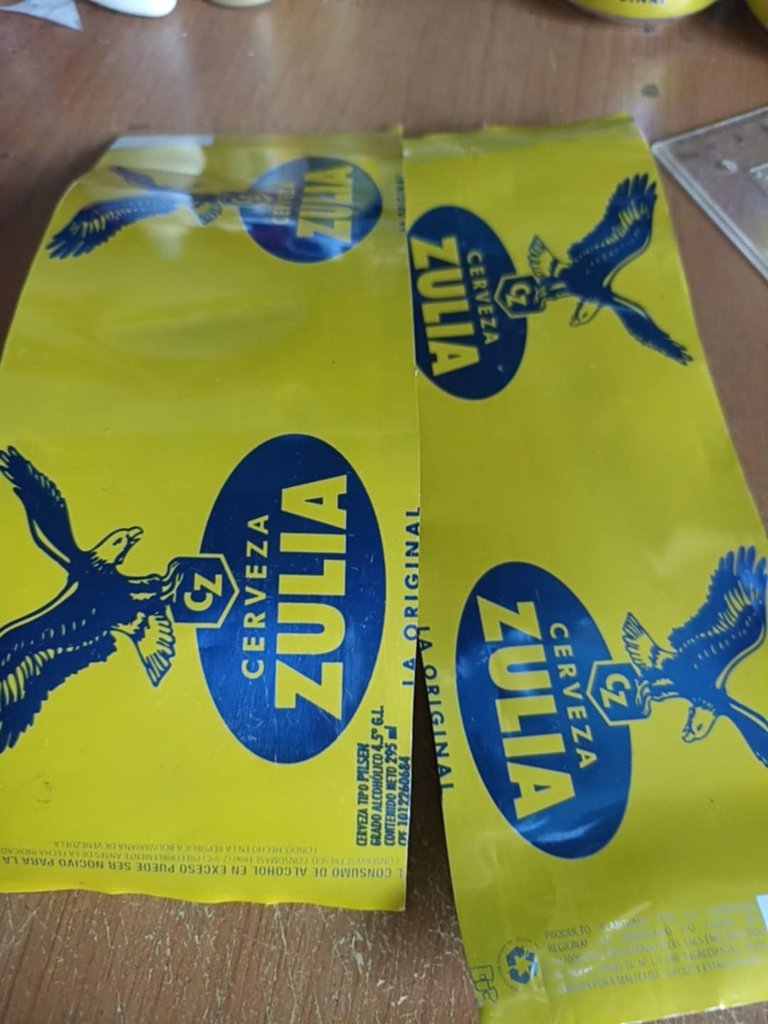 |
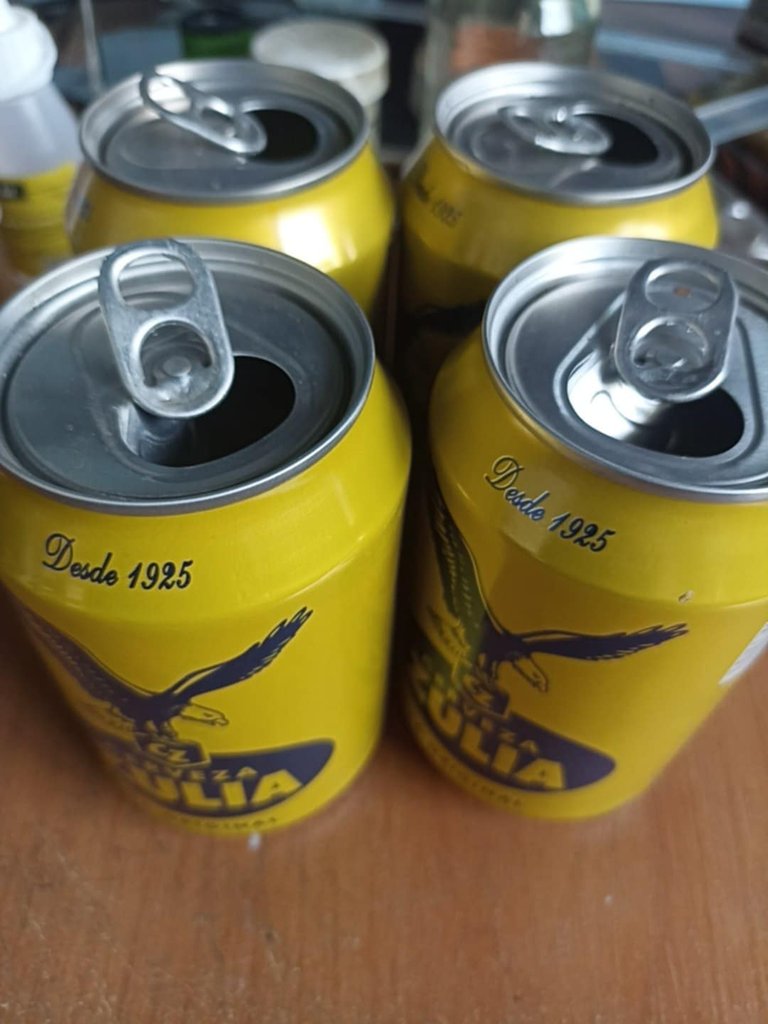
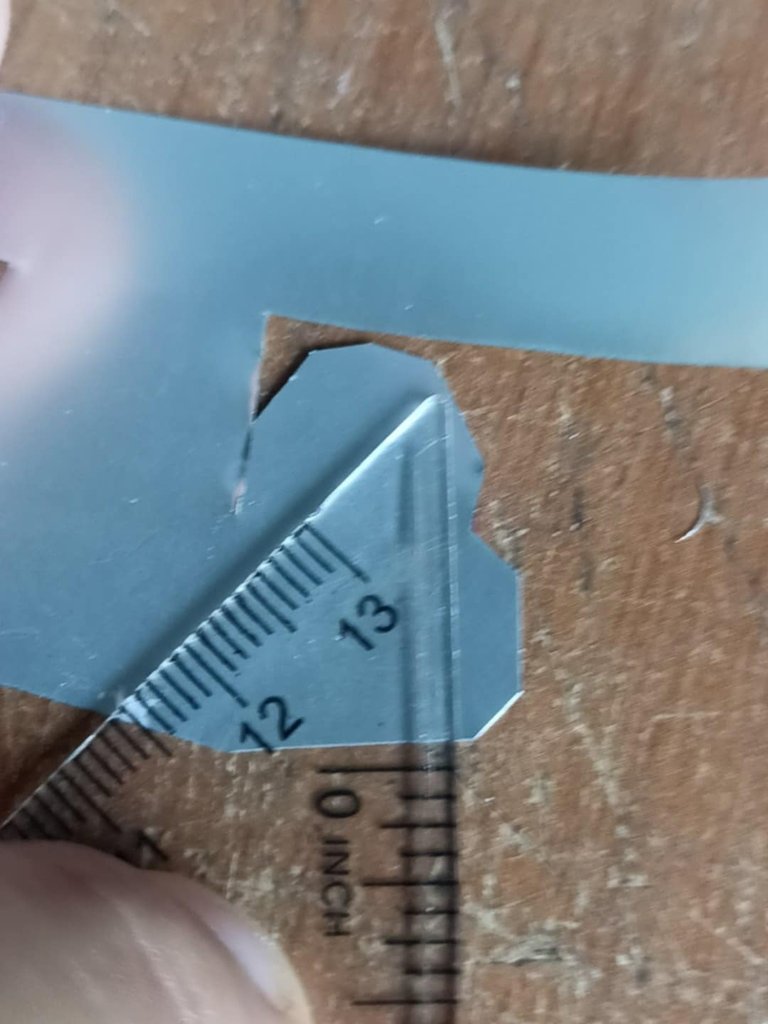
I used several aluminum cans, eight in total, which I cut and removed both the tops and bottoms, turning them into thin sheets on which I will make each piece. The materials I used to build this figure included glue, scissors, tweezers, measuring rulers, paper, and cardboard.
Utilicé varias latas de aluminio, 8 latas en total a las cuales corté y quité tanto las tapas como las bases hasta convertirlas en finas láminas sobre las cuales haré cada pieza. Los materiales que utilicé para construir esta figura está el pegamento, tijeras, pinzas, reglas para medir, papel y también cartón.
 |  |  |
|---|---|---|
 |  |  |
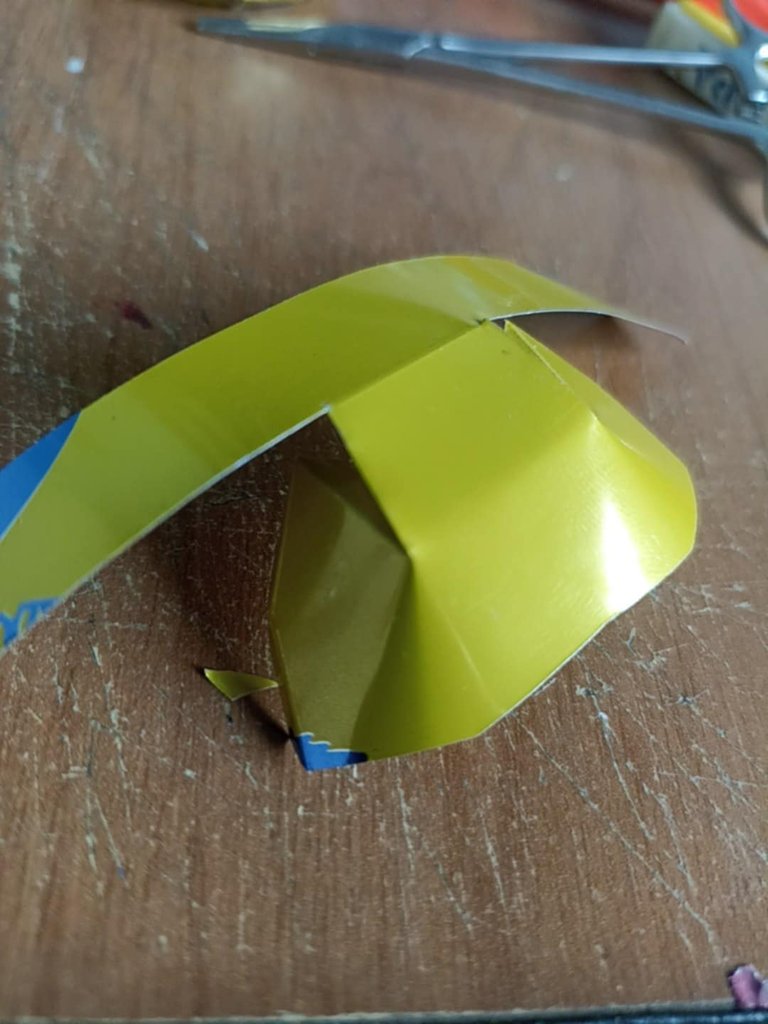
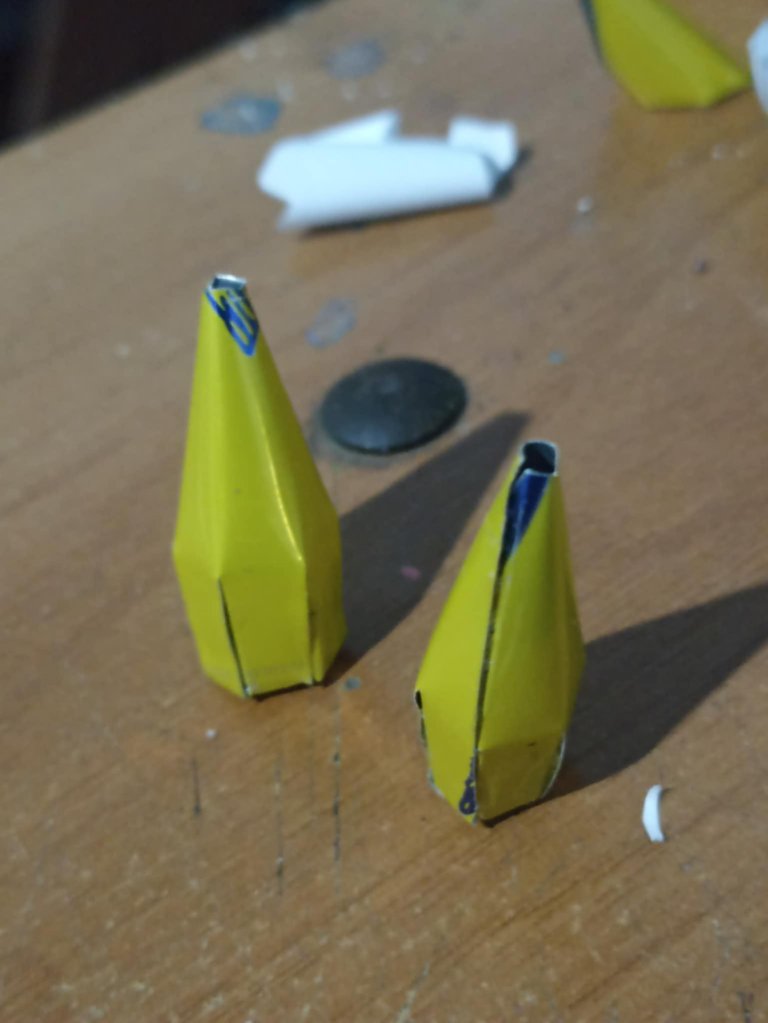
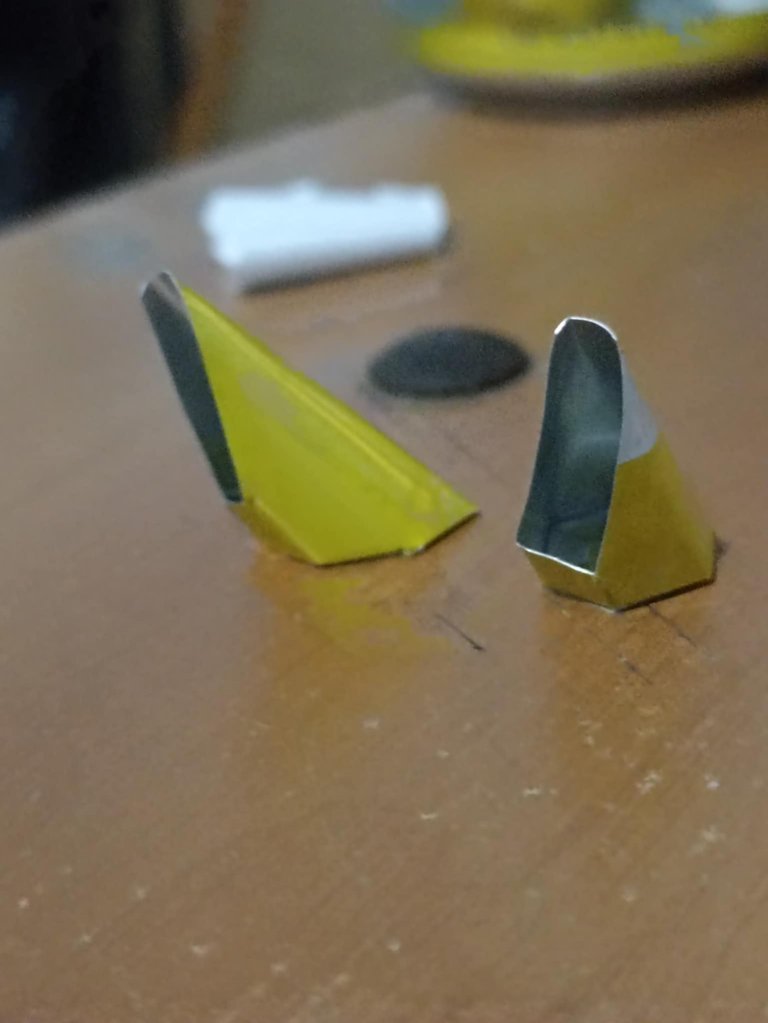
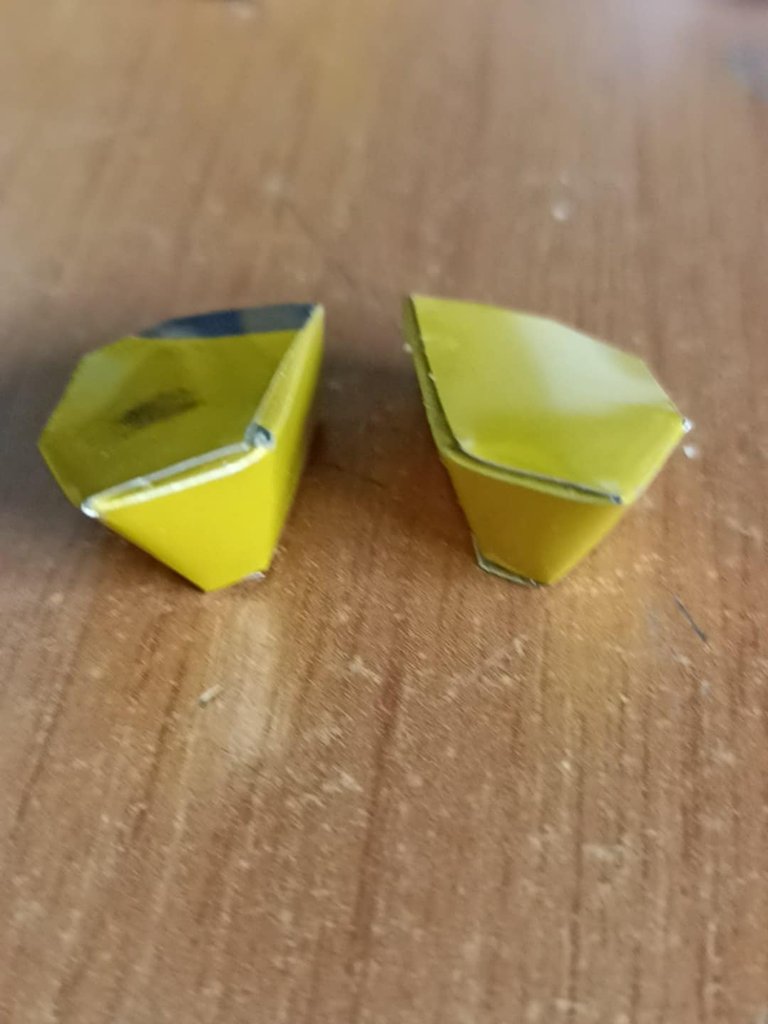
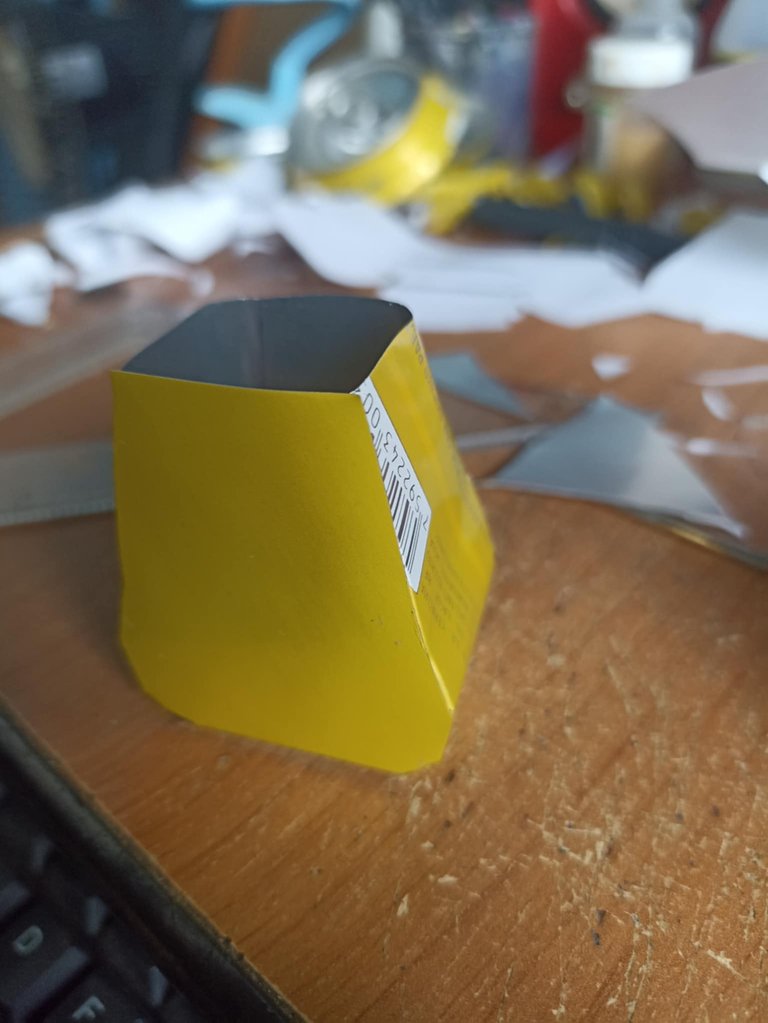
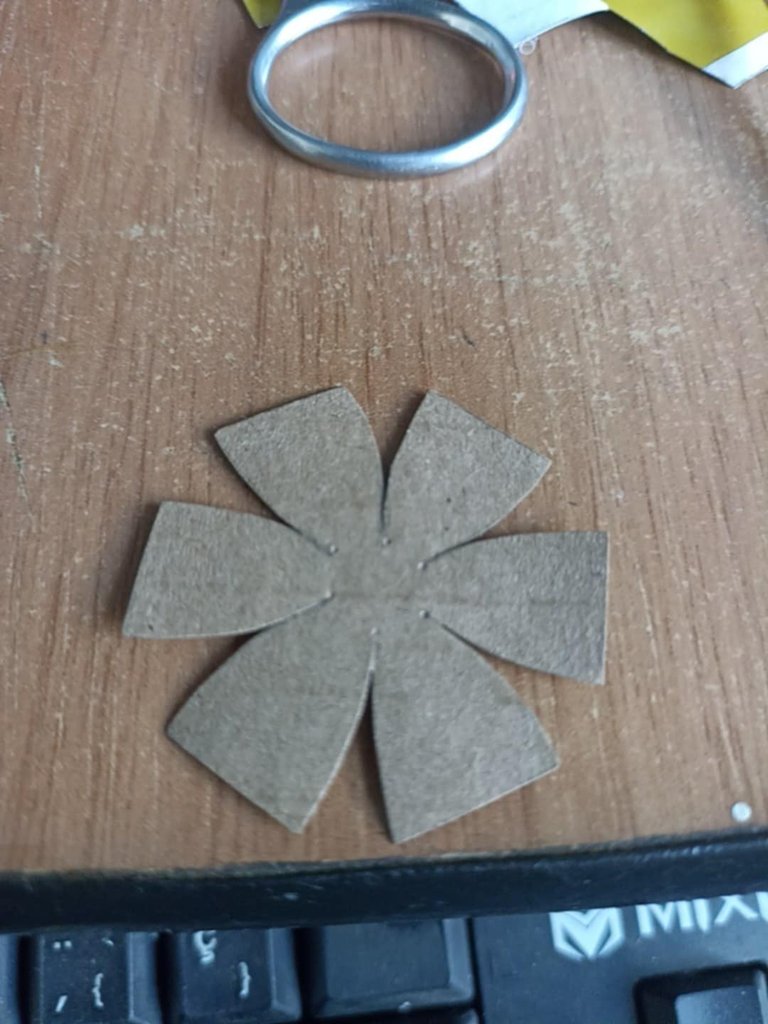
I started with the head, which is made of two pieces that are then joined together. It could be seen as the top part where the ears go and the bottom part that is then attached to the neck. At the end of the post, I'll leave some templates in case anyone wants to make them out of cardboard; it'll be a lot of fun.
Comencé por la cabeza, que esta hecha de dos piezas que luego se unen. Podría verse como la parte superior donde van las orejas y la parte inferior que luego va sujetada al cuello. Al final del post dejaré unas plantillas por si alguien desea hacerlas en cartulina, se divertirá muchísimo.
 |  |  |
|---|---|---|
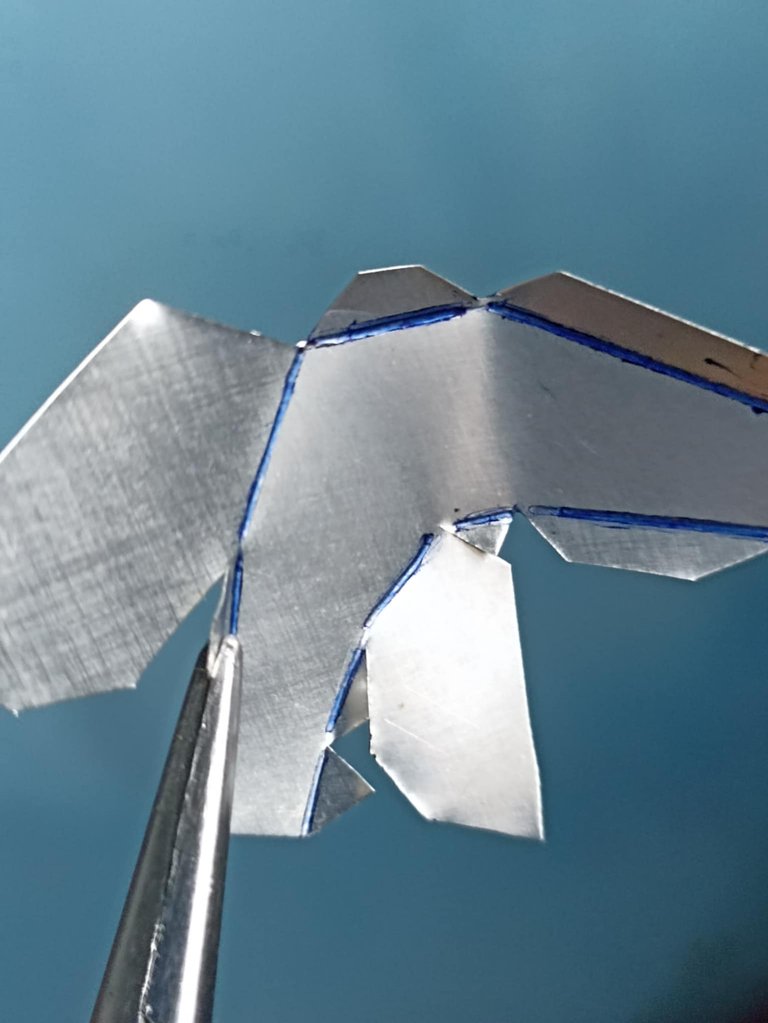 | 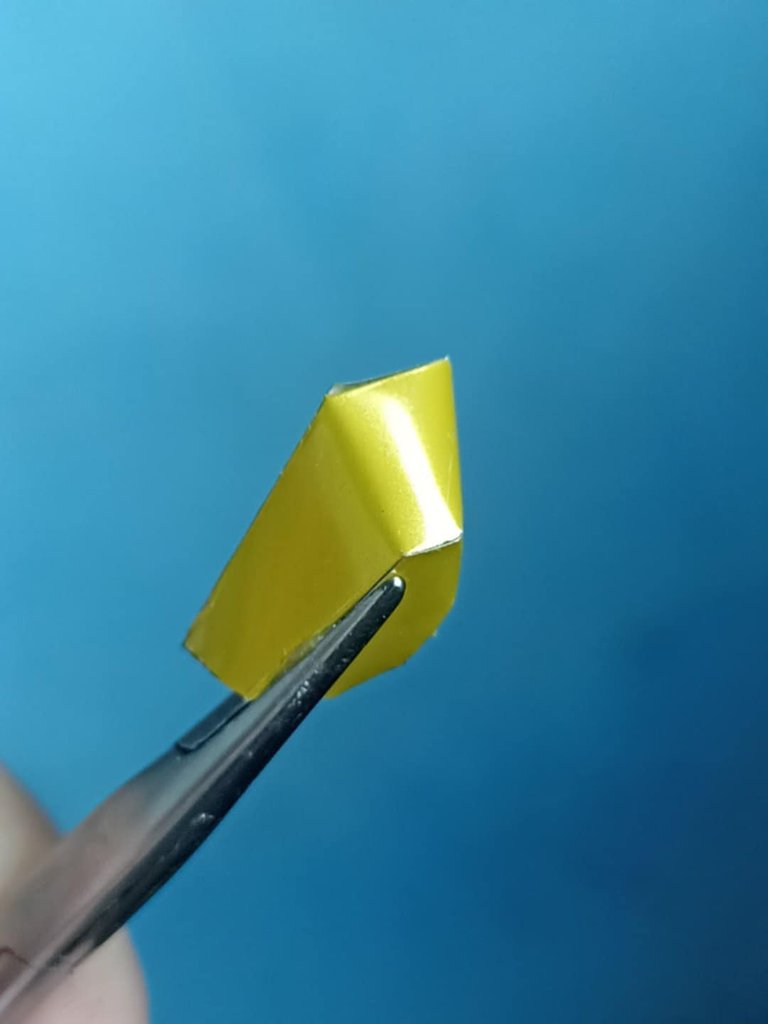 |  |
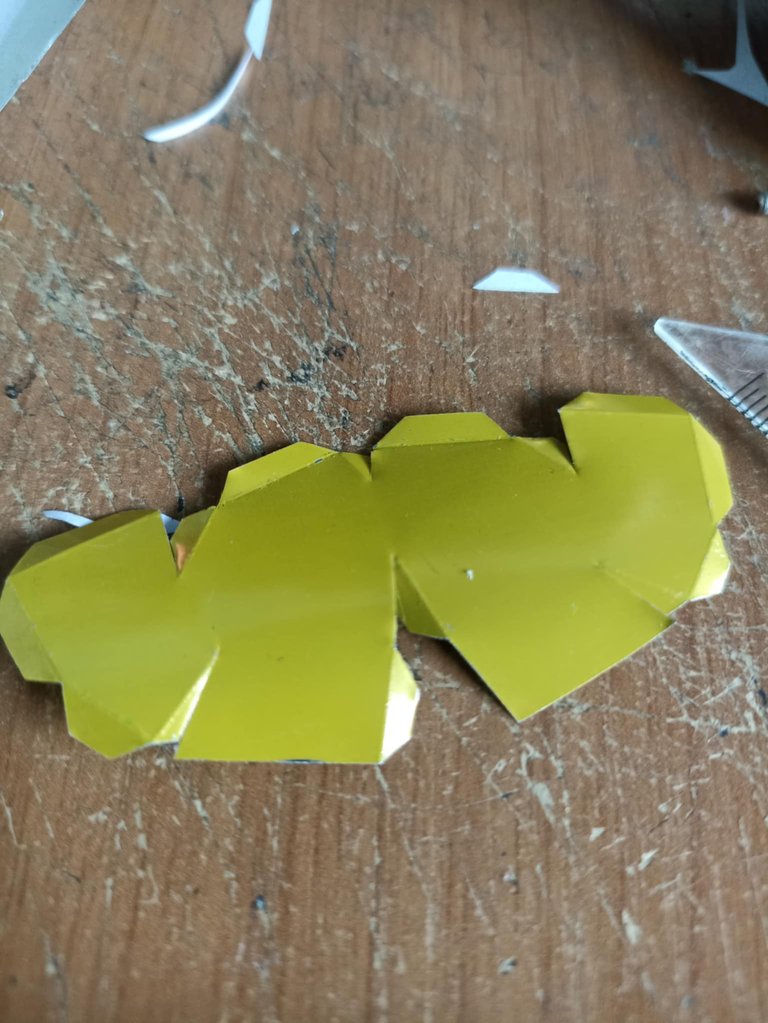
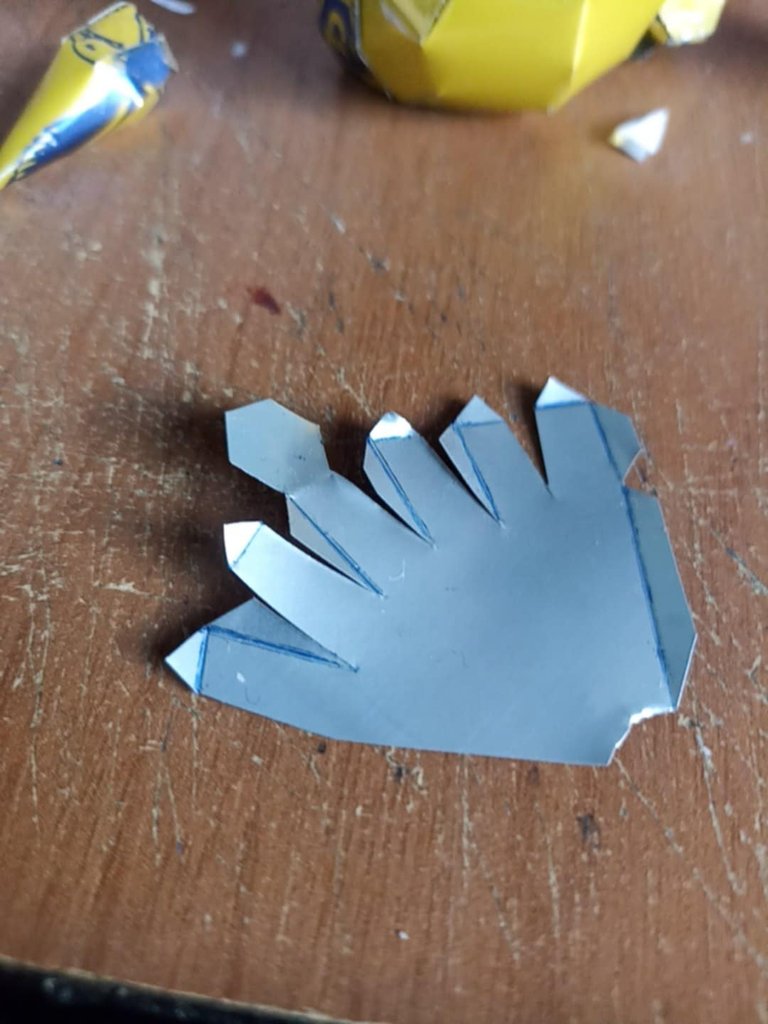
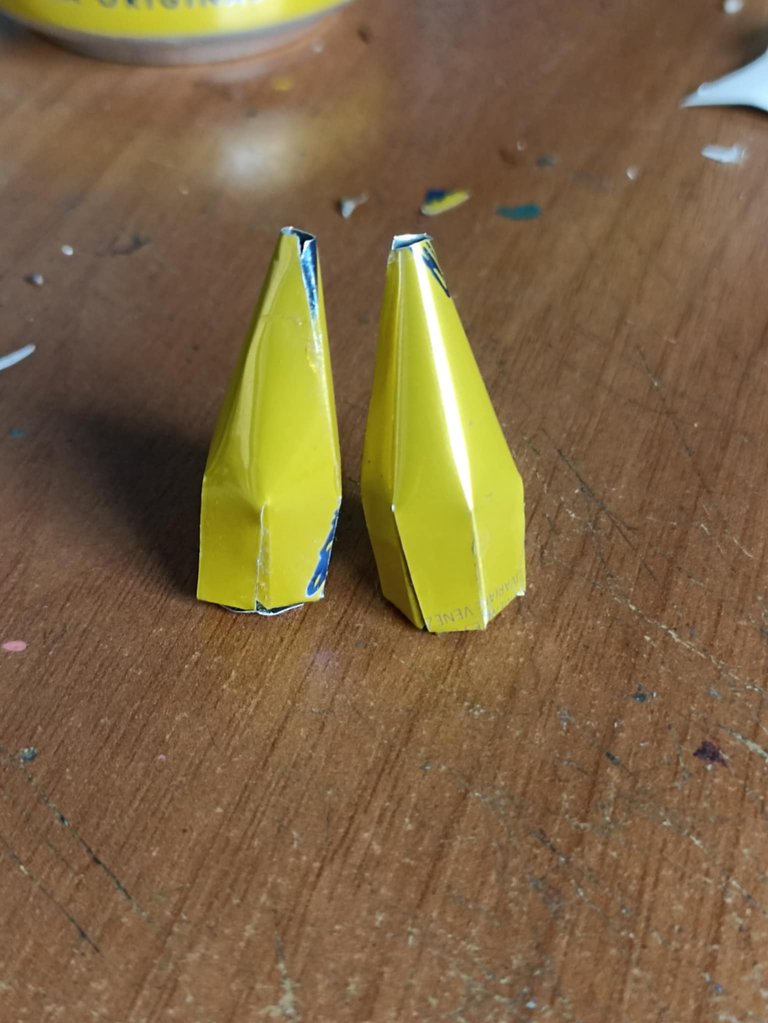
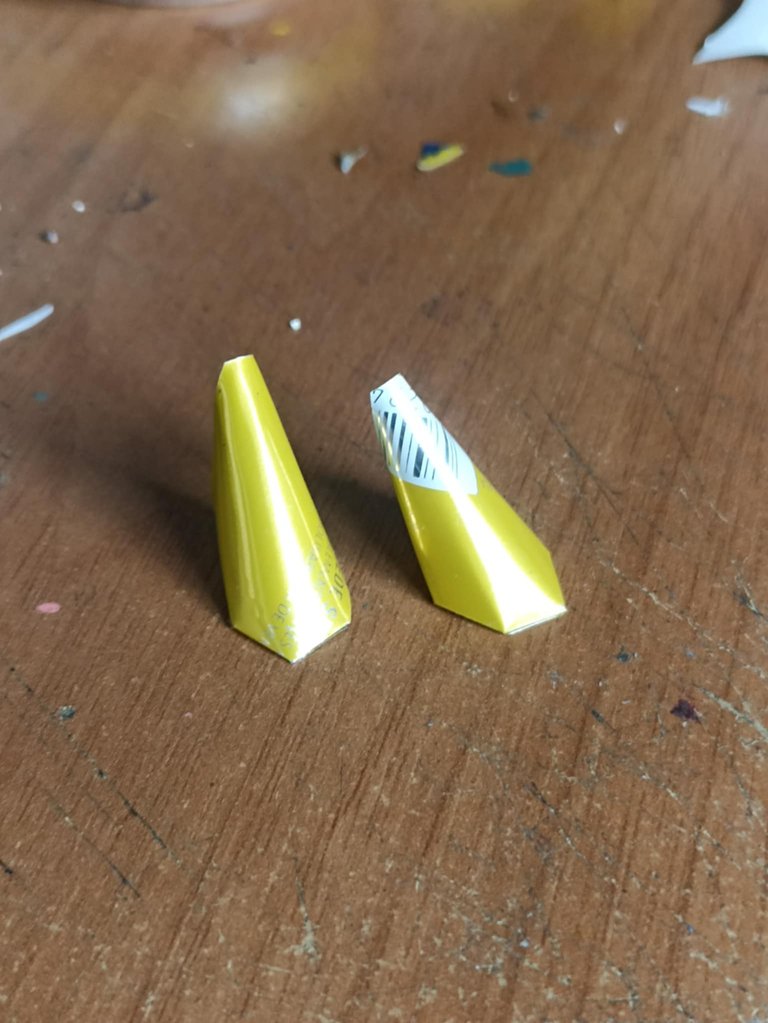
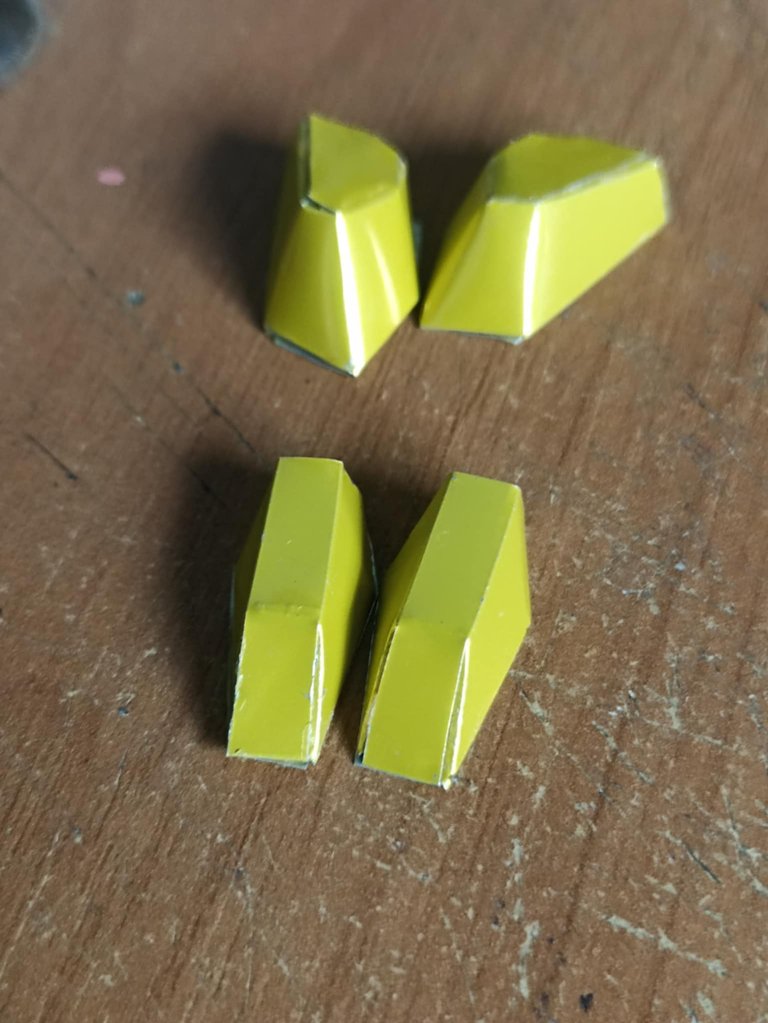
Then I continue making what would be smaller pieces, although they are also a bit complicated since they have to be folded precisely, this is how I make, for example, the two ears, the two little arms and part of the legs.
Luego sigo realizando lo que serían piezas más pequeñas, aunque también son un poco complicadas ya que se deben doblar con precisión, es así como hago por ejemplo, las dos orejas, los dos brazitos y parte de las piernas.
 |  | |
|---|---|---|
 |  |
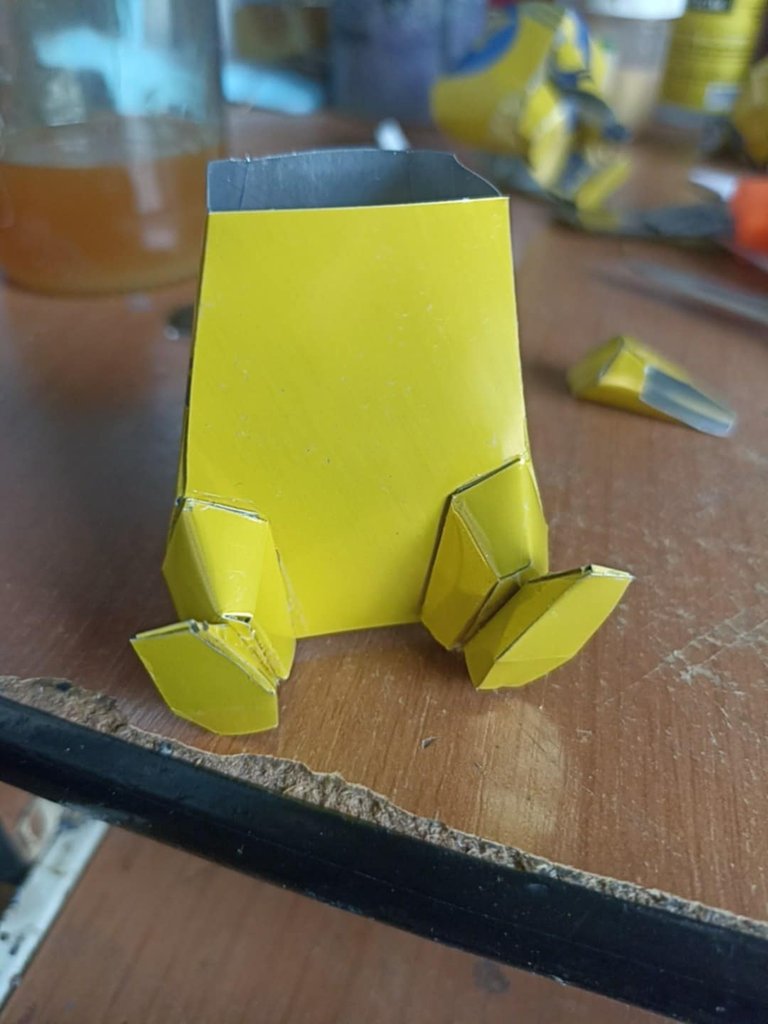
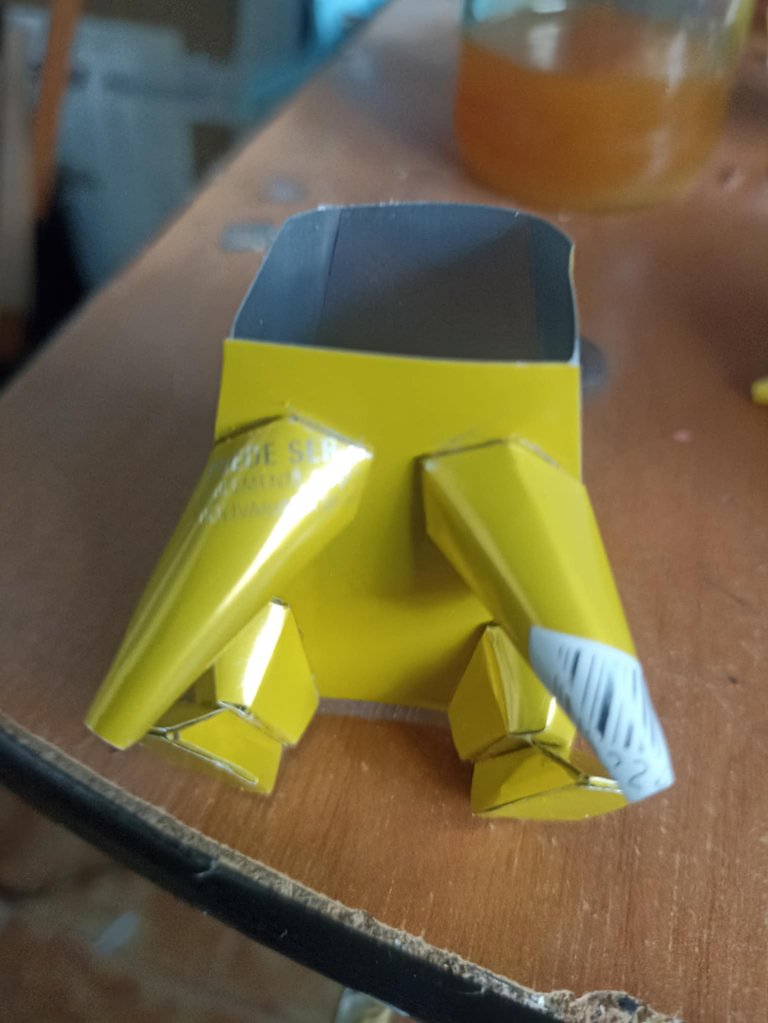
Next, I make the largest piece, which would be the largest part of the body, including the feet. As you can see, I hold the glued parts together with the clamps at the ends. I then hold them together for a while until they are firmly in place.
Seguidamente haco la pieza más grane que sería la mayor parte del cuerpo, incluyento también lo que serían los pies. Como pueden observar, con la pinza sujeto por los extremos de la peiza donde coloco el pegamento, luego sujeto las partes que se pegaron un buen rato hasta que quede bien fijado.
 |  | |
|---|---|---|
 | 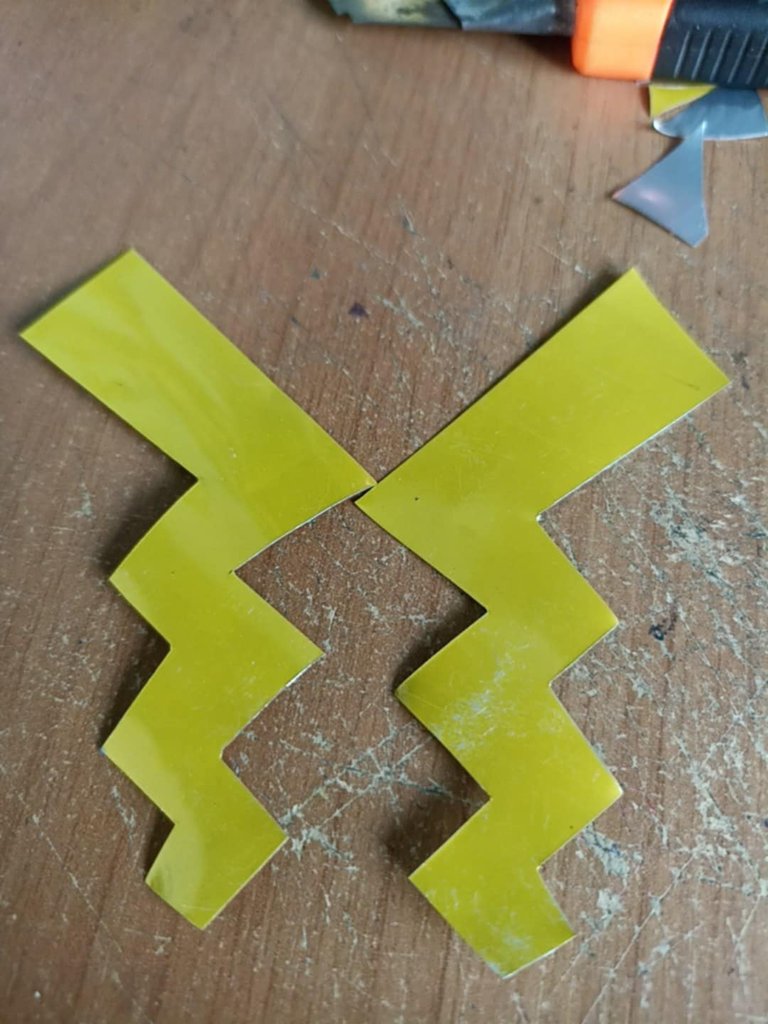 |
Recapitulating each of the pieces, I've already made the ears, arms, legs, and feet, and finally, I'm adding the tail. For the tail, I cut two identical pieces, but with yellow edges, and then join them together. This also helps make the tail piece stronger and more stable.
Rcapitulando cada una de las piezas, ya he realizado las orejas, los brazos, las piernas, los pies y por último agrgeo la cola. Para la cola corto dos piezas iguales pero con el color amarillo por los bordes para luego unirlos entre ellas. Esto también ayuda a que la pieza de la cola quede más dura y más estable.
 |  |  |
|---|---|---|
 | 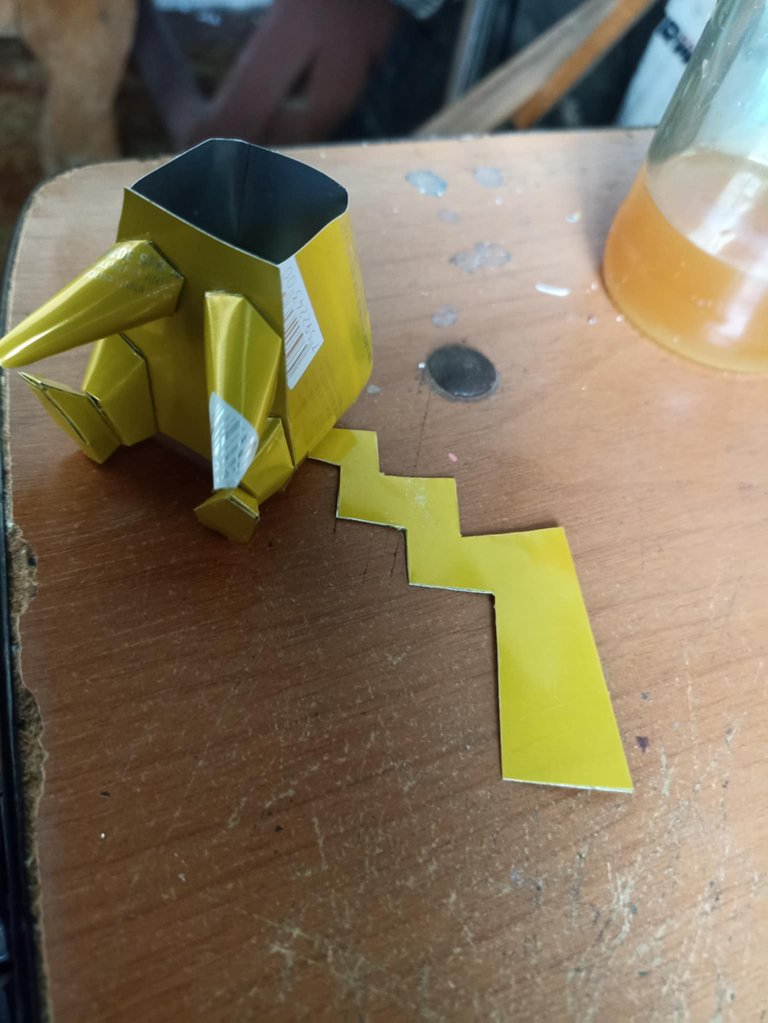 | 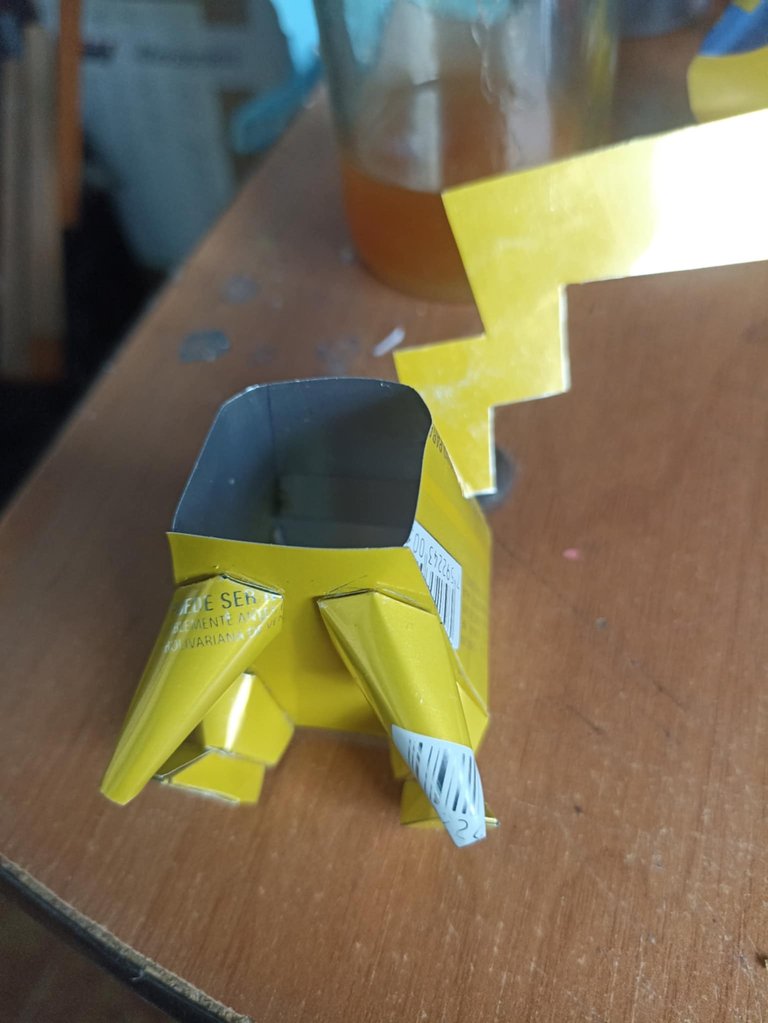 |
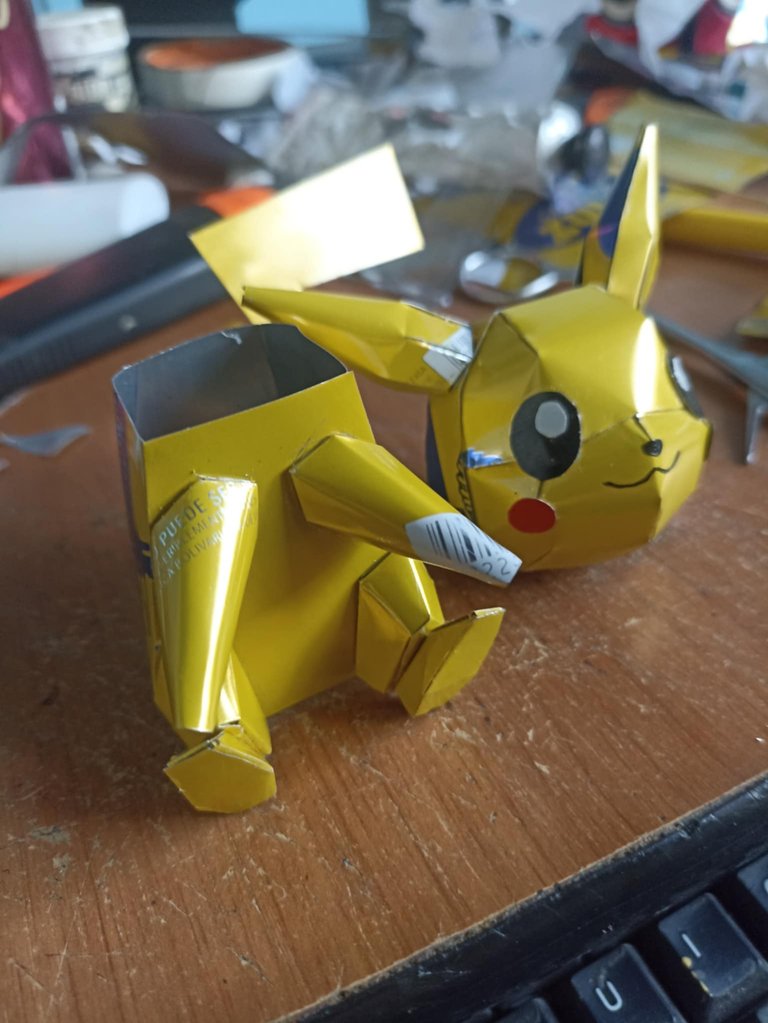
So, little by little, I begin to glue the pieces together. I start by placing the legs, then the arms, although I made a mistake here and put them on backwards, hehe, but I later fixed that mistake. I also added the ears to the head, and finally, I added Pikachu's signature lightning-bolt tail.
Entonces poco a poco comienzo a unir las piezas en su sitio con el pegamento. Comienzo colocando las piernas, luego los brazos, aunque aquí cometí un erro y los puse al revés, jeje, pero luego reparé ese error. También puse las orejas en la parte de la cabeza, por últiomo agregué la cola en forma de rayo que caracteríza a Pikachu.
 |  |  |
|---|---|---|
 |  | 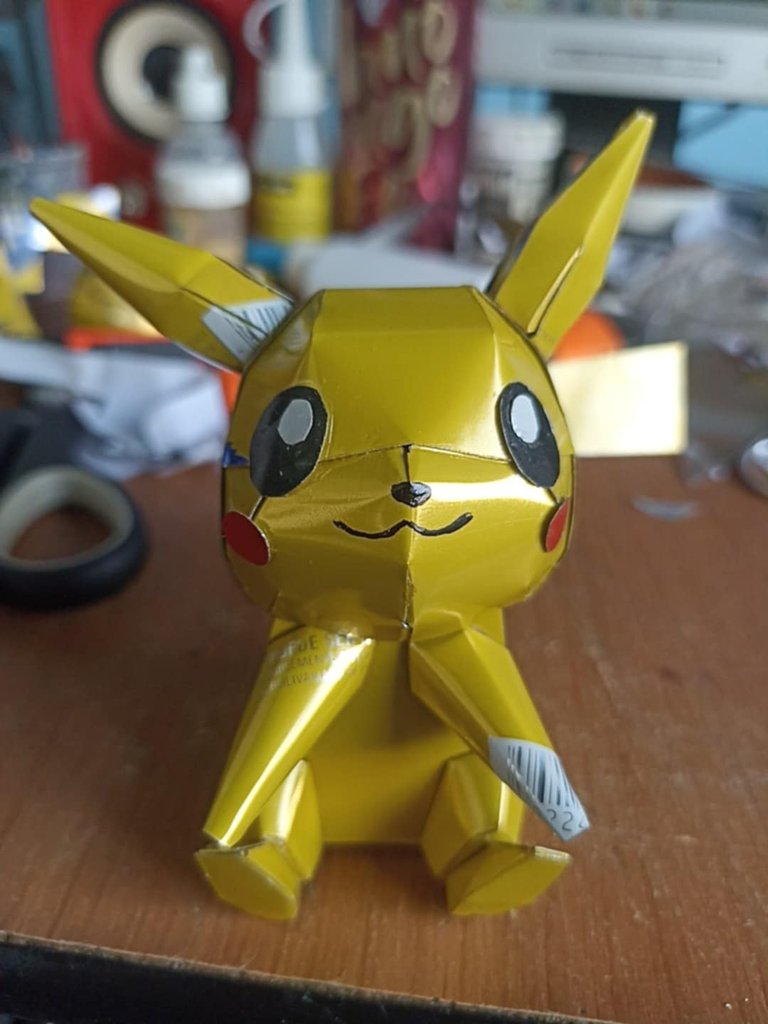 |
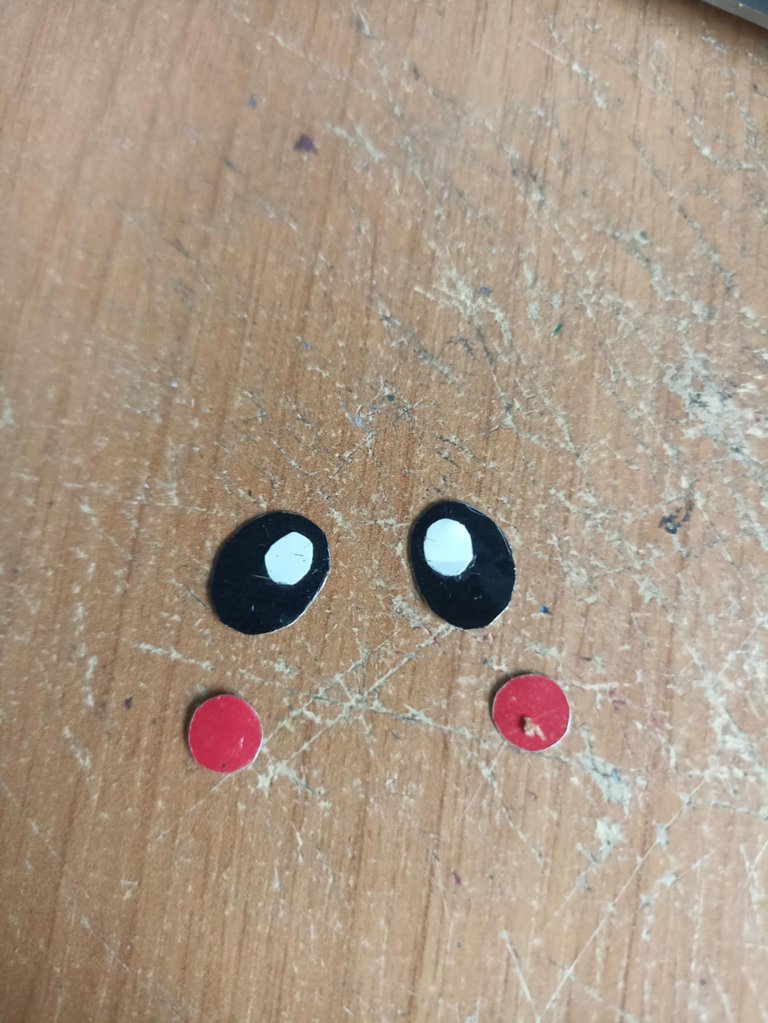
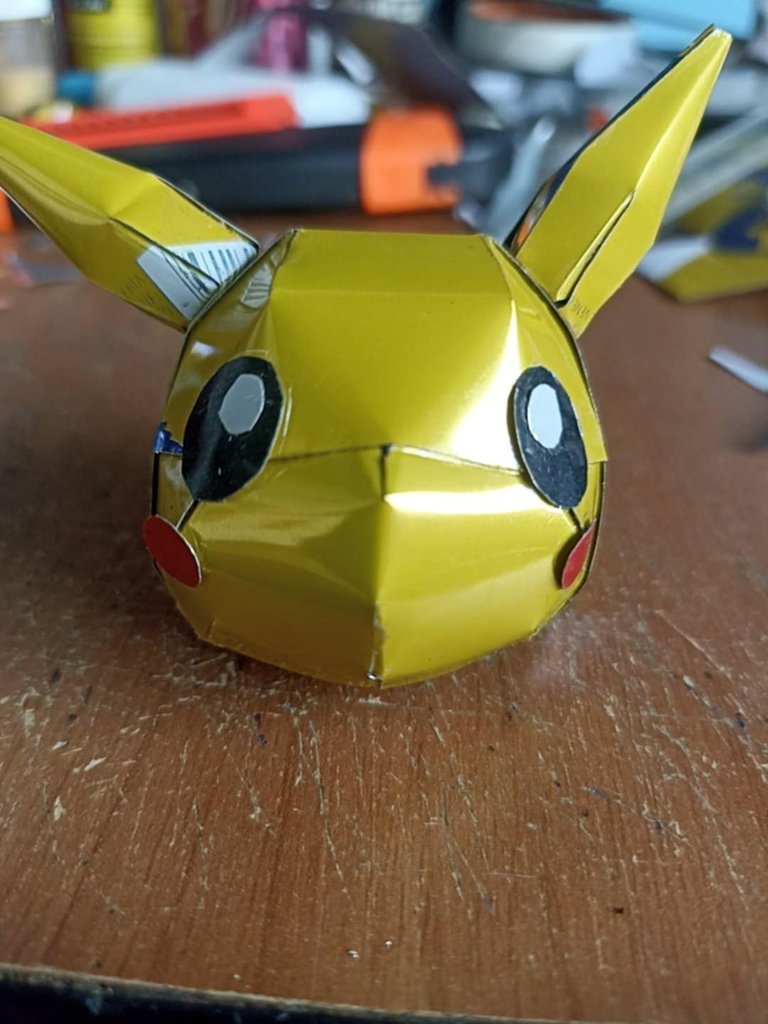
Another detail I added was making the eyes. I also made each part using an aluminum can: the dark and white parts of the eyes, as well as the red circles on Pikachu's face. I added them, and finally, I had to paint his nose and smile. Once I'd finished, I assembled both parts of the body. Now that I've finished, there's only a little bit left.
Otro detalle que agregué fue hacer los ojos, cada parte lo hice también utilizando lata de aluminio, la parte oscura y blanca de los ojos, así también los círculos rojos que tiene Píkachu en so rostro. Lo fui colocando y por último tuve que pintar su naríz y su sonrisa. Terminado ya a este punto ensamblé ambas partes del cuerpo, ahora solo falta poco.
 |  | |
|---|---|---|
 | 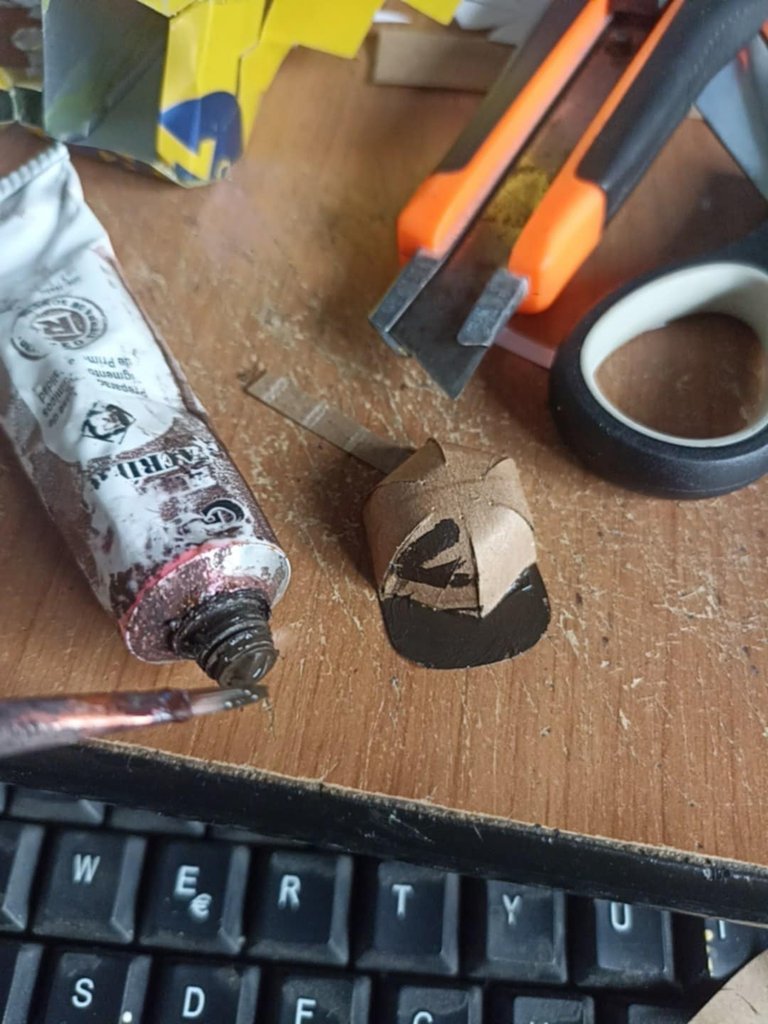 |
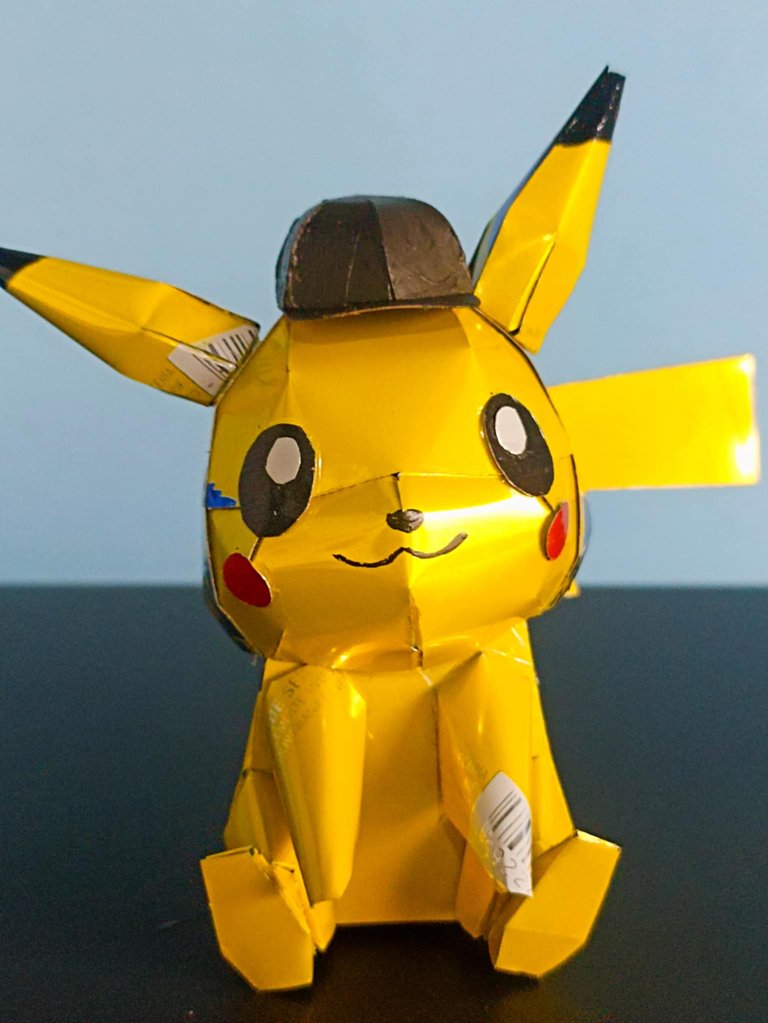
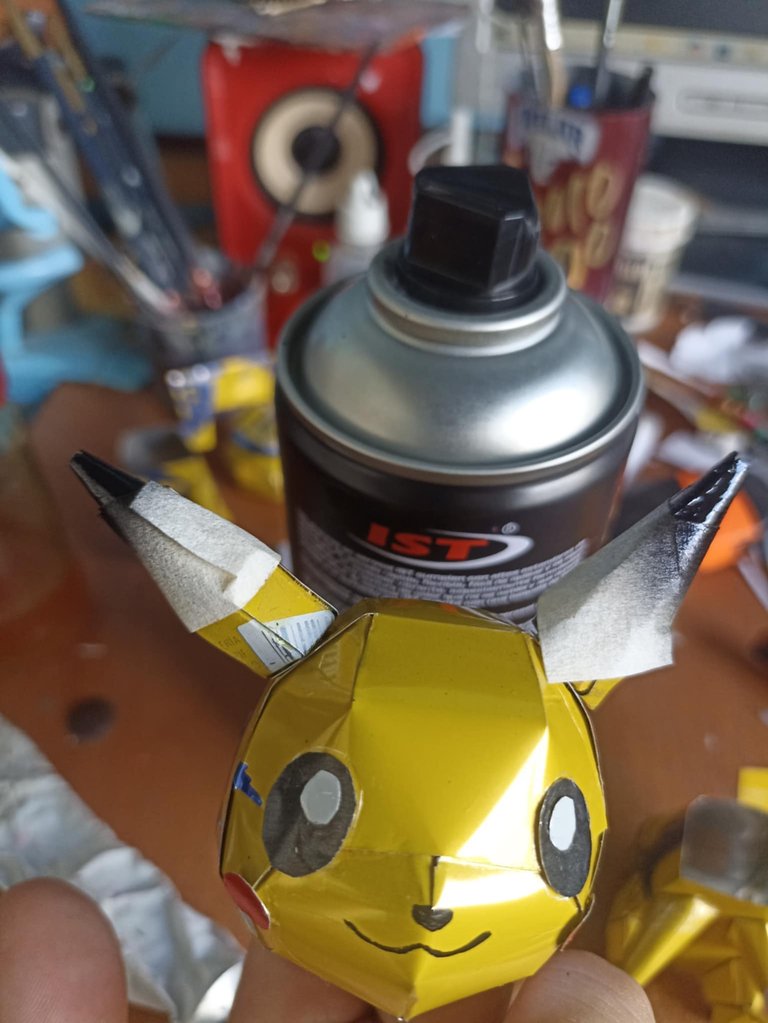
With glossy black spray paint I painted the tips of the ears, since Pikachu has them like that, then on a piece of cardboard I made the little cap that turns him into Detective Pikachu, but not before painting the cap with black acrylic paint, and that's how it was finished.
Con pintura spray de color negro brillante pinte la punta de las orejas, ya que Pikachu las tiene así, luego en una pieza de cartón hice la pequeña gorrita que lo convierte en Detective Pikachu, no sin antes pintar la gorrita con pintura acrílica de color negro, y así quedó finalizado.

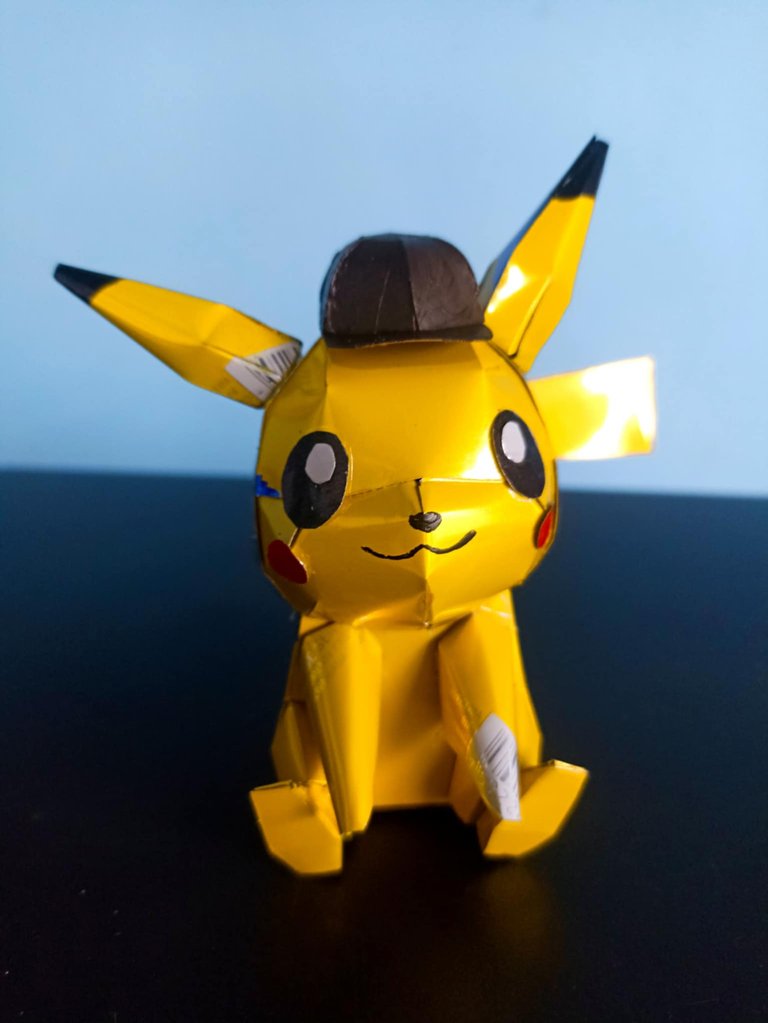
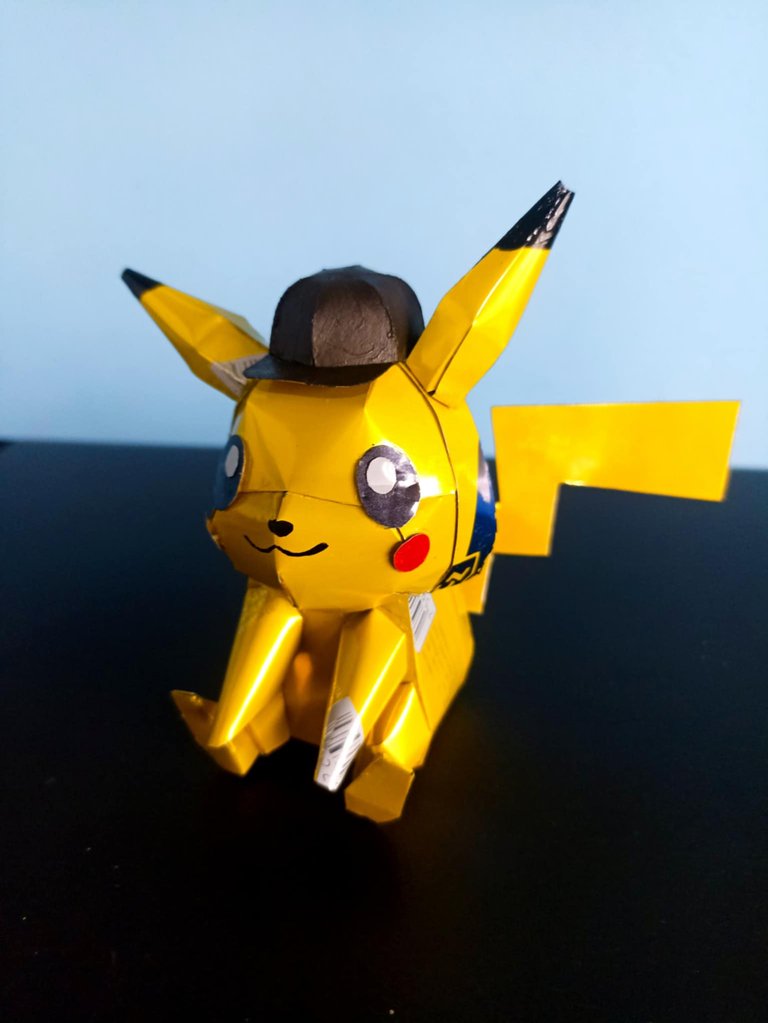


What did you think of the result? I think it was great. The color of the can turned out shiny, very clean, and it looks very handmade. Would you like to see Pikachu dressed as Deadpool? If you support the idea, let me know, and I'll gladly make it for you. I hope you like it. If you want to continue seeing anime characters made in cans, be sure to support me. I'll say goodbye, see you soon!
Qué les ha parecido el resultado? creo que fue genial, el color de la lata quedó brillante, muy limpio además de que se ve muy artesanal. Les gustaría ver a Pikachu vestido como Deadpool? si apoyan la idea, háganmelo sabe ry con mucho gusto lo haré para ustedes. Espero que les haya gustado, si deseas seguir viendo personajes de anime hechos en lata no dejes de apoyar. Me despido hasta pronto!
Posted Using INLEO
Great work!
Thank you bro!
Hello @fixie! The Anime Realm team here 😊.
We want to thank you for choosing this community to publish your manga and anime related content.
Don't forget to check the rules and the suggested community guidelines post. Also, always keep in mind the importance of visiting and supporting other users' posts, those will allow us to keep growing as users and as a community.
We hope to see you soon. Greetings!
Thank you very much!
You are so creative! I love this one! Great job on creating another masterpiece! ^^
Thank you so much, I'm glad you liked it. There's nothing better than sculpting favorite characters.
https://www.reddit.com/r/upcycling/comments/1l5fh8a/pikachu_soda_can_sculpture/
This post has been shared on Reddit by @x-rain through the HivePosh initiative.
What a precious love and with this, I loved him.
!discovery 30
This post was shared and voted inside the discord by the curators team of discovery-it
Join our Community and follow our Curation Trail
Discovery-it is also a Witness, vote for us here
Delegate to us for passive income. Check our 80% fee-back Program
Wow this is amazing!😮 At first, I thought this was made out of paper and my jaw drop when I saw the Title.
I decided to use aluminum foil because it feels cooler and more durable. It was a lot of fun to be able to do it.
Se ve genial! Me encantó el resultado final
Muchas gracias hermano
https://www.reddit.com/r/Pokemonart/comments/1qt9mai/detective_pikachu_handmade_soda_can_sculpture/
This post has been shared on Reddit by @dayadam through the HivePosh initiative.