DIY: Detalles para envolver obsequios / Details for wrapping gifts (Esp/Eng)

[Esp]
¡Saludos comunidad!
Los cortes de servicio eléctrico, han hecho de las suyas, ha estado rudo por aquí...
Hoy estuve probando hacer un envoltorio especial para obsequios, donde puedes colocar dentro chocolates, flores o bien usarlo como organizador de lápices, es hecho con papel y cartón por lo cual es un detalle económico, está genial para involucrar a los más pequeños de la casa.
Me gustó su forma y textura, es genial, ahora que aprendí hacerlo, tengo una idea más para envolver los obsequios de una forma original.
! [English version]
Greetings community!
The power outages, have been a bit rough around here....
Today I was trying to make a special wrapping for gifts, where you can put inside chocolates, flowers or use it as a pencil organizer, it is made with paper and cardboard so it is an economic detail, it is great to involve the little ones of the house.
I liked its shape and texture, it's great, now that I learned how to make it, I have one more idea to wrap gifts in an original way.

Materiales / Materials
| Spanish | English | |
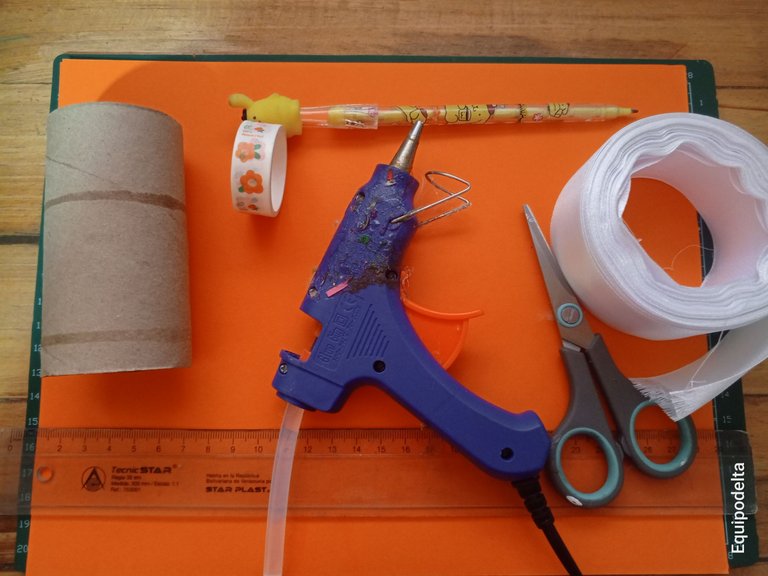
| Cinta Washi decorada | Decorated washi tape | |
| Papel de color, rollo de papel higiénico reciclado | Colored paper, recycled toilet paper rolls | |
| Tijeras, hilo | Scissors, thread | |
| Silicón caliente | Hot Silicone | |
| Cinta raso N° 9 | Satin ribbon N° 9 | |
| Regla, lápiz | Ruler, pencil |
Paso a paso / Step by Step
Step 1️⃣/ Paso 1️⃣
 |  | |
 |  |
[Esp]
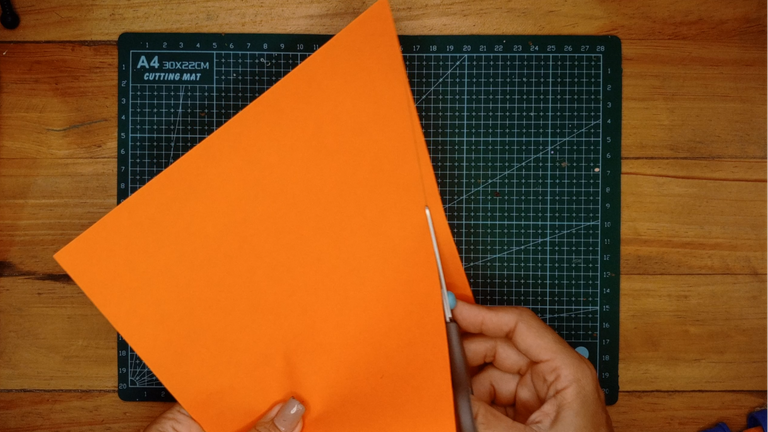
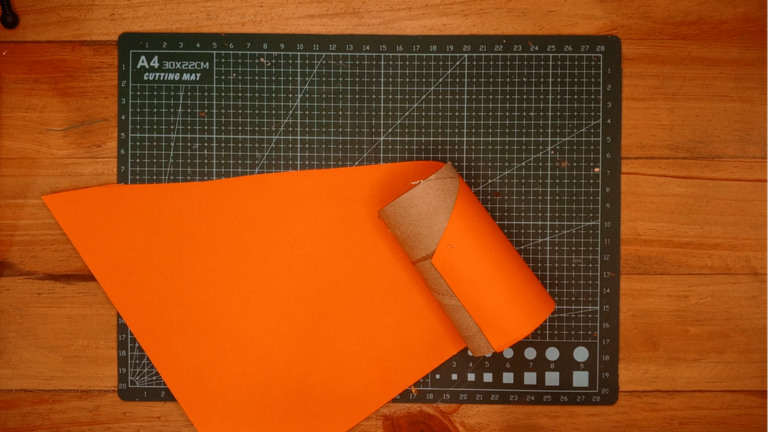
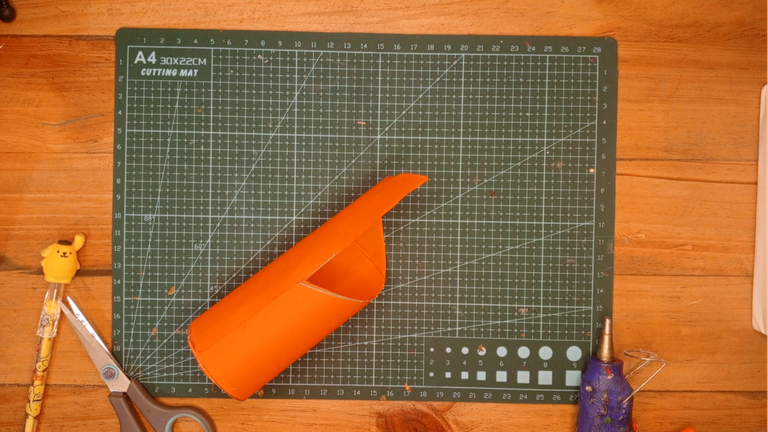
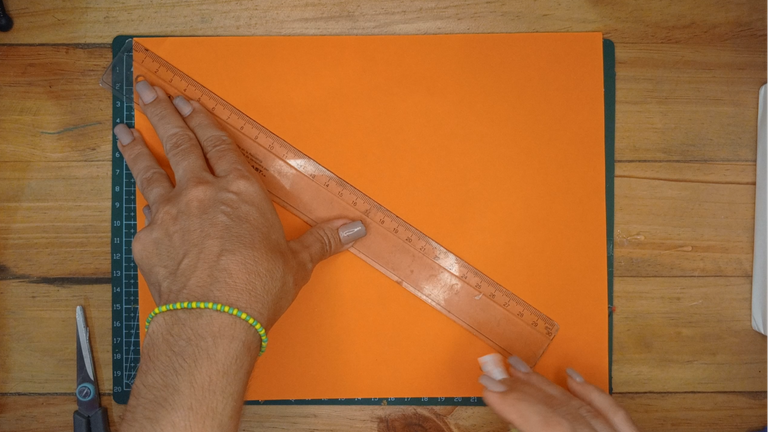
Toma la regla y con el lápiz traza una línea diagonal en el papel, recorta.
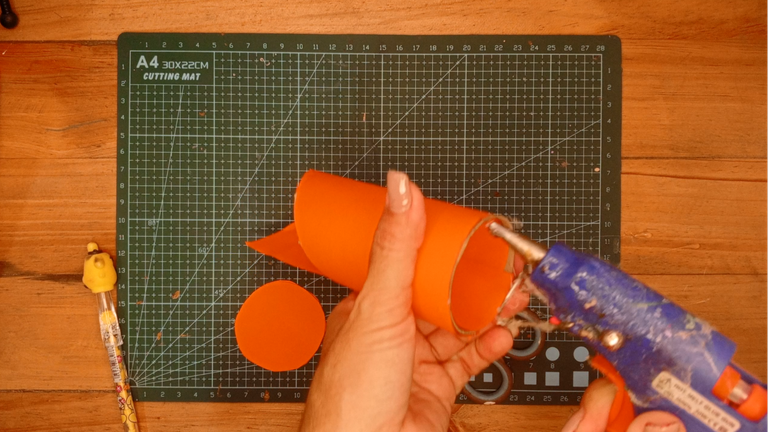
Forra el rollo de papel higiénico usando el silicón o cualquier pegamento.
! [English version]
Take the ruler and with the pencil draw a diagonal line on the paper, cut out.
Line the toilet paper roll using silicone or any glue.
Step 2️⃣/ paso 2️⃣
 |  | |
 |  |
[Esp]
Recorta dos círculos de cartulina o cartón del tamaño del cilindro de cartón (el rollo reciclado).
Forra ambos lados del círculo con el papel de color.
Pega el círculo a la base del cilindro y recorta los excedentes si los hubiera.
! [English version]
Cut out two cardboard circles the size of the cardboard cylinder (the recycled roll).
Line both sides of the circle with the colored paper.
Glue the circle to the base of the cylinder and trim off any excess.
Step 3️⃣/ paso 3️⃣
 |  | |
 |  |
[Esp]
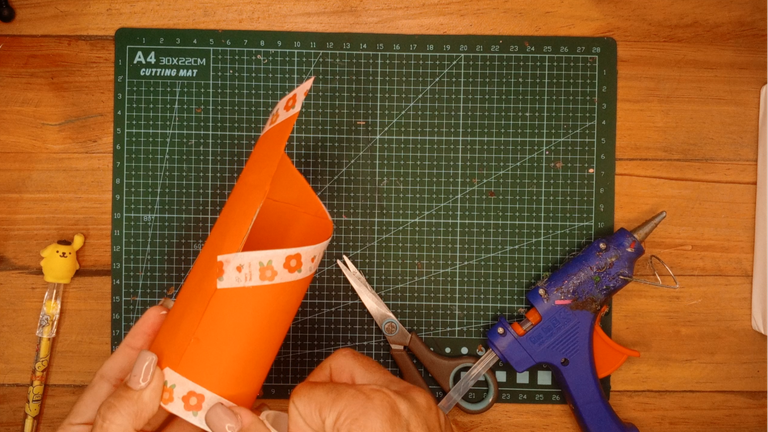
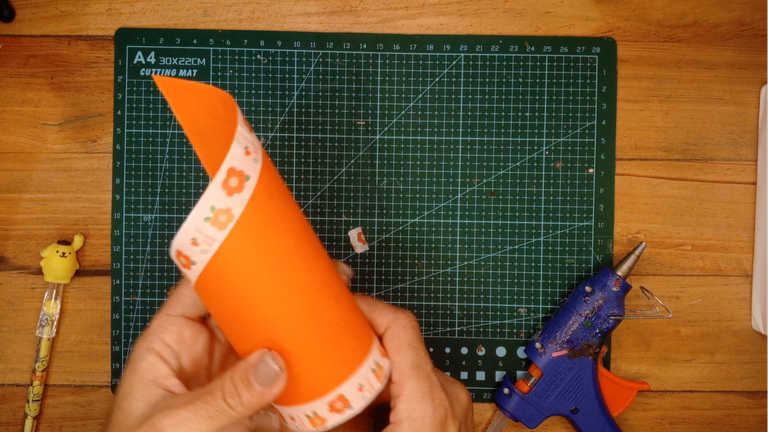
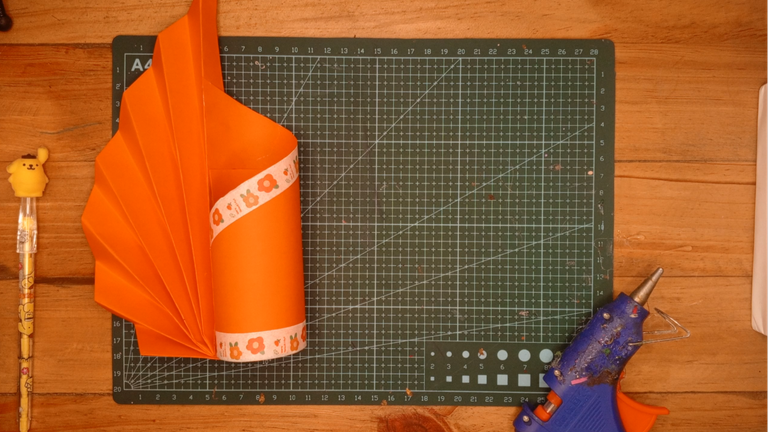
Toma la cinta Washi decorada y colócala en la base y en la parte superior, esto es para cubrir cualquier imperfección y para darle personalidad.
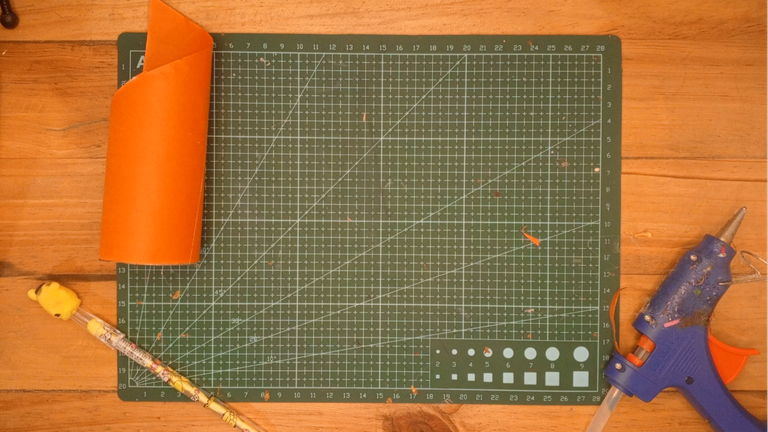
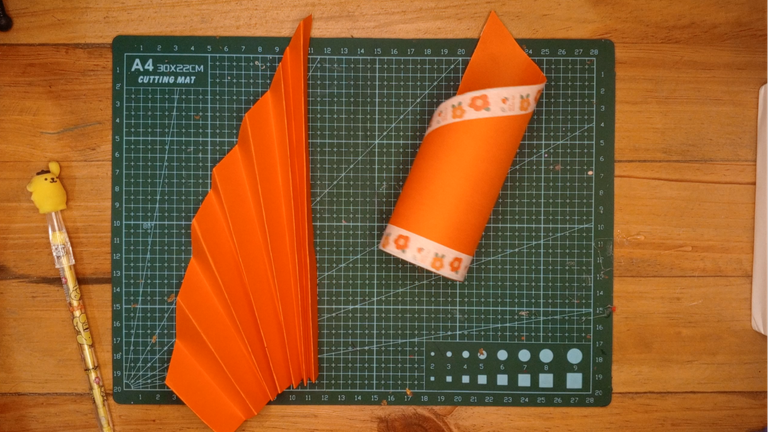
Toma otro papel y repite el primer paso, marca una línea diagonal en el papel y recorta.
Realiza pequeños doblez para adelante y para atrás en forma de acordeón.
! [English version]
Take the decorated washi tape and place it on the base and on the top, this is to cover any imperfections and to give it personality.
Take another piece of paper and repeat the first step, mark a diagonal line on the paper and cut out.
Make small folds back and forth in the shape of an accordion.
Step 4️⃣/ paso 4️⃣
 |  | |
 |  |
[Esp]
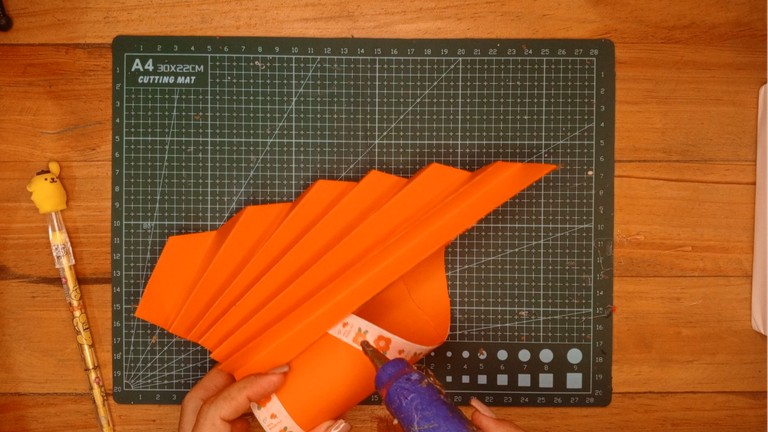
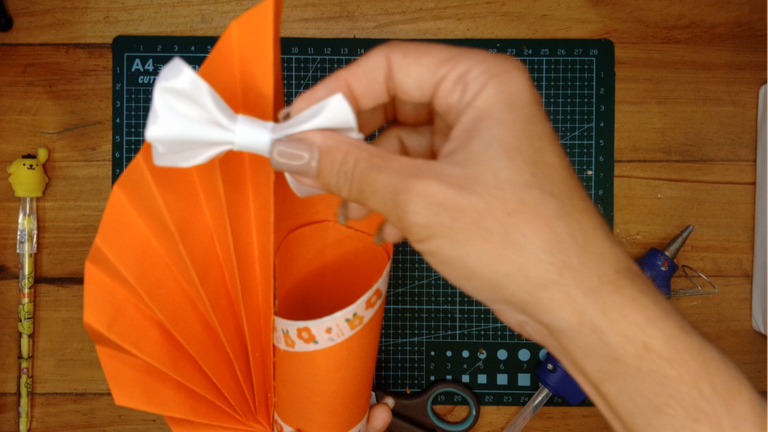
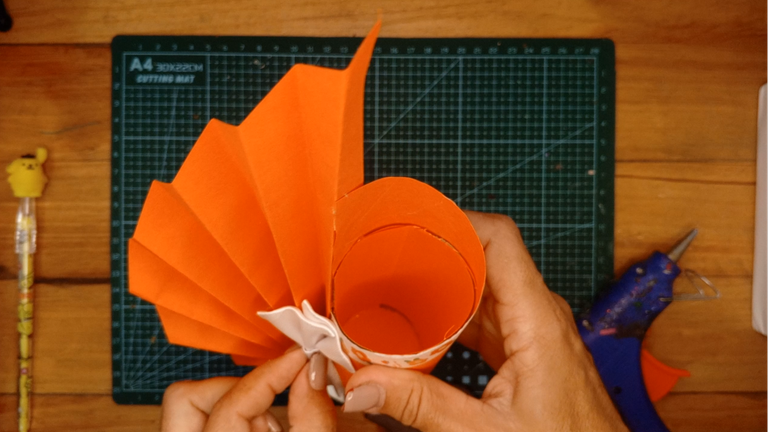
Toma la pieza de acordeón y pégala en el empate del papel.
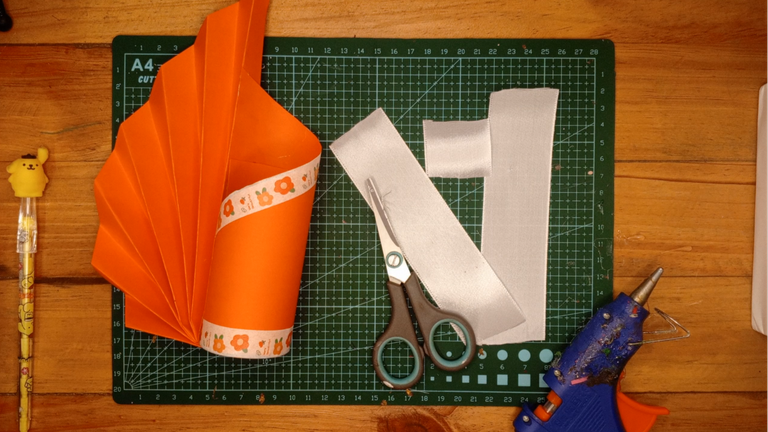
Corta dos piezas de cinta de raso de 5 centímetros y una de dos centímetros para cubrir el lazo.
! [English version]
Take the accordion piece and glue it to the paper tie.
Cut two pieces of satin ribbon of 5 centimeters and one of two centimeters to cover the bow.
Step 5️⃣/ paso 5️⃣
 |  | |
 |  |
[Esp]
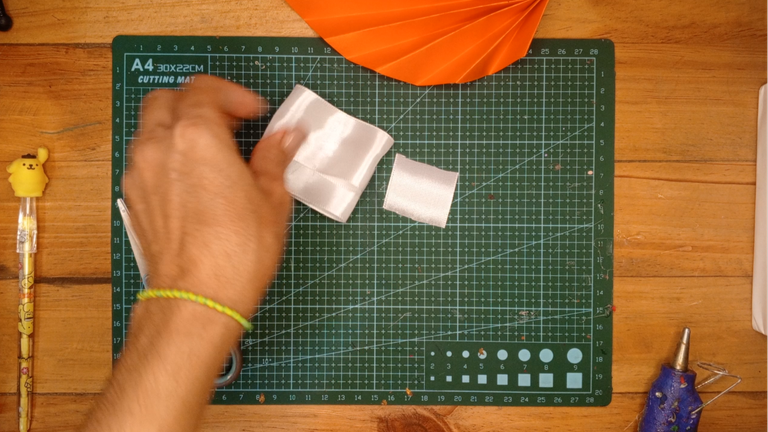
Toma cada trozo de cinta y coloca un poco de pegamento en el centro, dobla cada punta hacia adentro. Luego pega ambos dejando un centímetro por encima uno de otro.
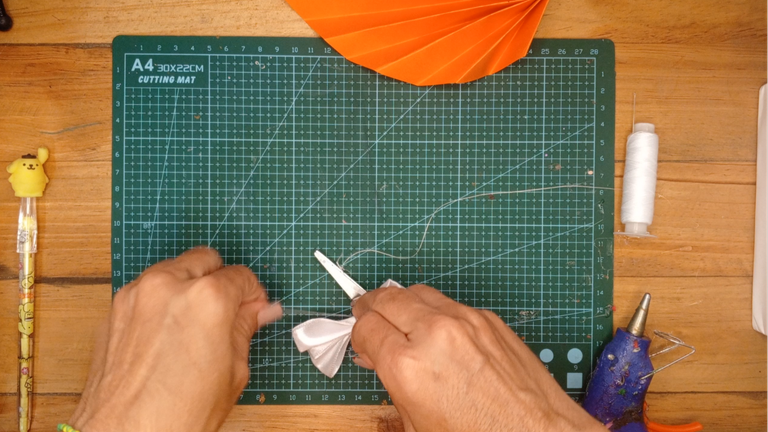
Ata un poco de hilo en el centro para formar el lazo, realiza un nudo.
Toma el trozo de cinta mas pequeño y aplica el mismo procedimiento, luego lo pegas en el centro del lazo cubriendo el hilo.
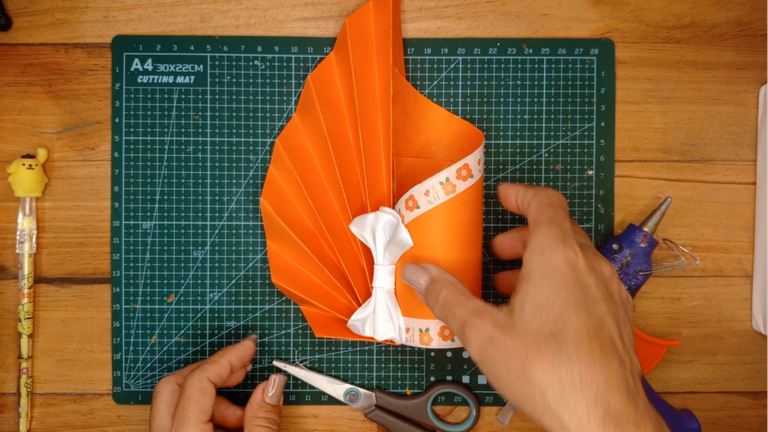
Pega el lazo en la unión del acordeón con el tubo.
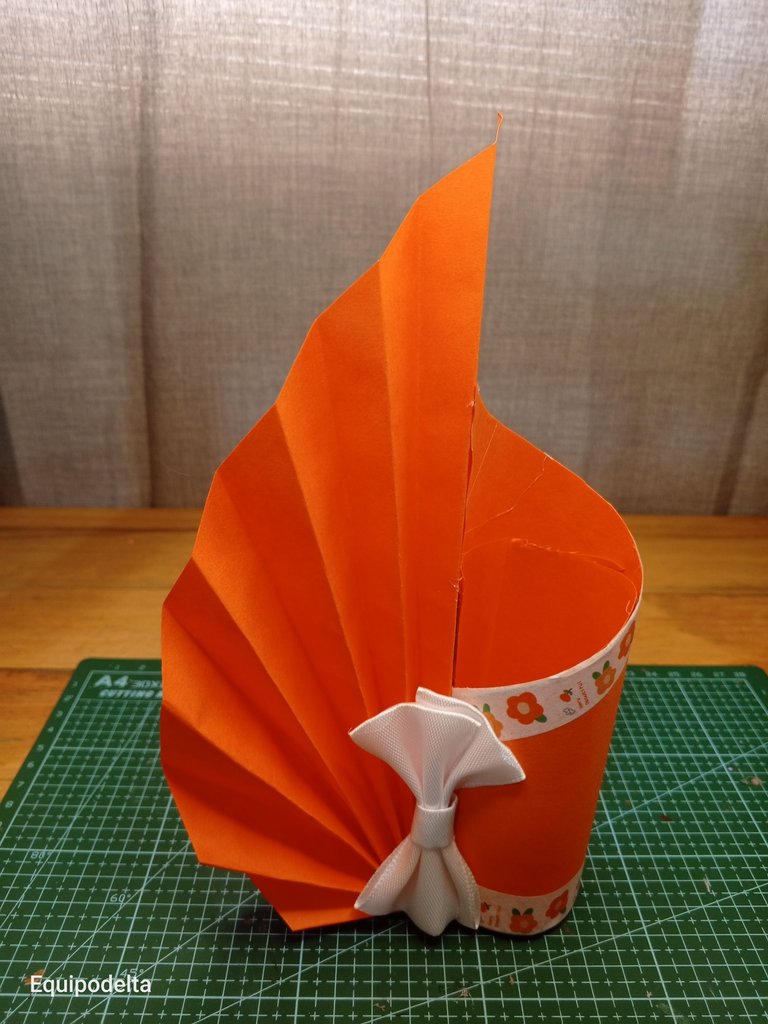
Con ellos hemos terminado este lindo proyecto.
Espero que les guste.
! [English version]
Take each piece of ribbon and place a little glue in the center, fold each end inward. Then glue them together leaving one centimeter above each other.
Tie some thread in the center to form the loop, tie a knot.
Take the smaller piece of ribbon and apply the same procedure, then glue it in the center of the loop covering the thread.
Glue the ribbon at the junction of the accordion and the tube.
With these we have finished this cute project.
I hope you like it.


Créditos / Credits

💜💜💜
![]() 👉
👉  👉
👉 ![]() 👉
👉 ![]() 👉
👉 
Here / Bríndame un café

Posted Using INLEO
Que bonito y delicado también sirve como porta-lapices. Saludos.
Siii, ahorita lo tengo con mis brochitas de maquillaje. Se ve coqueto.
Congratulations @equipodelta! You have completed the following achievement on the Hive blockchain And have been rewarded with New badge(s)
Your next target is to reach 470000 upvotes.
You can view your badges on your board and compare yourself to others in the Ranking
If you no longer want to receive notifications, reply to this comment with the word
STOPCheck out our last posts:
Que hermoso diseño, lo que mas me gusto es que puede servir como envoltorio y a la vez como organizador de lapices, doble uso (o triple quiza) jeje es muy lindo amiga, muy elegante 😍
Este uso del washitape no lo había visto antes 😮 hay muchos ejemplos en journaling pero ay ay, en una alternativa para cajita de regalo esta genial 😍 lo tengo que intentar, te quedo muy bonito amiga y el color de la cartulina me da hambre xDDD #LaPsicologiaDelColorAlAtaque 🍫 👄 🍫
Una excelente opción para presentar nuestros regalos con mucha originalidad
Super hermoso.. el color y el diseño son tan bellos.. Gracias por enseñarnos el proceso!
Que diseño más bonito! Me gusta que le da una segunda oportunidad al rollo de papel higiénico, pero también que el resultado final se ve elegante y a la vez divertido✨
Una obra de arte, muchas gracias por compartir este proyecto, ya que de cada uno aprendo jeje. Muchas bendiciones para su vida!
Pero qué genial esta idea, súper original y lo mejor es que se puede hacer con pocos materiales y reciclando! Muy bien hecho, gracias por compartir 🧡
Precioso. Me encantó
Realmente está muy bonito, va a ser difícil elegir entre el envoltorio o el regalo.
Quedo muy hermoso, se ve sencillo de hacer, me encanto.
Un hermoso arreglo, me encanto, el color anaranjado fue lo que resaltó, tiee varias funciones, gracias por compartir la idea.
Me encantó. Esos detalles pueden marcar la diferencia y hacer el obsequio mucho más significativo. Gracias por compartir
Hola bella @equipodelta, te quedo hermoso, es un detalle personalizado.
https://www.reddit.com/r/crafting/comments/1os2jhy/details_for_wrapping_gifts/
This post has been shared on Reddit by @equipodelta through the HivePosh initiative.