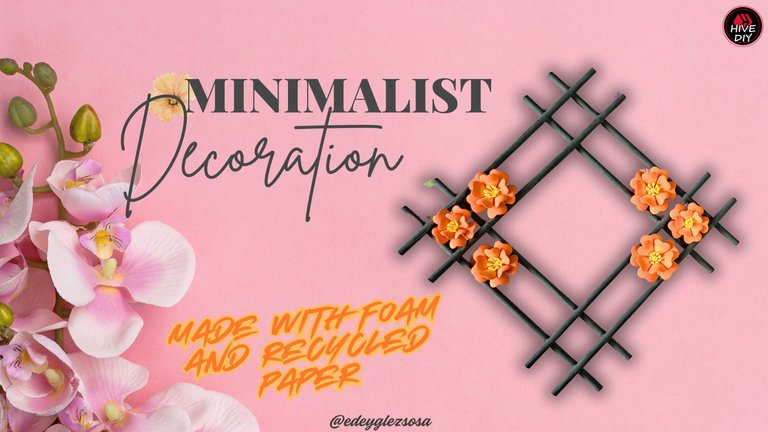
DIY: Minimalist decoration made with foam and recycled paper. [ENG+ESP]
Hello friends. It turns out that integrating minimalism into my crafts is something that I didn't think I would find complicated at the time. The thing is that, for me, this concept often bordered on low effort or scarcity. Actually, I didn't know how wrong I was, because minimalism allows me to transmit a lot with little and that is something I would like to integrate in my creative path.
Even so, when I set out to make a minimalist wall decoration, it was clear to me that I wanted something with flowers. Once I found a suitable design, I got down to work and little by little I put together this geometric figure adorned with beautiful orange flowers. And since the experience was so pleasant and the tutorial is so easy to replicate, today I bring it to you with pleasure. I hope you enjoy it.
Hola amigos. Resulta ser que integrar el minimalismo en mis manualidades es algo que no pensé que me resultaría complicado en su momento. La cuestión es que, para mí, ese concepto muchas veces rozaba lo que viene siendo el bajo esfuerzo o la escasez. En realidad, no sabía cuán equivocado estaba, pues el minimalismo permite transmitir mucho con poco y eso es algo que me gustaría integrar en mi trayectoria creativa.
Aun así, cuando me propuse hacer una decoración para pared minimalista, tenía claro que quería algo con flores. Una vez encontré un diseño adecuado, me puse manos a la obra y poco a poco fui armando esta figura geométrica adornada con hermosas flores naranjas. Y como la experiencia fue tan grata y es un tutorial tan fácil de replicar, hoy se los traigo con gusto. Espero que lo disfruten.
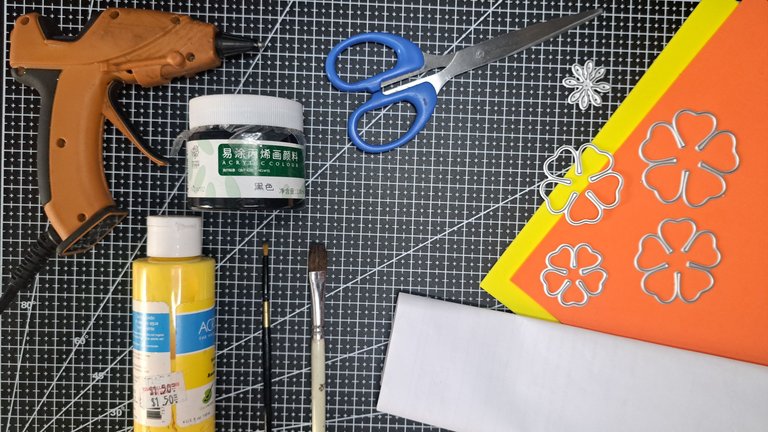
Materials // Materiales
| English | Español |
| ✔️ Yellow and orange plain fomi | ✔️ Fomi liso amarillo y naranja |
| ✔️ Black and yellow paint | ✔️ Pintura negra y amarilla |
| ✔️ Paintbrushes | ✔️ Pinceles |
| ✔️ Scissors | ✔️ Tijeras |
| ✔️ Flower-shaped metal cutting dies | ✔️ Troqueles metálicos de corte con forma de flor |
| ✔️ Hot silicone | ✔️ Silicona caliente |
Step by step // Paso a paso
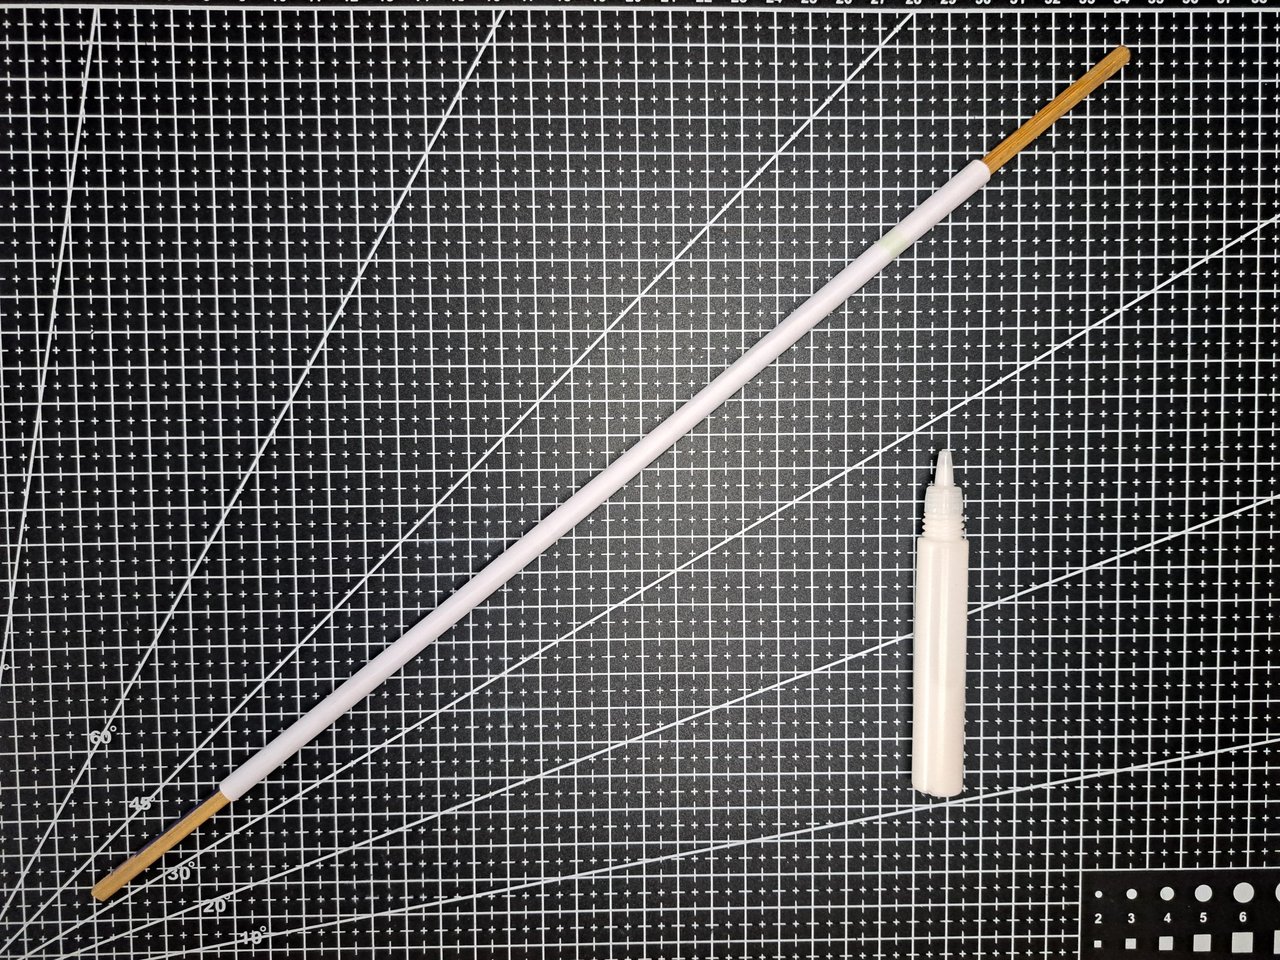
1️⃣ The first thing to do is to cut A4 sheets of paper in half. Each of these halves will be used to create paper tubes. To roll the paper and make the tubes, you can use a toothpick or a thinner metal cylinder.
Lo primero será cortar hojas de papel de tamaño A4 a la mitad. Con cada una de estas mitades se crearán tubos de papel. Para enrollar el papel y hacer los tubos, se pueden auxiliar de algún palillo o cilindro metálico más fino.
 | 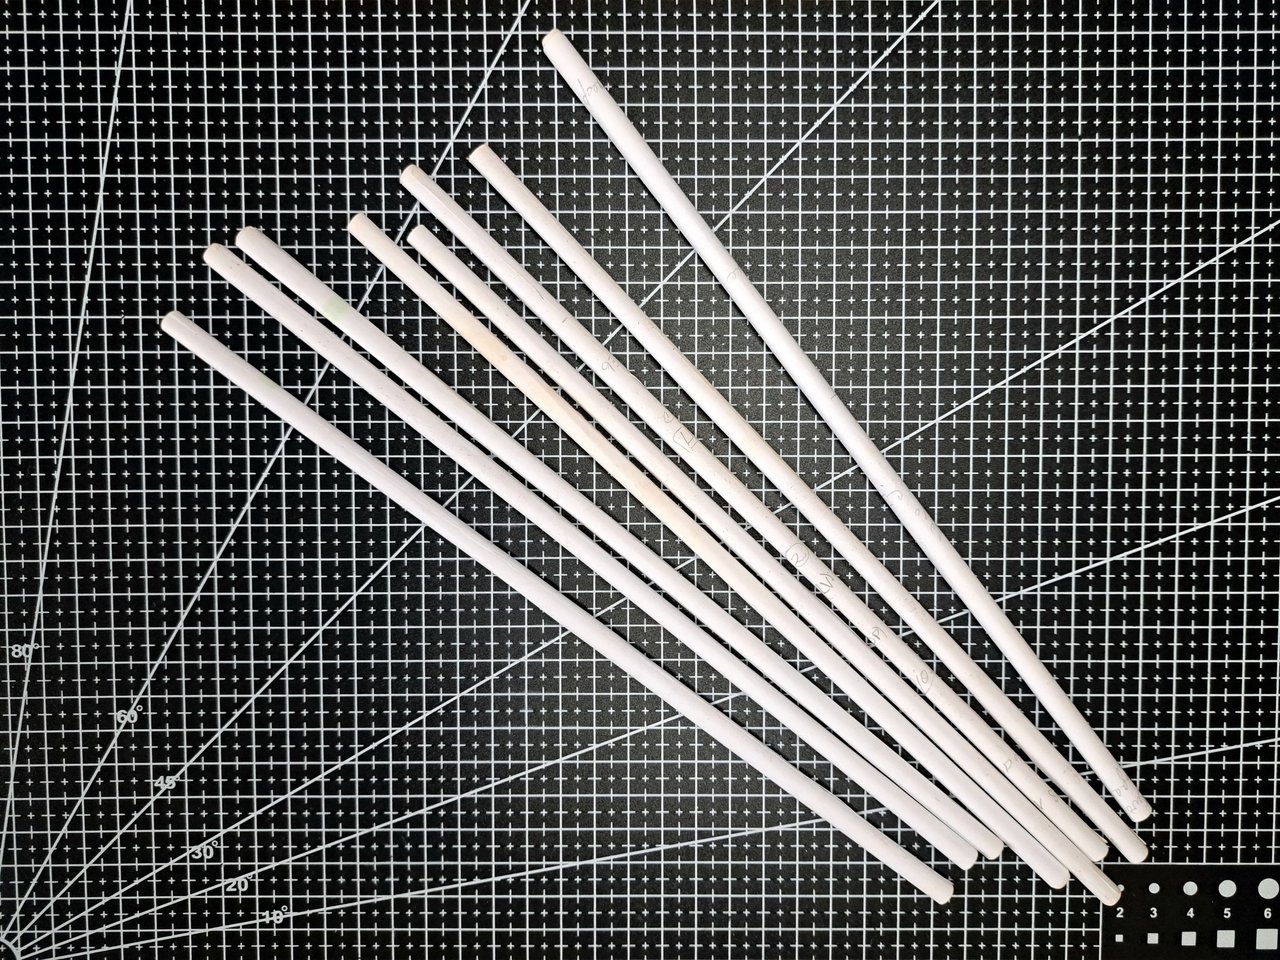 |
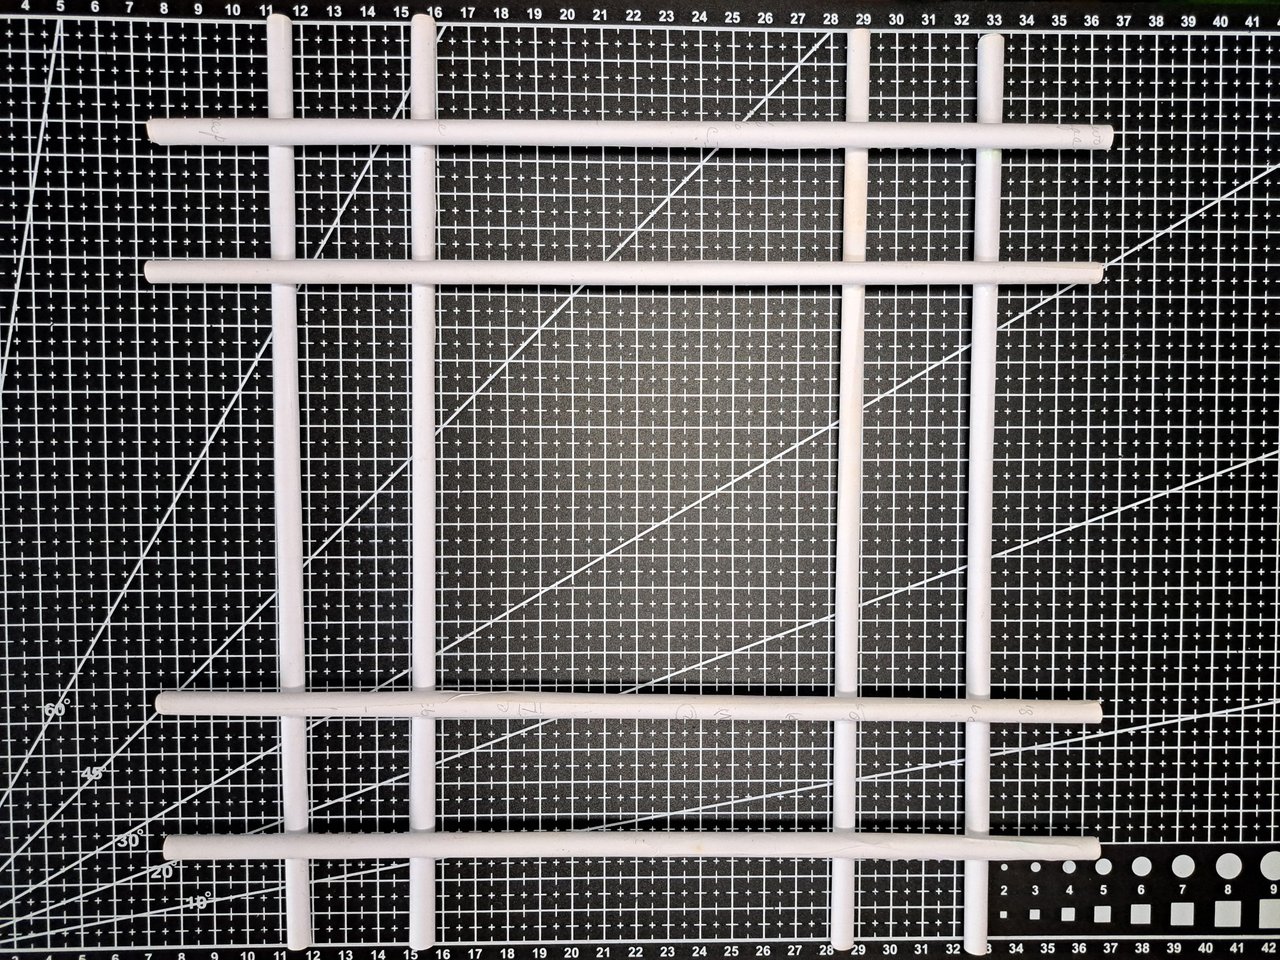
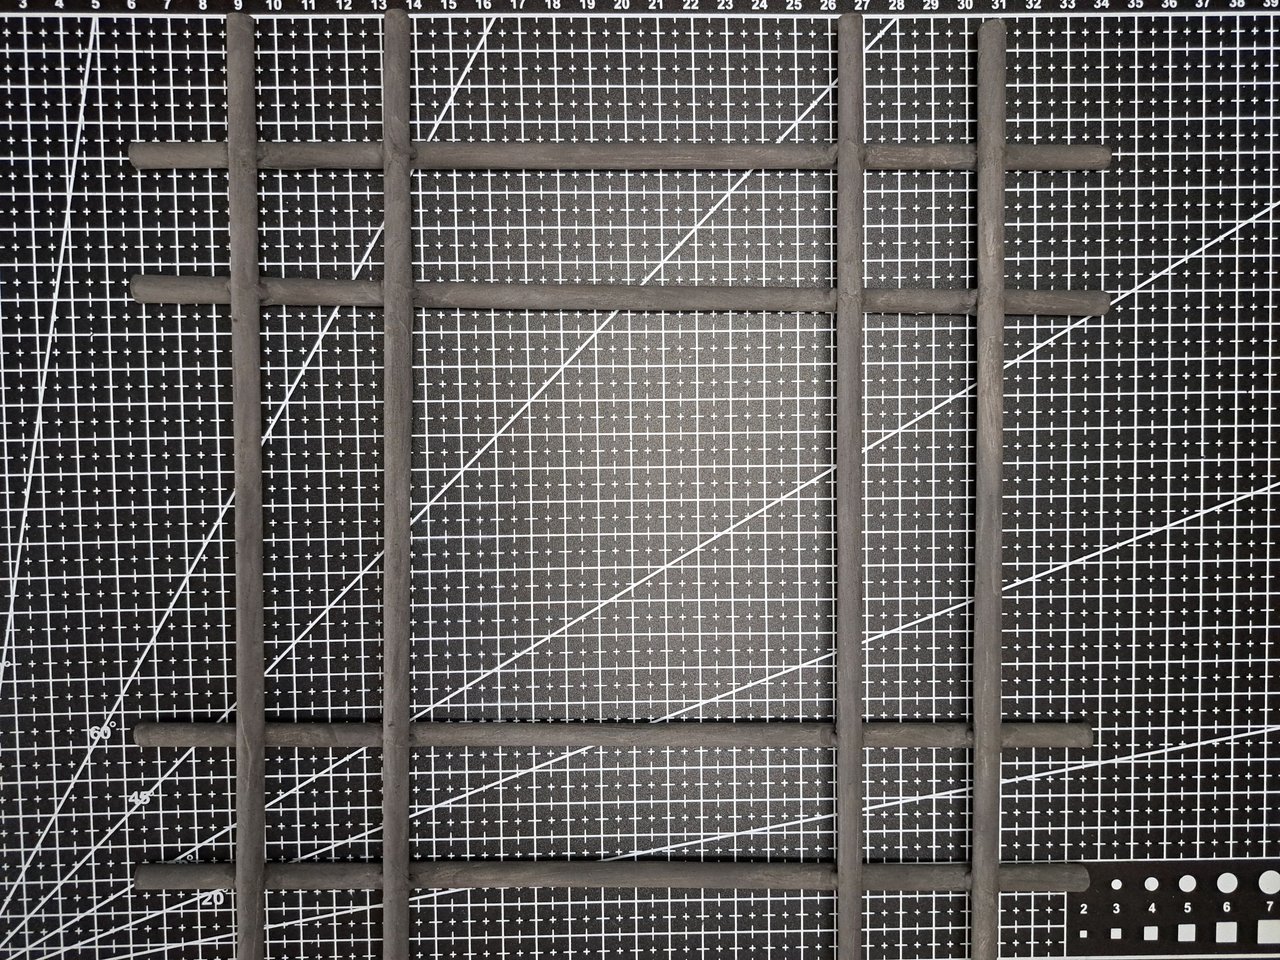
2️⃣ The 8 cylinders should be placed in such a way that they look like the symbol (#). To do this, place each of the paper cylinders 6 cm from each other. After gluing the cylinders in place, paint the whole structure with matte black paint.
Con los 8 cilindros se deben colocar de tal forma que queden como el símbolo (#). Para ello, se ubicarán cada uno de los cilindros de papel a 6 cm, uno del otro. Luego de pegados los cilindros en su lugar, se pintará toda la estructura con pintura negra mate.
 |  |  |
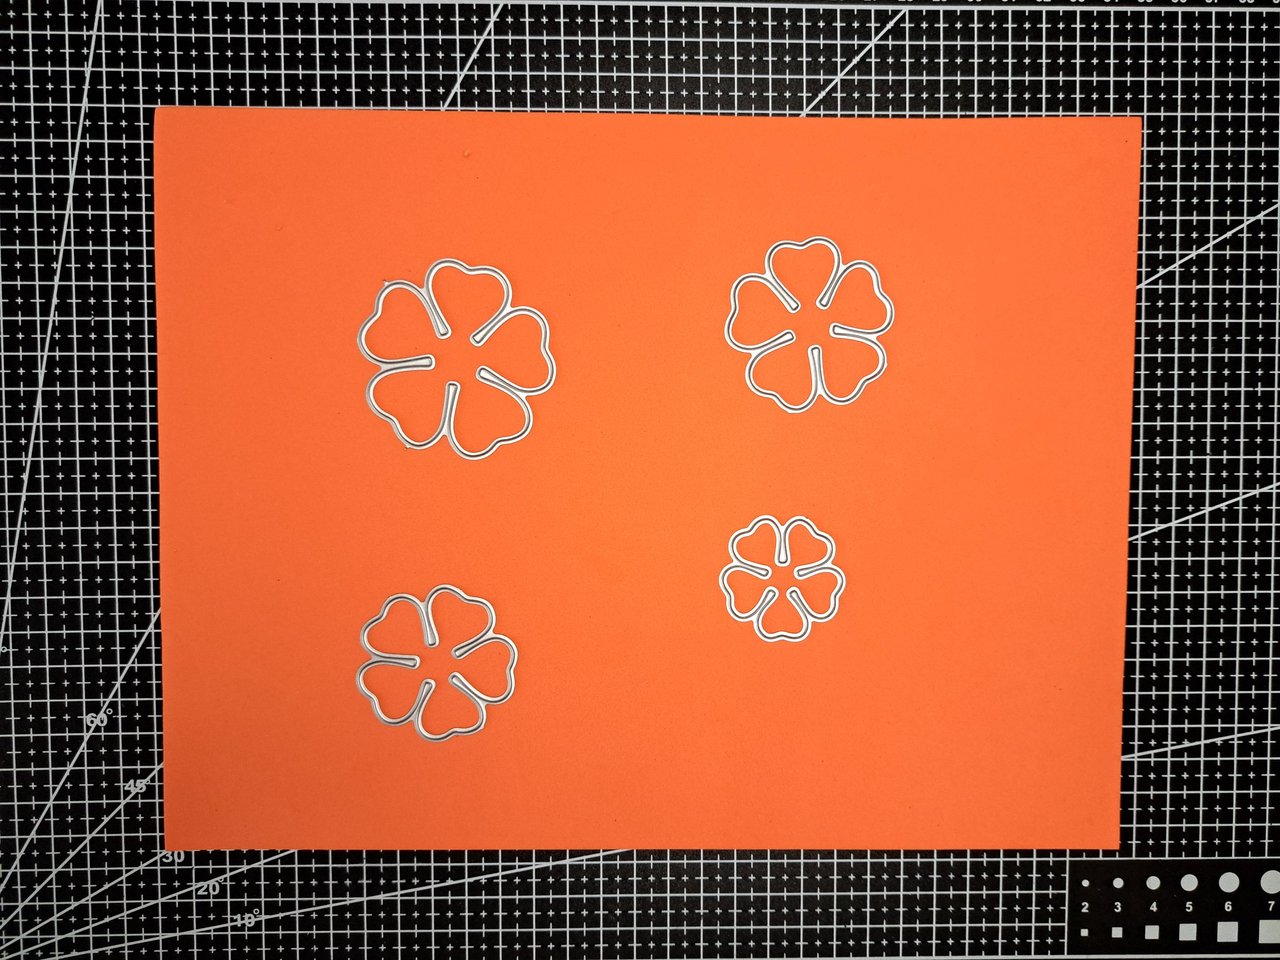
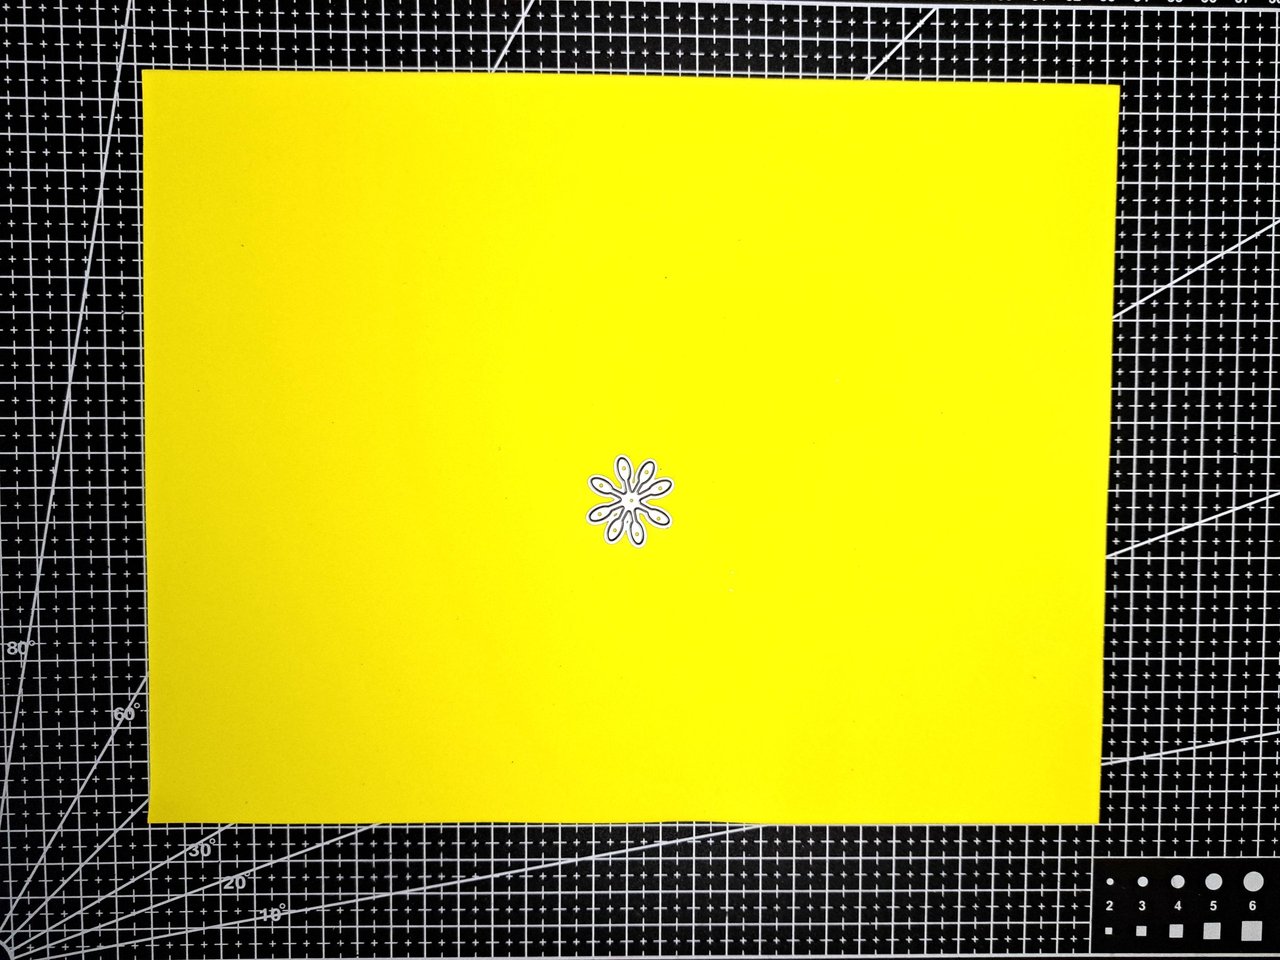
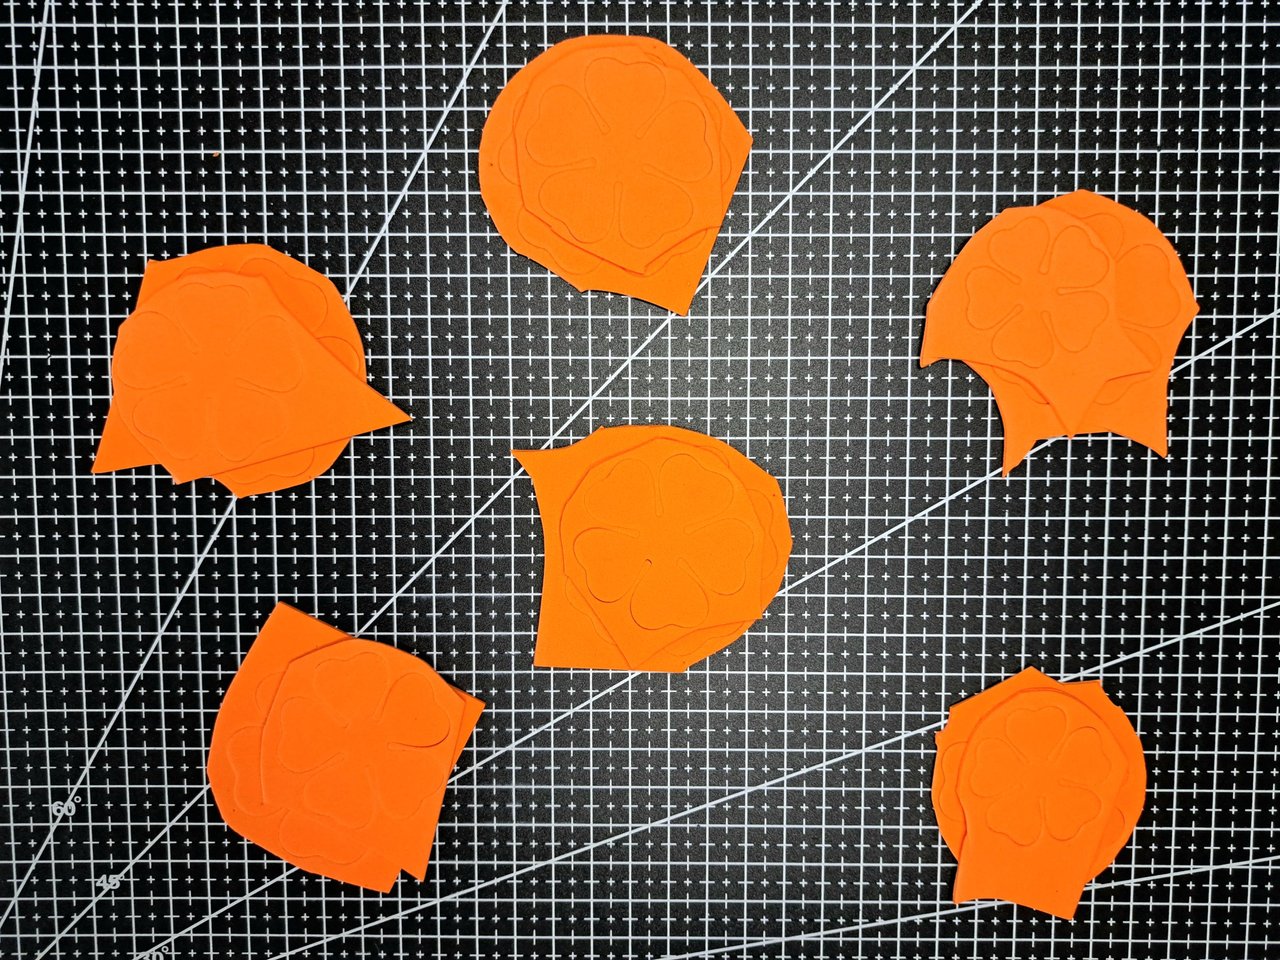
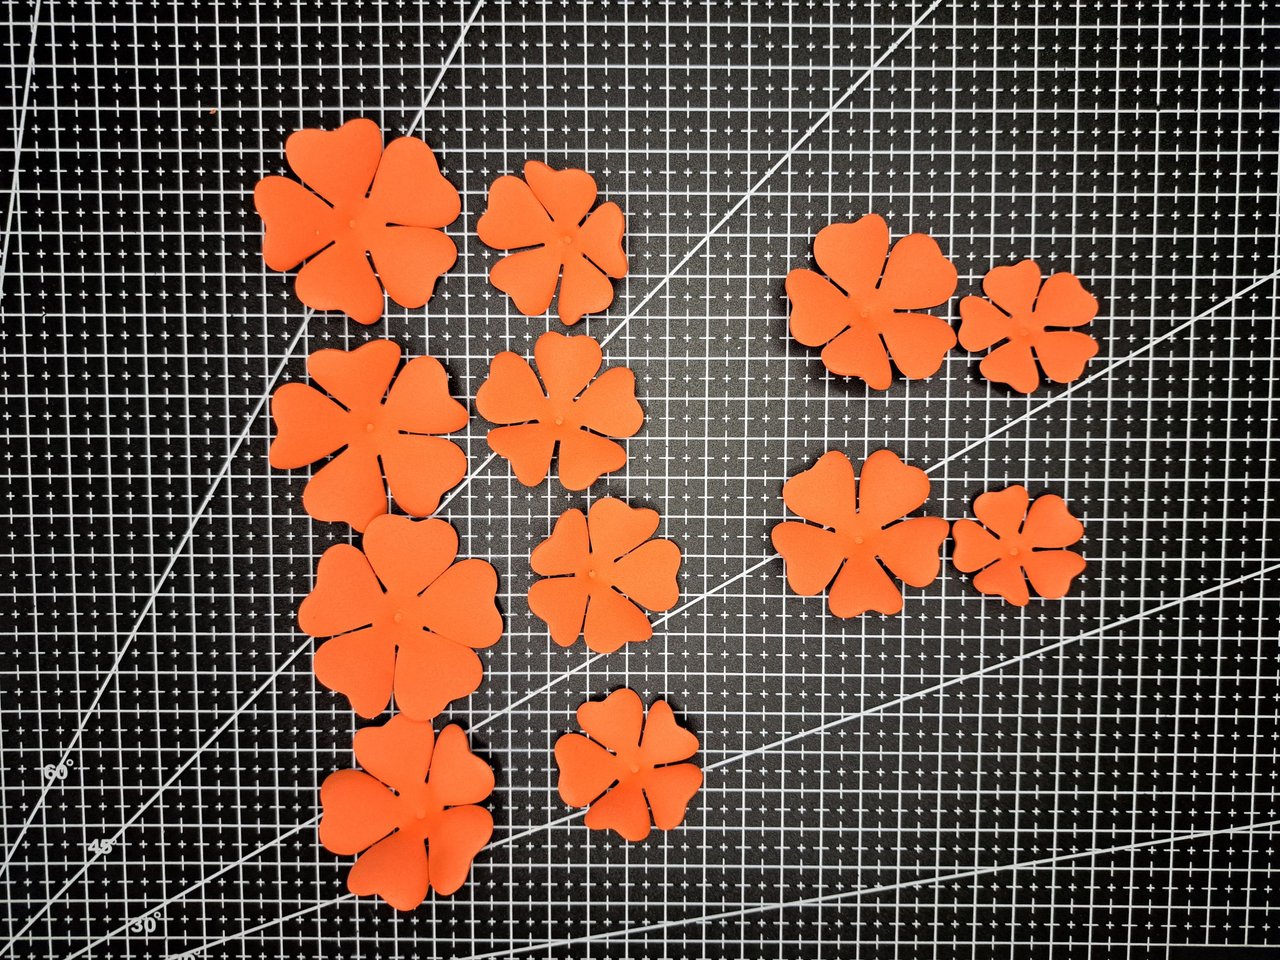
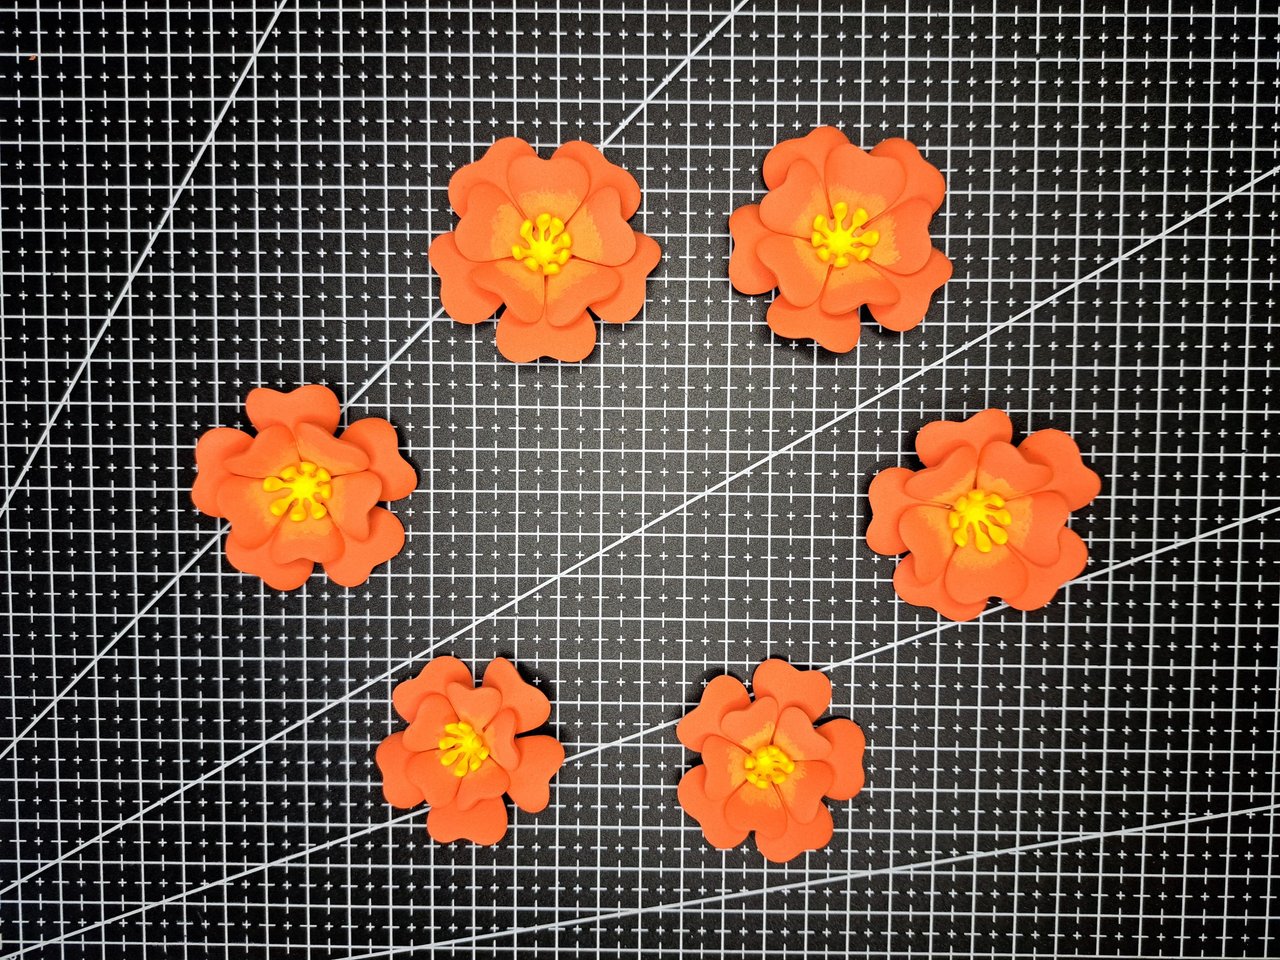
3️⃣ With orange and yellow fomi you will create the flowers. To do this, you will cut out the shapes of the petal layers using two different sets of flower-shaped dies. This is because the flowers in the corners are smaller than the rest.
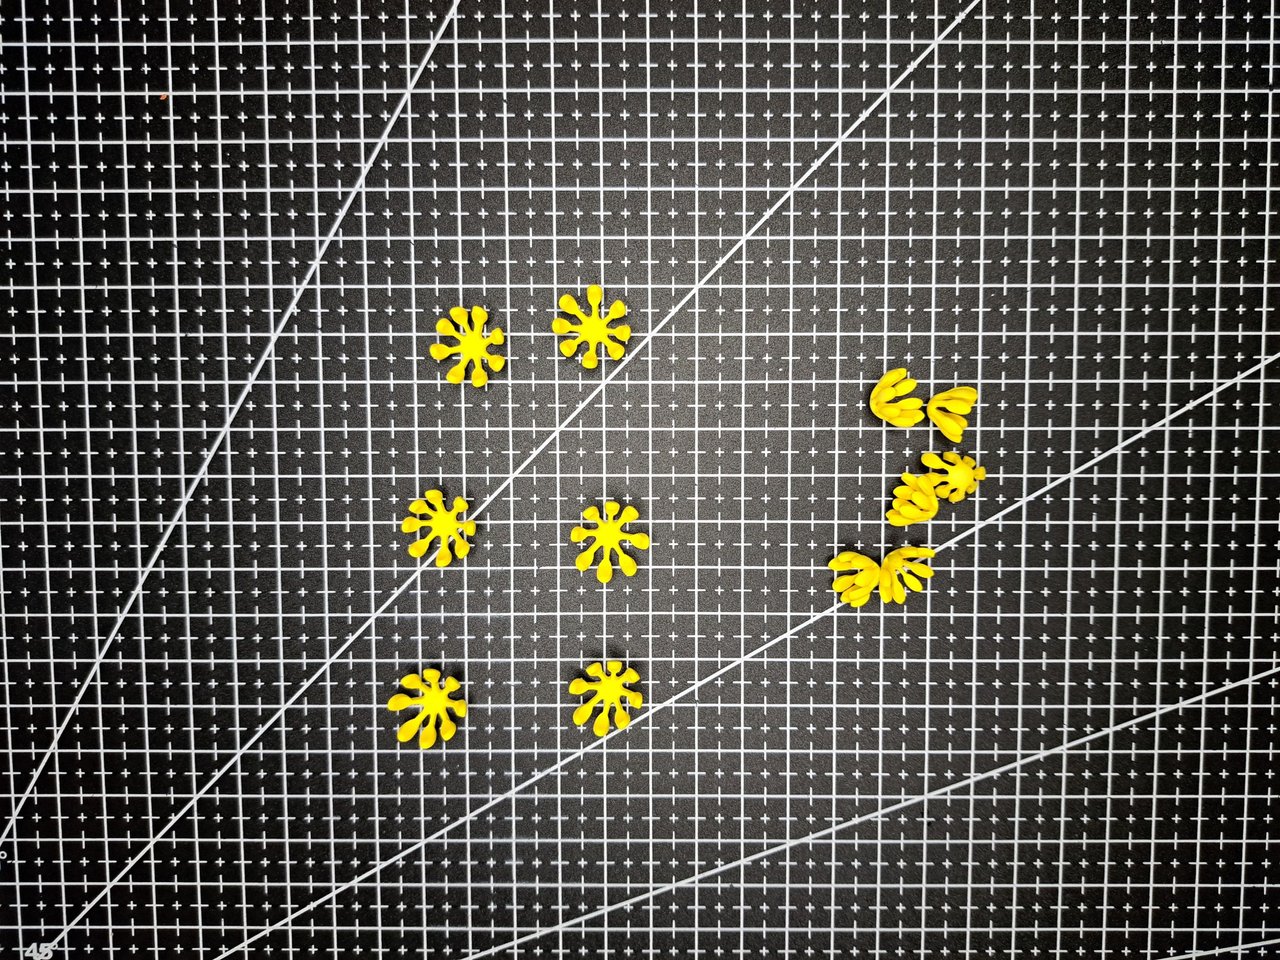
Each of the flowers will have a yellow pistil in its center, which will also be cut out using a metal die that has that shape.
Con fomi naranja y amarillo se crearán las flores. Para ello, recortará las formas de las capas de pétalos utilizando dos juegos distintos de troqueles con forma de flor. Esto se debe a que las flores de las esquinas son más pequeñas que el resto.
Cada una de las flores llevará en su centro un pistilo amarillo, el cual también se recortará utilizando un troquel metálico que posee esa forma.
 |  |  |
 |  |
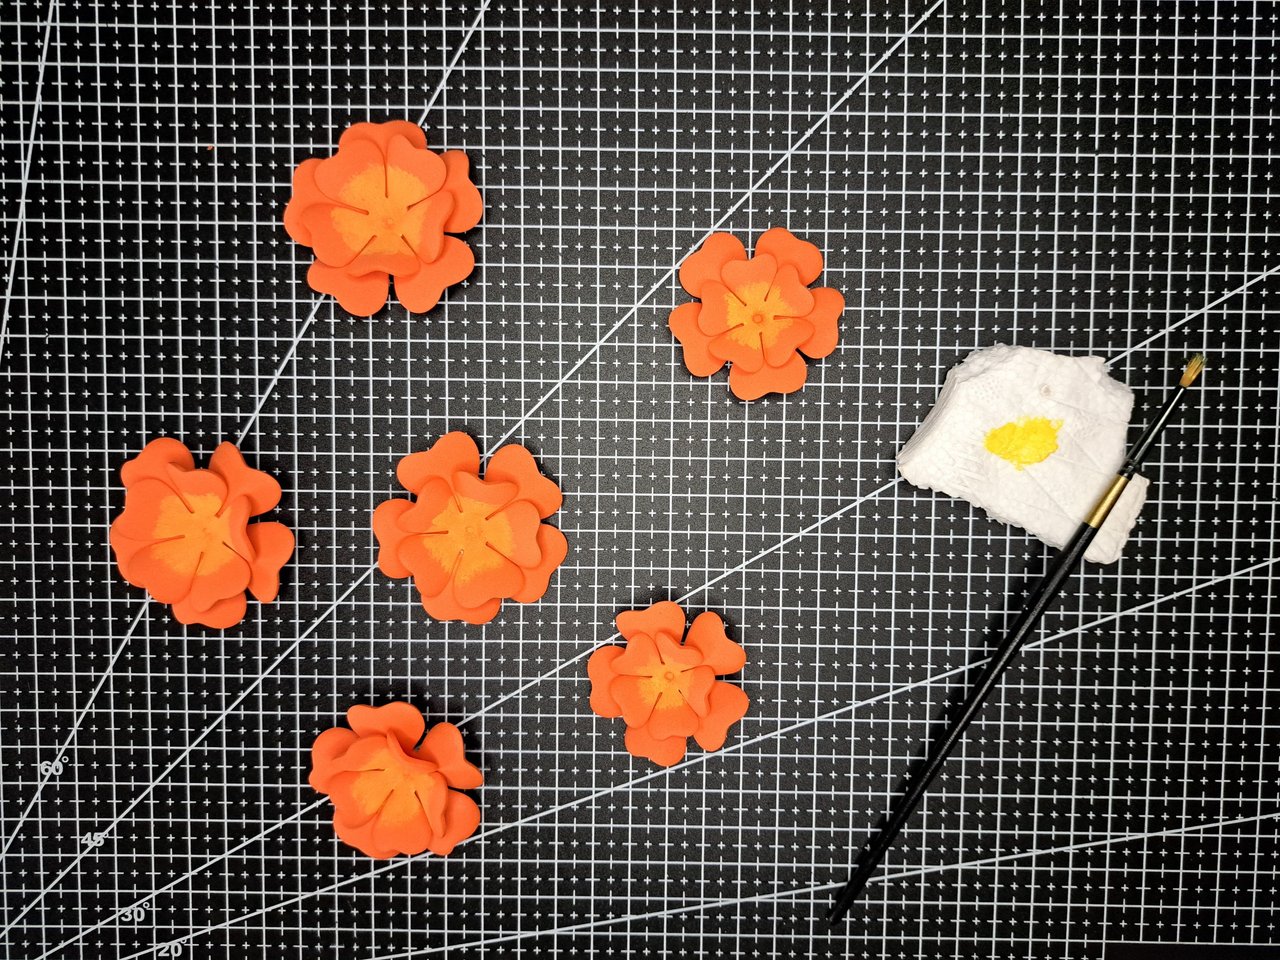
4️⃣ After thermoforming both the petal layers and the pistils, the flowers are assembled, but not before applying a yellow shading on the inside of each flower. As I mentioned, the pistils are thermoformed to arch them, but in the case of the small flowers it was necessary to heat the fomi for much longer to achieve a more closed shape.
Luego de termoformar tanto las capas de pétalos como los pistilos, se ensamblan las flores, no sin antes aplicar un sombreado amarillo en el interior de cada una de las flores. Como ya mencioné, los pistilos están termoformados para arquearlos, pero en el caso de las flores pequeñas fue necesario calentar por mucho más tiempo el fomi para lograr una forma más cerrada.
 |  |  |
 |  |
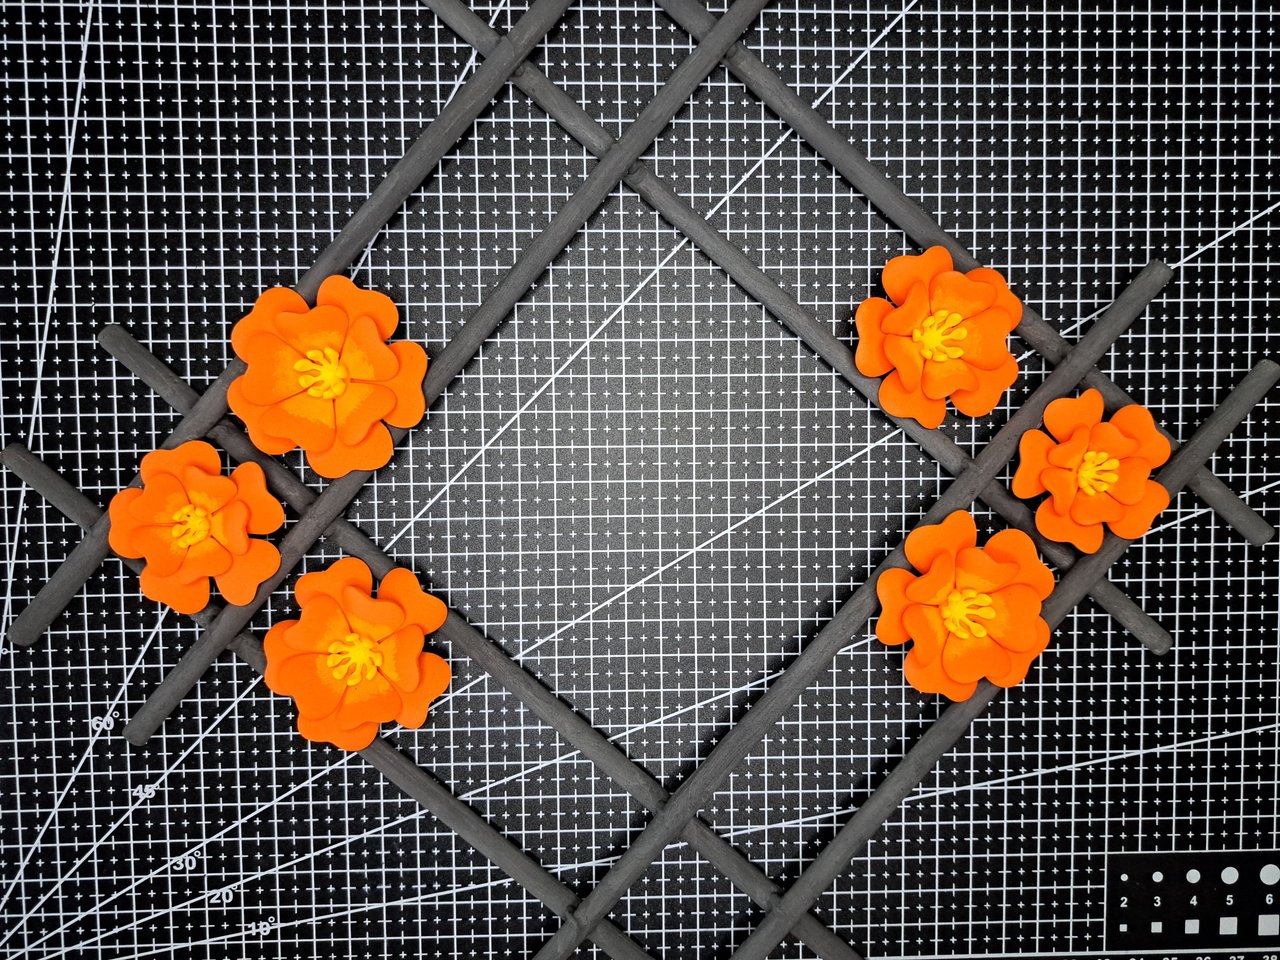
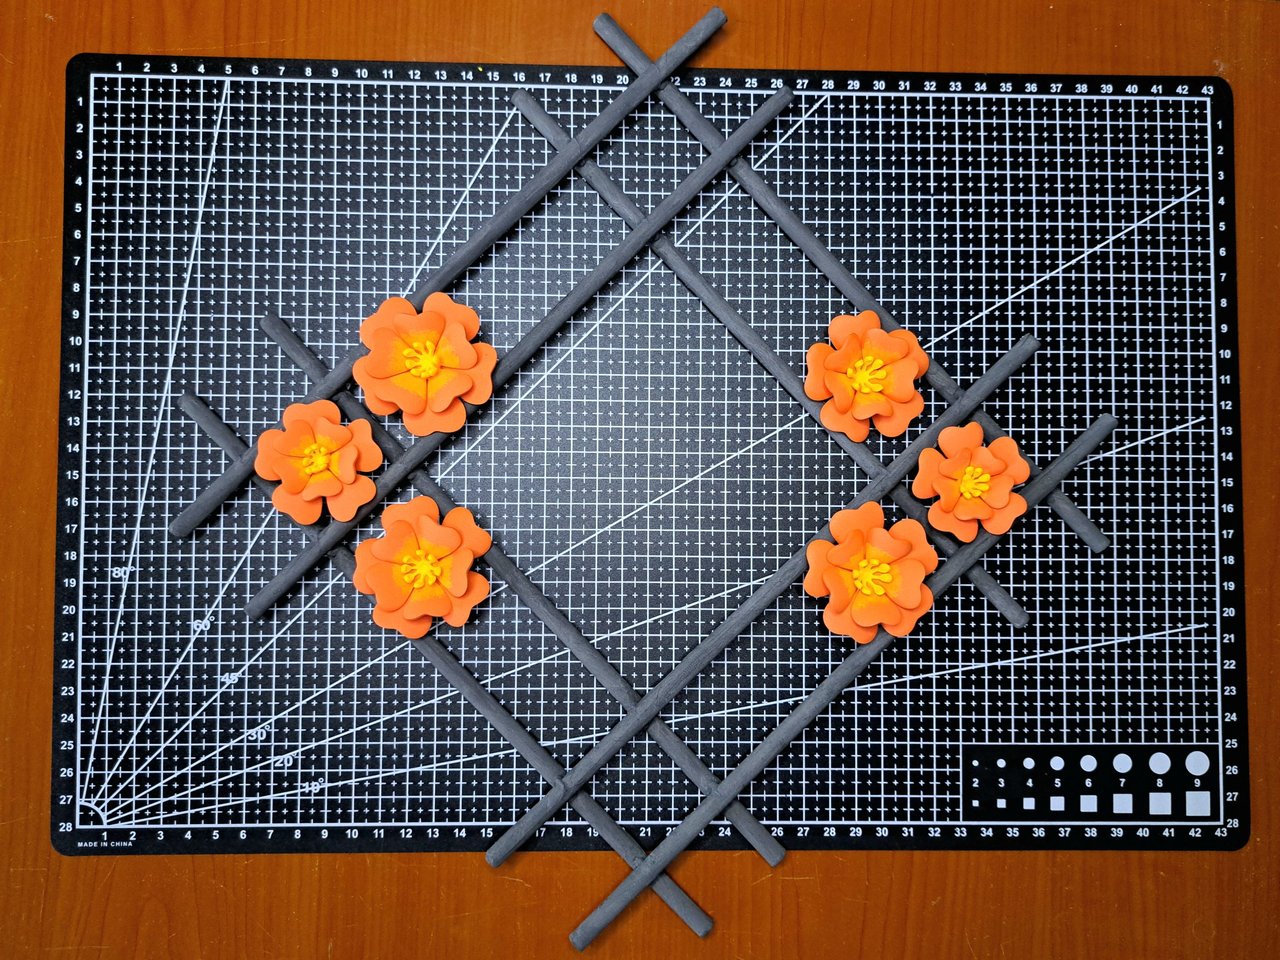
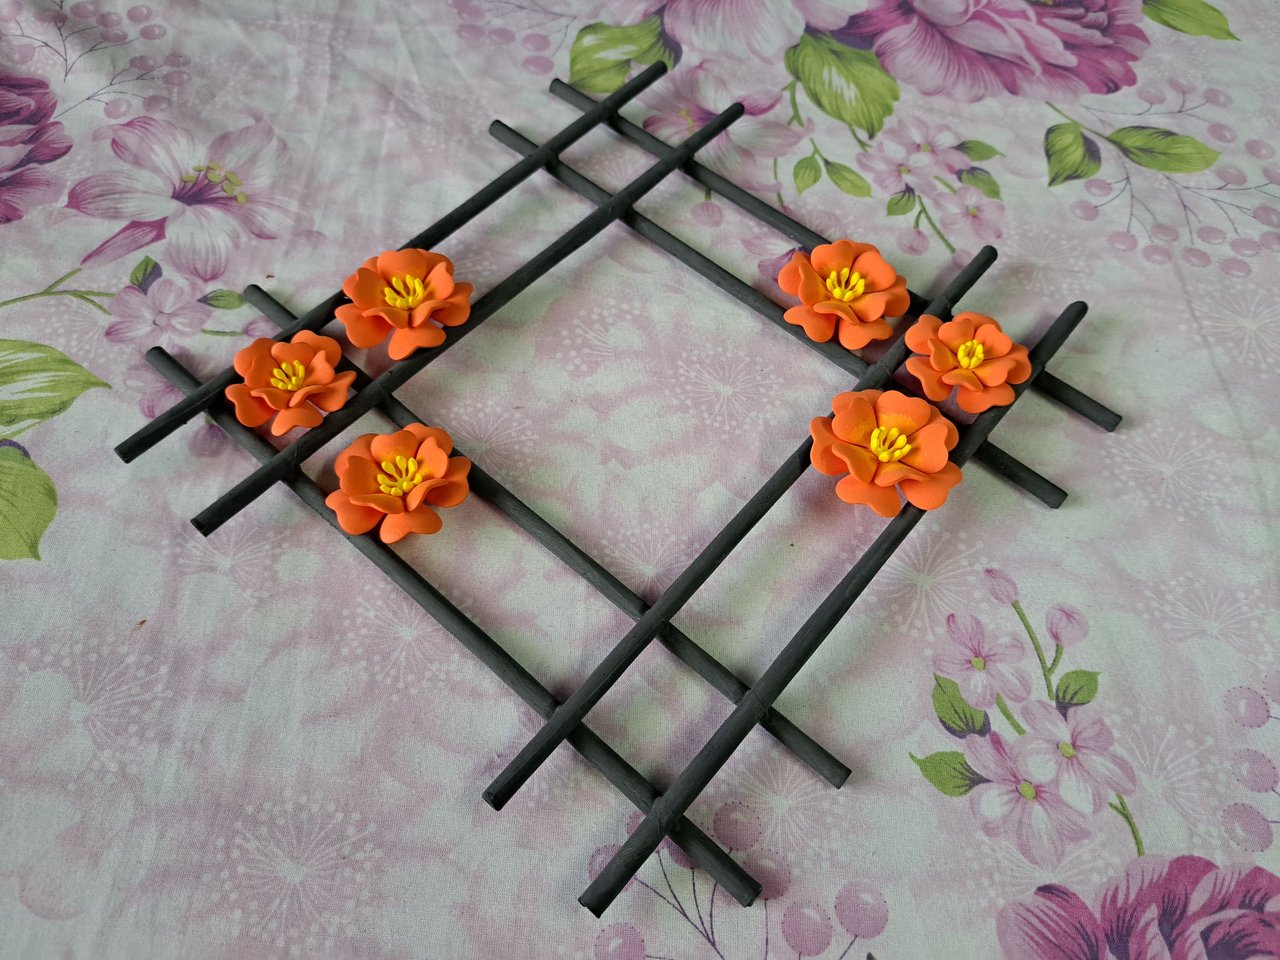
5️⃣ To finish, it will only be necessary to place each of the flowers in its respective place and glue the petals to the structure from the back side with silicone. Keep in mind that, although the structure is quadratic in shape, its position is rhombic, so the flowers will go in the intersections that remain on the sides, leaving the bottom and top free.
Para finalizar, solo será necesario colocar cada una de las flores en su respectivo lugar y pegar con silicona los pétalos a la estructura por la parte trasera. Tengan en cuenta que, aunque la estructura es de forma cuadrática, su posición es rómbica, así que las flores irán en las intersecciones que quedan en los laterales, quedando libres la parte inferior y superior.
 |  |  |
Finished Work // Trabajo Terminado
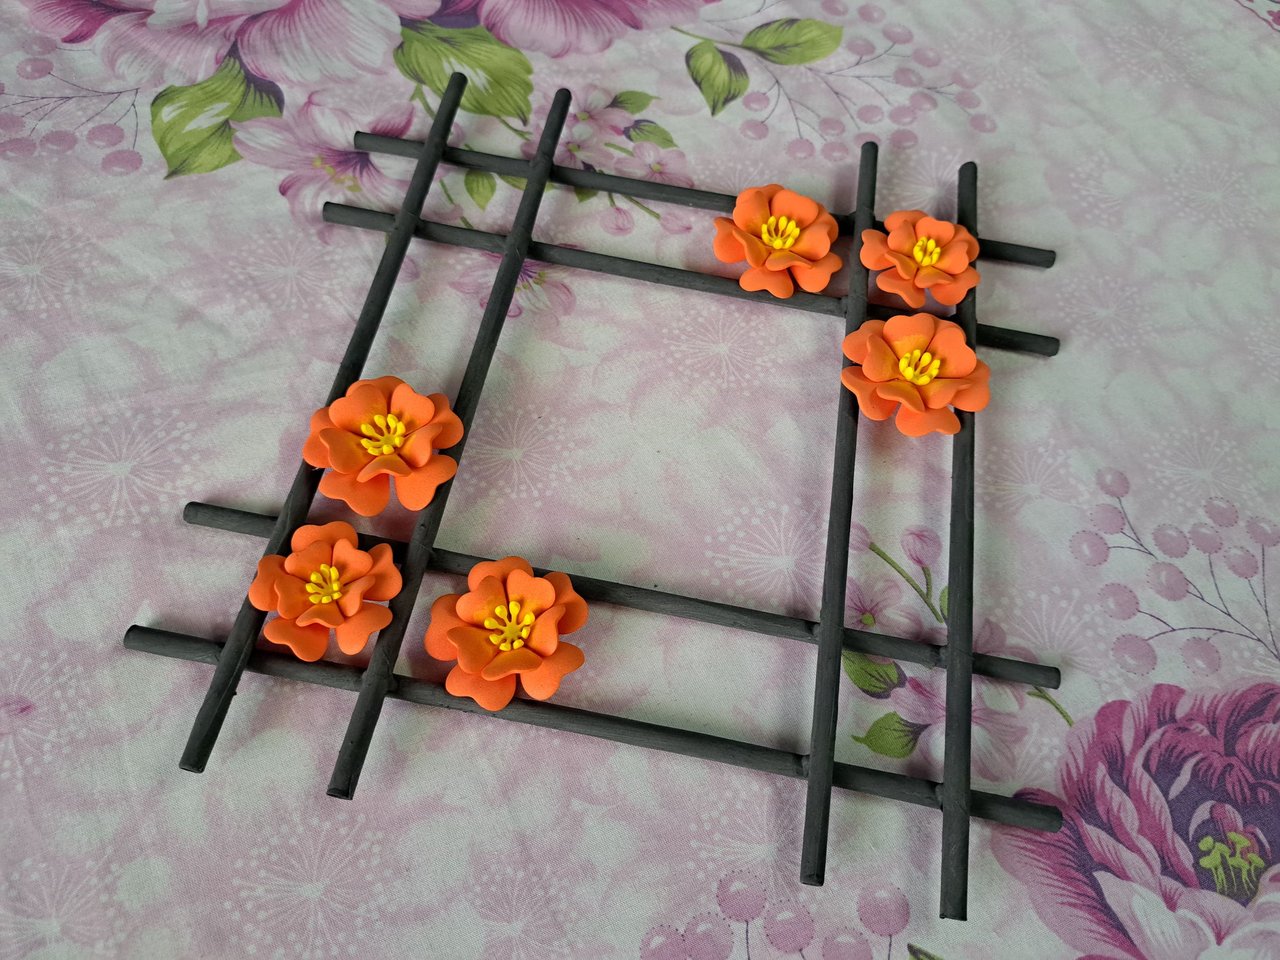
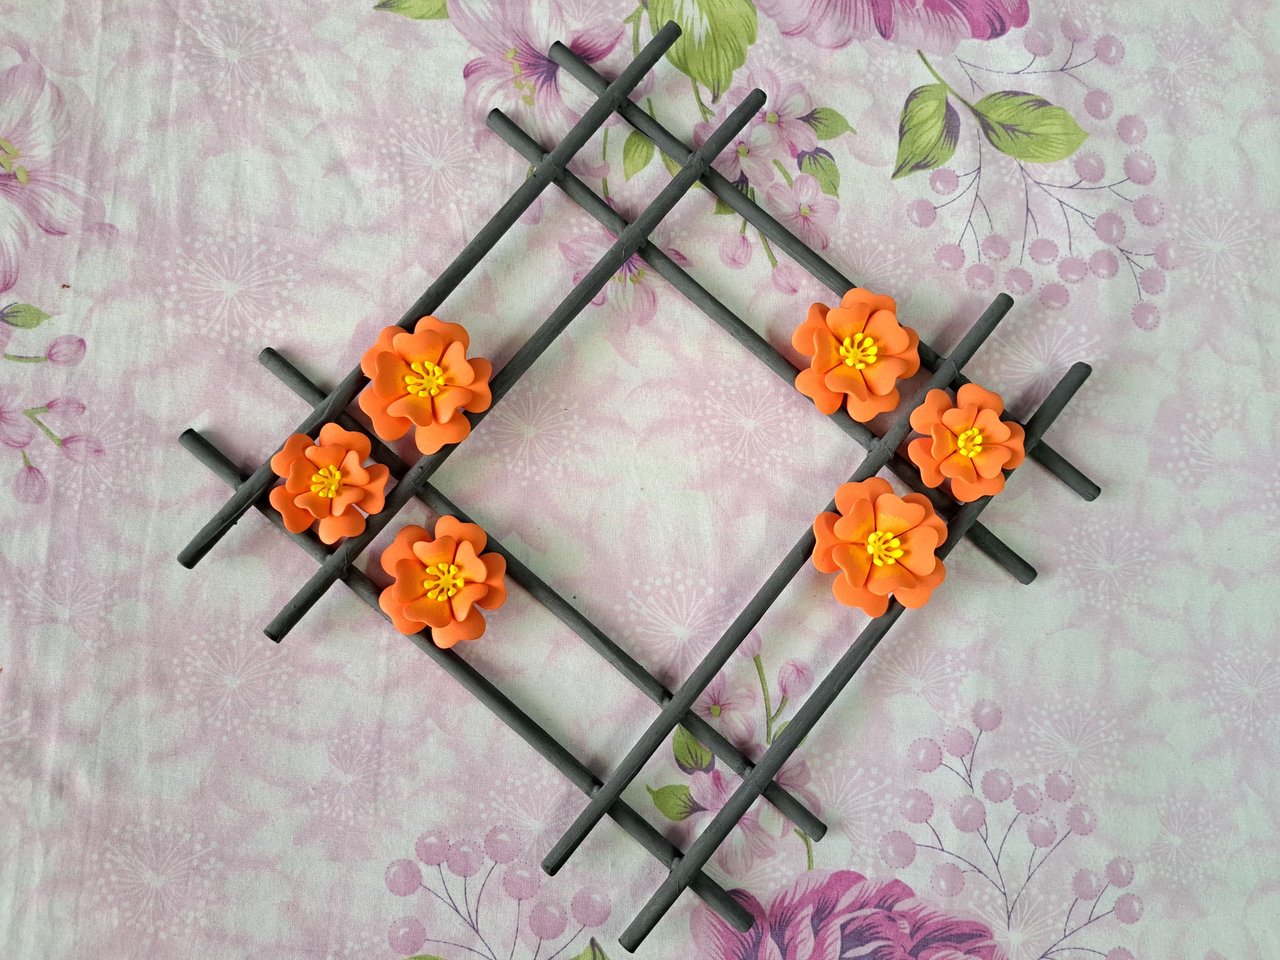
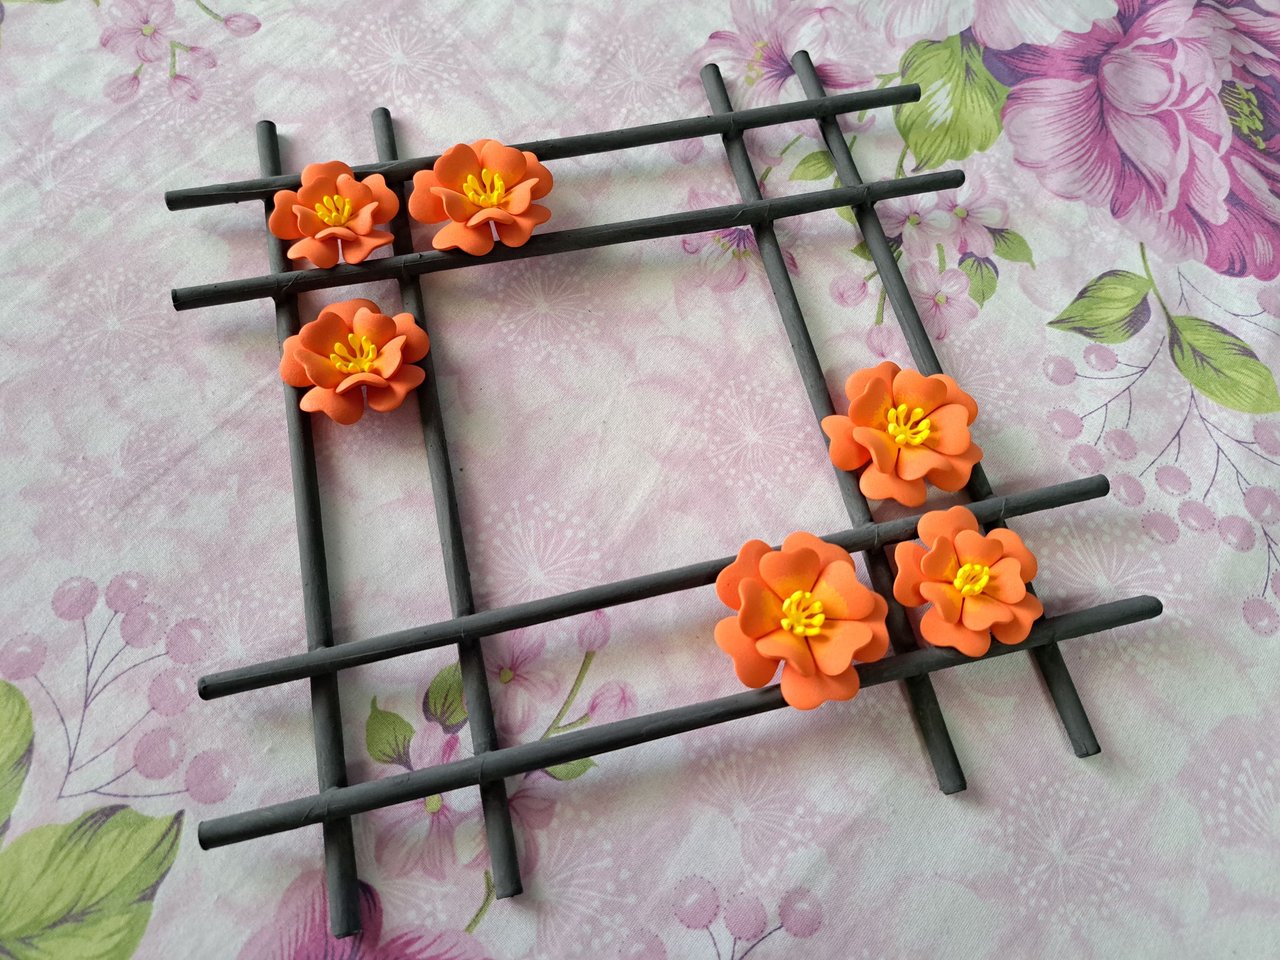
This way we would have finished with the making of this minimalist decoration, which we elaborated using fomi and recycled paper. I must admit that at first I doubted whether the result would be liked or not, but the truth is that it looks great. I hope you also liked it and let me know in the comments what you think of this creation.
De esta forma habríamos terminado con la confección de esta decoración minimalista, la cual elaboramos utilizando fomi y papel reciclado. Debo admitir que en un principio dudé de si el resultado iba a gustar o no, pero la verdad es que luce genial. Espero que a ustedes también les haya gustado y me dejen saber en los comentarios qué opinan de esta creación.
 |  |
 |  |

Credits and Resources // Créditos y Recursos
Cover page created in Canva
Translated by DeepL
Images captured with my Samsung Galaxy A53
Inspiration Source


Posted Using INLEO
Muy bello concepto para crear adorno, el minimalismo es bastante elegante.
Bello y simple, lo cual lo hace perfecto para completar la decoración de varios espacios.
Quedó muy bonito y creativo. Bendiciones 🤗.
Gracias amiga. Saludos.
Precioso, me encantó mucho este elemento decorativo.
Muchas gracias 🫂
Qué belleza me encanta este proyecto minimalista.
¡Saludos!
Me alegra mucho. Saludos.
🤗💙
Thanks for the support 🫂
Te quedó precioso, me encantó su sencillez, es lo que lo hace ver elegante y único.
Gracias 🥰
¡Felicidades! Esta publicación obtuvo upvote y fue compartido por @la-colmena, un proyecto de Curación Manual para la comunidad hispana de Hive que cuenta con el respaldo de @curie.
Si te gusta el trabajo que hacemos, te invitamos a darle tu voto a este comentario y a votar como testigo por La Colmena.
Si quieres saber más sobre nuestro proyecto, te invitamos a acompañarnos en nuestro servidor de Discord.
Quedó hermoso. Es muestra de que con poco se pueden hacer cosas bellas
Así es amiga. Gracias por comentar.
Un placer
It's so beautiful and the design used are perfect, outstanding result and amazingly done. Great job 👍
Muchas veces menos es más y parece mentira, pero puede requerir de más esfuerzo lograr un buen resultado con mínimos detalles.
Su decoración le quedo genial, le felicito.