Embroidering Shinaara fanart [Eng/Esp].
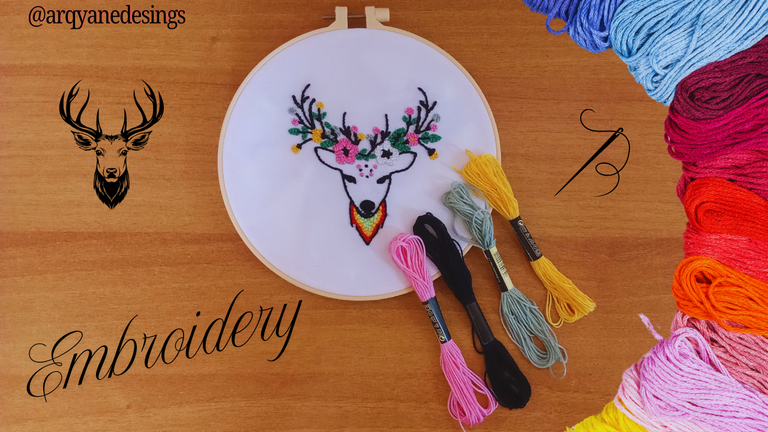
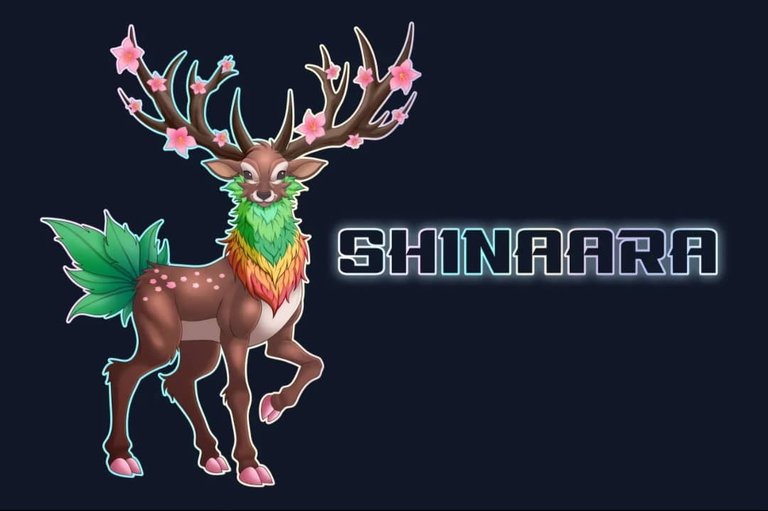
Hello my dear friends of Holozing, I hope you are well today. This time I bring you something a little different, this time I want to share with you a tutorial on how to make an embroidery of this Shinaara fanart, one of the creatures of this wonderful world. This character of the game is one of my favorites and this time I decided to make a sketch of the face with its huge horns where I highlighted its main characteristic features. Next I show you how I did it.
Hola mis queridos amigos de Holozing, espero que se encuentren bien en el día de hoy. En esta oportunidad les traigo algo un poco diferente, esta vez quiero compartirles un tutorial de cómo realizar un bordado de este fanart de Shinaara, una de las criaturas de este maravilloso mundo. Este personaje del juego es de mis preferidos y en esta ocasión decidí hacer un boceto de la cara con sus enormes cuernos donde destaqué sus rasgos característicos fundamentales. Enseguida les muestro como lo realicé.
Materials//Materiales
Embroidery hoop//Aro para bordar
Cloth//Tela
Embroidery thread//Hilo de bordar
Threader//Enhebrador
Pencil//Lápiz
Pen//Bolígrafo
Magic needle//Aguja mágica
Scissors//Tijeras
White sheet//Hoja blanca
Carbon paper//Papel carbón
Step by step//Paso a pasos
Step 1
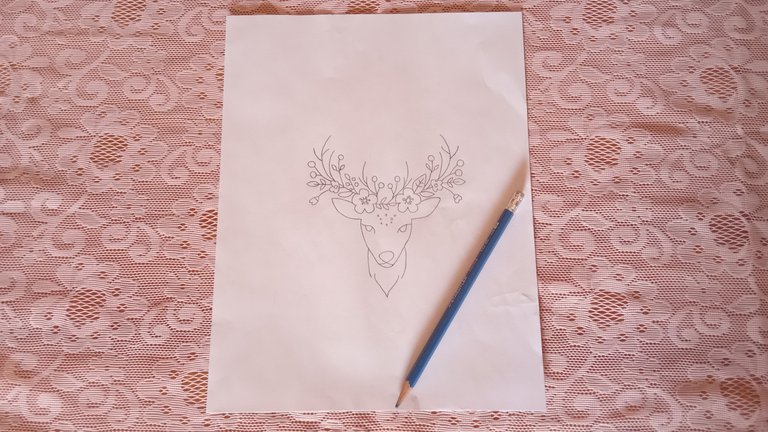
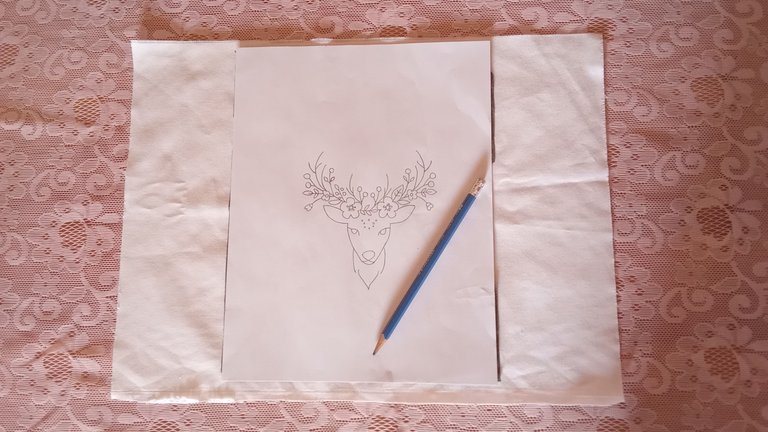
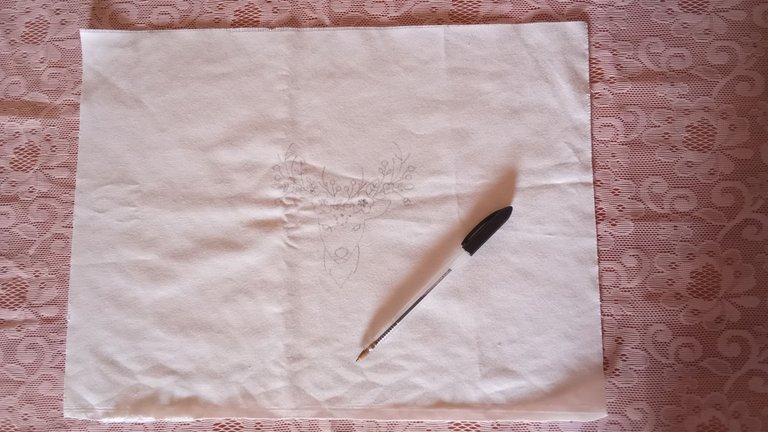
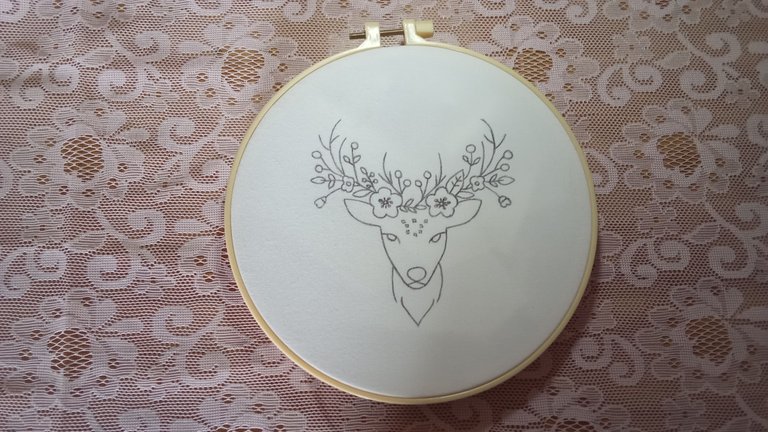
The first thing I did was the pencil sketch through lines of the character, then I put the fabric that I will use on the table, on which I place a carbon paper and on top of the drawing to take it to the fabric with the pencil. When finished you will notice that it is a little clear so it should be passed with a pen over it to highlight it and make it look good, then put the fabric in the hoop making sure it is well stretched.
Paso 1
Lo primero que realicé fue el boceto a lápiz a través de líneas del personaje, luego pongo la tela que voy a utilizar encima de la mesa, sobre la cual coloco un papel carbón y encima el dibujo para con el lápiz llevarlo a la tela. Al terminar se darán cuenta de que queda un poco claro por lo que se debe pasar con un bolígrafo por encima para resaltarlo y que se vea bien, para después poner la tela en el aro asegurándonos de que quede bien estirada.
 |
 |
 |
 |
Step 2
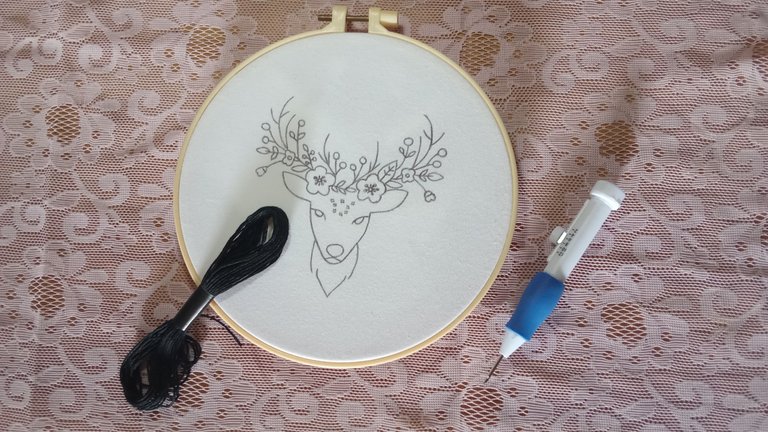
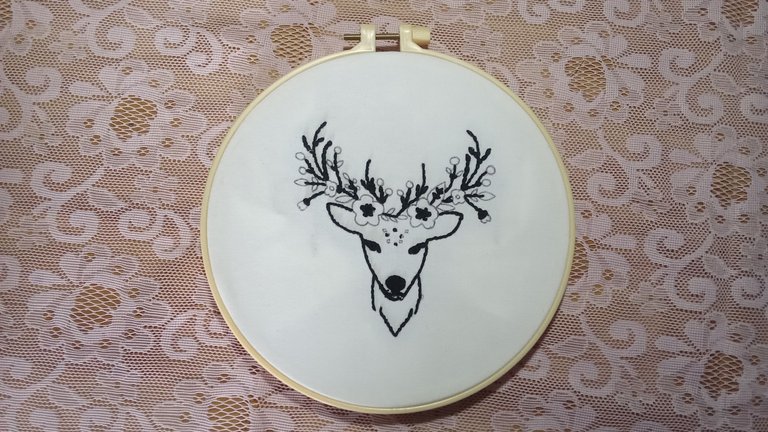
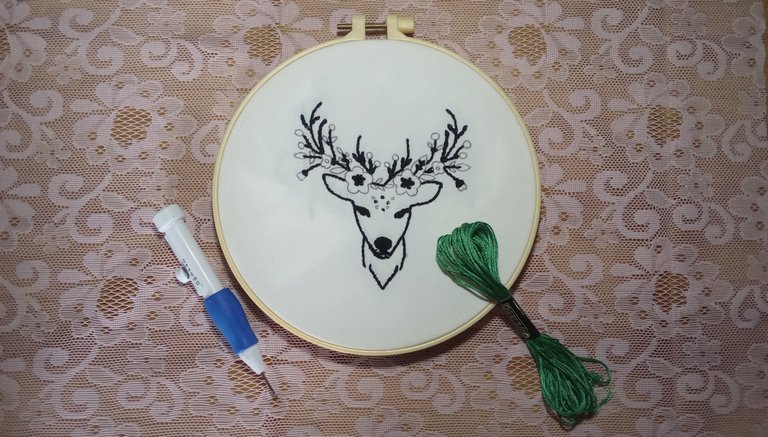
The next step will be to thread the needle, we will start with the black thread with which I will stitch the whole edge of the creature, eyes and its horns. In the parts that need to be filled it is necessary to start embroidering from the outside to the inside, taking into account that the stitches have more or less the same length.
Paso 2
El siguiente paso será enhebrar la aguja, comenzaremos con el hilo color negro con el cual le pasé a todo el borde de la criatura, ojos y sus cuernos. En las partes que hay que rellenar es necesario comenzar a bordar de afuera hacia adentro teniendo en cuenta que las puntadas tengan más o menos el mismo largo.
 |
 |
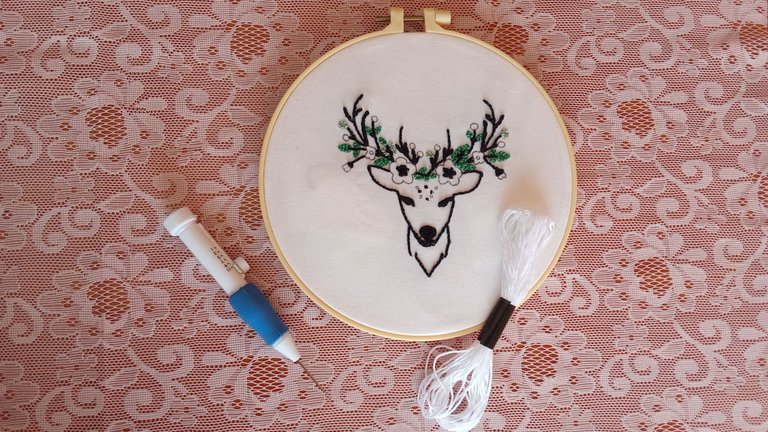
Step 3
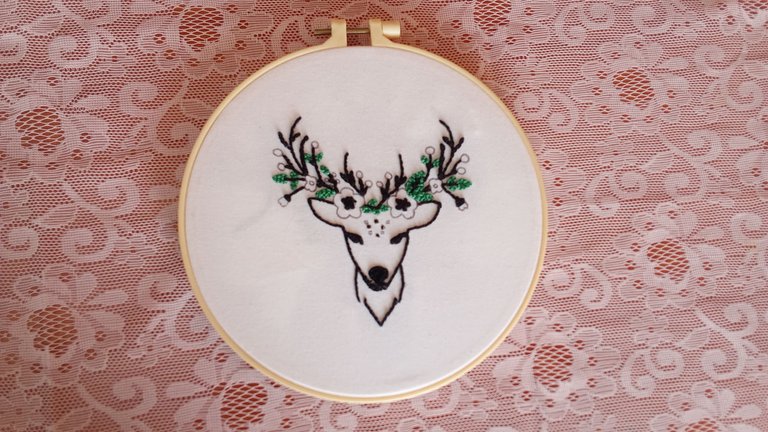
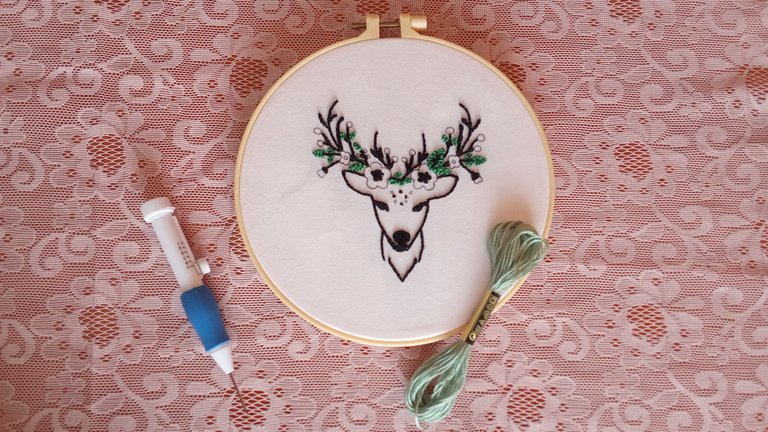
Then we will use the green color for the leaves and a light blue-green tone for some of the flowers.
Paso 3
Luego utilizaremos el color verde para las hojas y un tono verde azul claro para algunas de las flores.
 |
 |
 |
 |
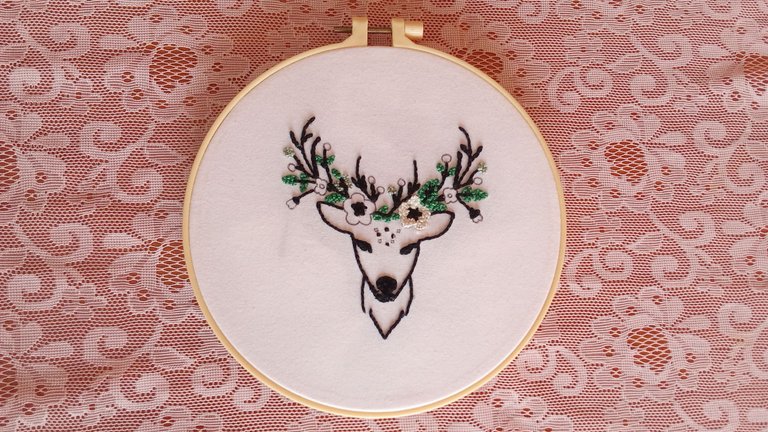
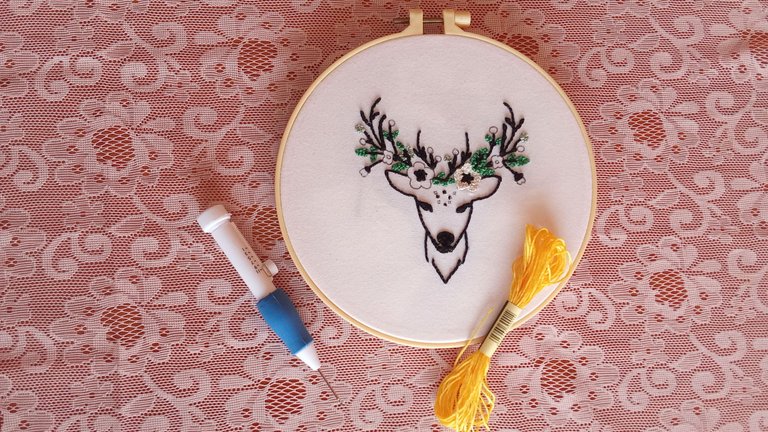
Step 4
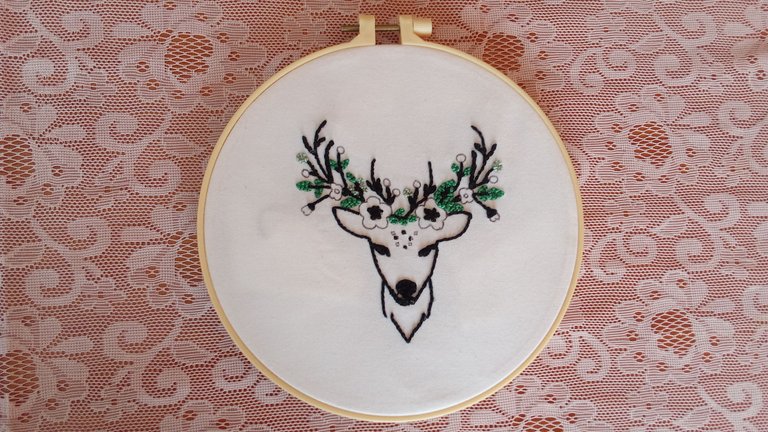
Next, the white color is used for one of the flowers on her head, and then with yellow to embroider some flowers and the center of others. These flowers, as you know, are one of the fundamental features of the original character.
Paso 4
Seguidamente, se utiliza el color blanco para una de las flores sobre su cabeza, para después con el amarillo bordar algunas flores y el centro de otras. Estas flores como saben son de los rasgos fundamentales que presenta el personaje original.
 |
 |
 |
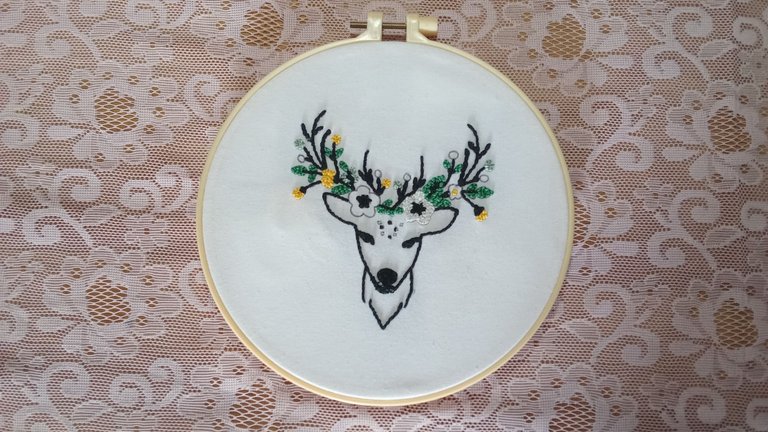 |
Step 5
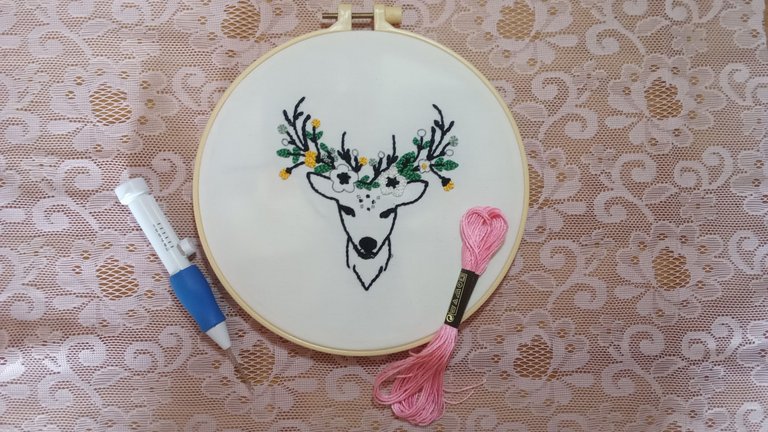
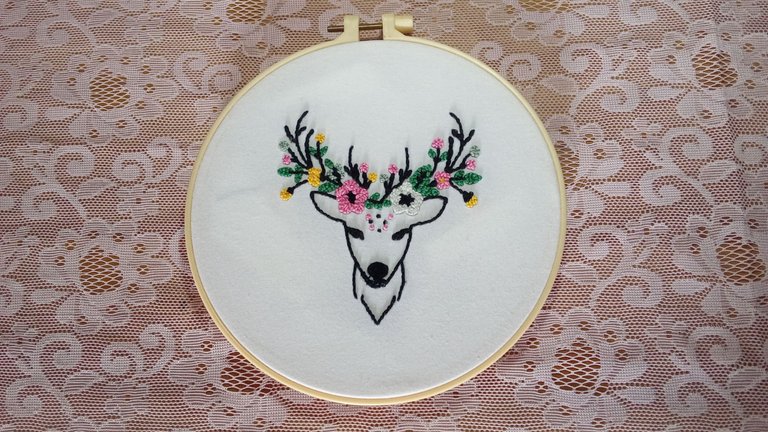
With the pink color embroider the rest of the flowers on her head and some of the stitches on her forehead. Always from the outside to the inside, trying to keep the length of the stitches the same.
Paso 5
Con el color rosado bordar el resto de las flores en su cabeza y algunos de los puntos en su frente. Siempre desde afuera hacia adentro, tratando que el largo de las puntadas sea el mismo.
 |
 |
Step 6
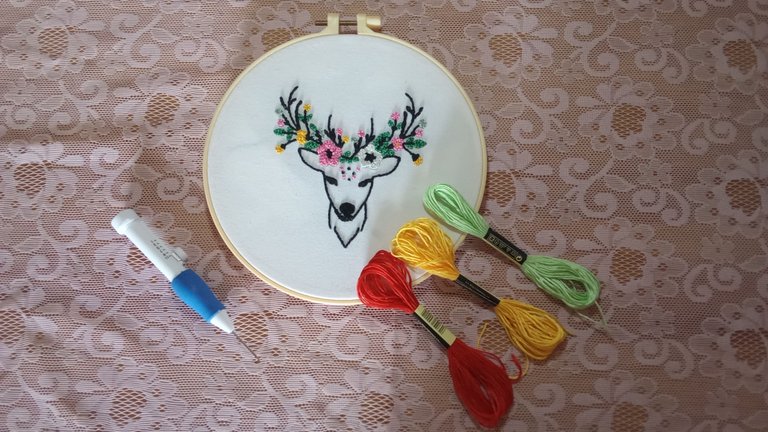
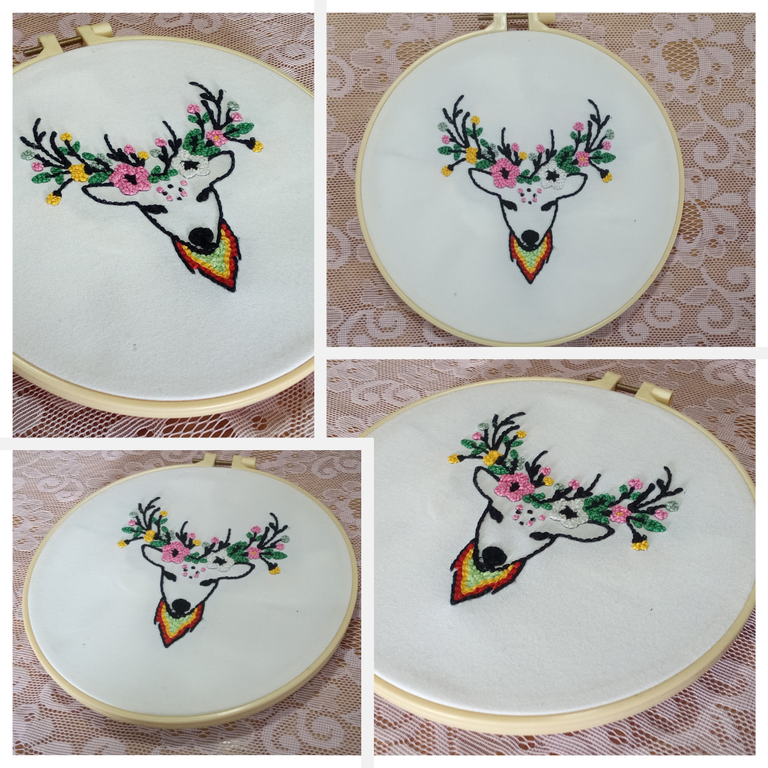
Finally, with the colors red, yellow and green I made the stripes on his chest that characterize him so much.
Paso 6
Por último, con los colores rojo, amarillo y verde hice las franjas en su pecho que tanto lo caracterizan.
 |
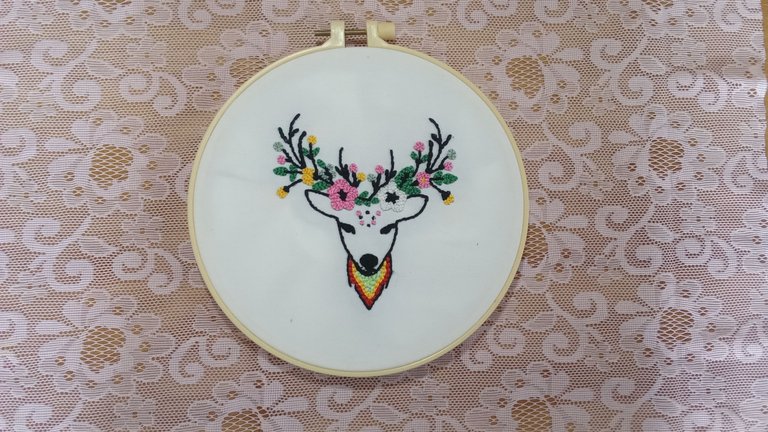 |
This way this embroidery is ready and can be used either for a kitchen towel, sheet, bag or whatever you want to make your design more striking, also to give it to a special person as a souvenir. I hope you liked it, let me know what you think. I will be attentive to your comments.
De esta forma está listo este bordado que se puede utilizar ya sea para un pañito de cocina, sábana, bolso o lo que deseen para hacer más llamativo su diseño, también para regalárselo a alguna persona especial como recuerdo. Espero que les haya gustado, díganme que les parece. Estaré atenta a sus comentarios.
Créditos y Recursos//Credits and Resources
Translated by DeepL
Cover page created in Canva Pro
Images captured with my Samsung Galaxy F13
A very well done embroidery you took into account many details 👌🏼 is a real art.
Thank you very much, it's good that you liked it 🤗.
https://www.reddit.com/r/somethingimade/comments/1l7vpdr/i_embroidered_this_deer_based_on_shinaara_a/
This post has been shared on Reddit by @arqyanedesings through the HivePosh initiative.